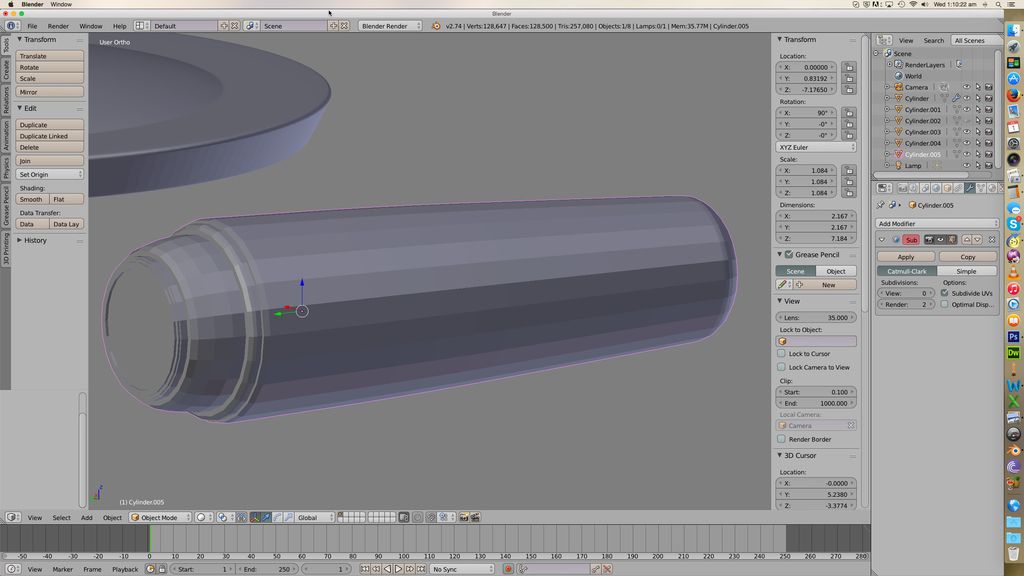
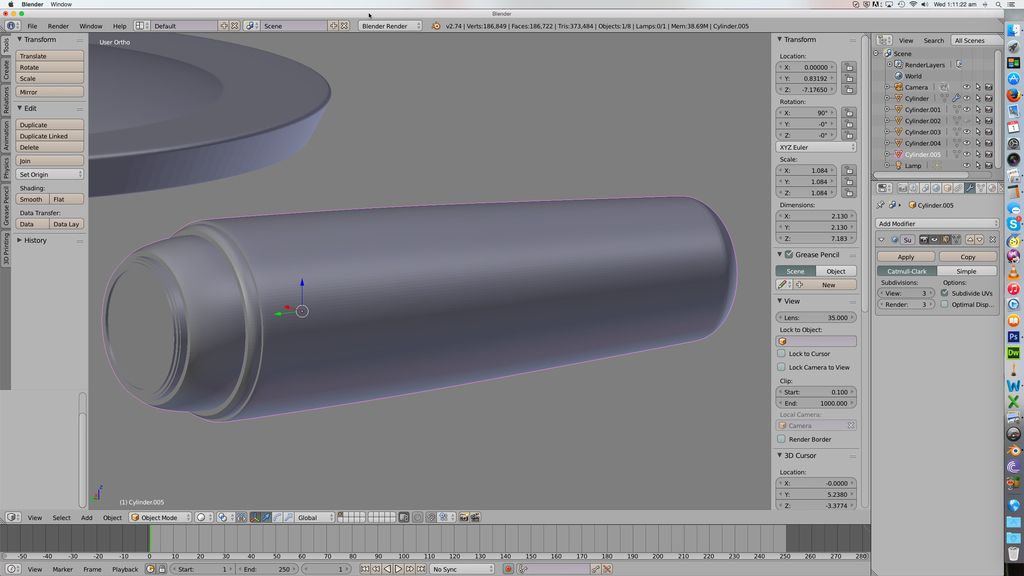
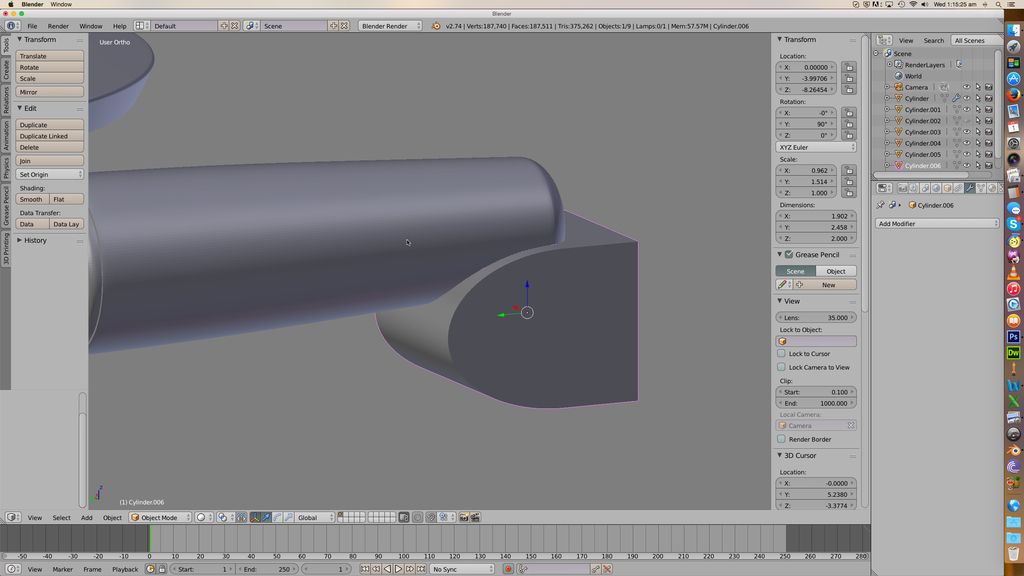
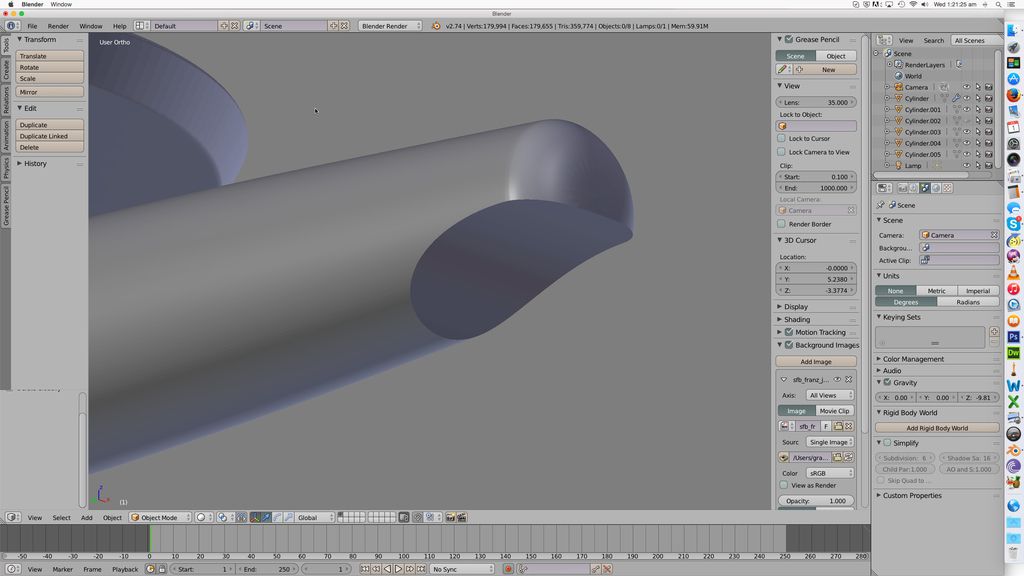
Making Enterprise
- Graham Kennedy
- Site Admin
- Posts: 11561
- Joined: Mon Jul 09, 2007 2:28 pm
- Location: Banbury, UK
- Contact:
Making Enterprise
So I thought I'd have another go at a Trek ship, and this time take on the Constitution class. I'm going for the original series take on the ship (partly because it's just a simpler design than the refit, lol).
However, this time I'm doing "my" Connie. My intent is not to replicate the TOS Connie as closely as possible, but rather to use that as a guide and design the version I'd have done. Mostly, that is going to mean paying a bit more attention to things like weapons, tractor beam emplacements, etc. The weapons thing always bothered me about the Connie. In TOS, phasers and photons emerged from pretty much anywhere the animator felt like on that week; even in the versions seen in Enterprise and the refurbished TOS, the phasers seem to emerge from a given point, but it's one that makes no sense to me - phasers and photons both come out of a featureless point on the front of the ring around the lower sensor dome!
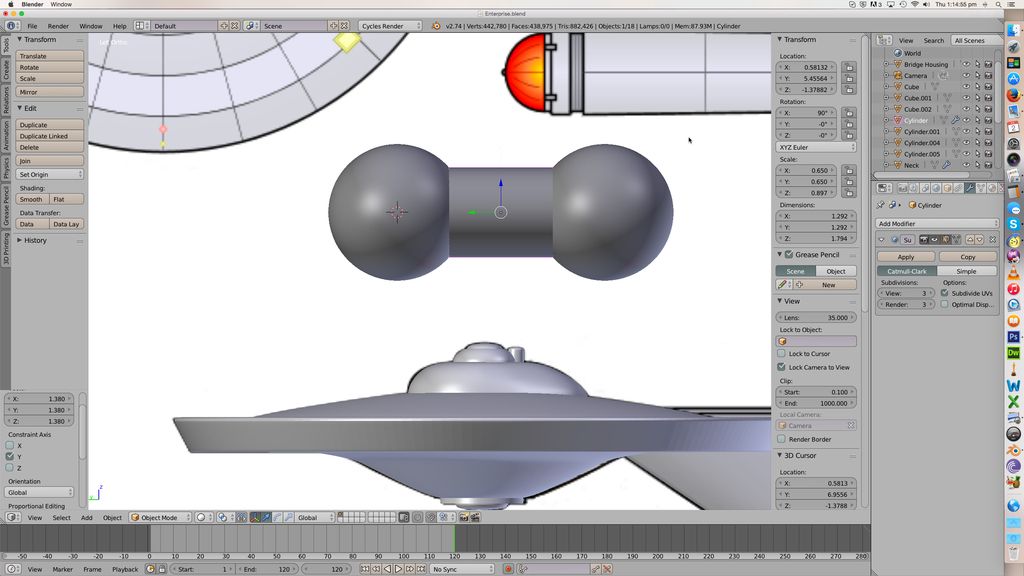
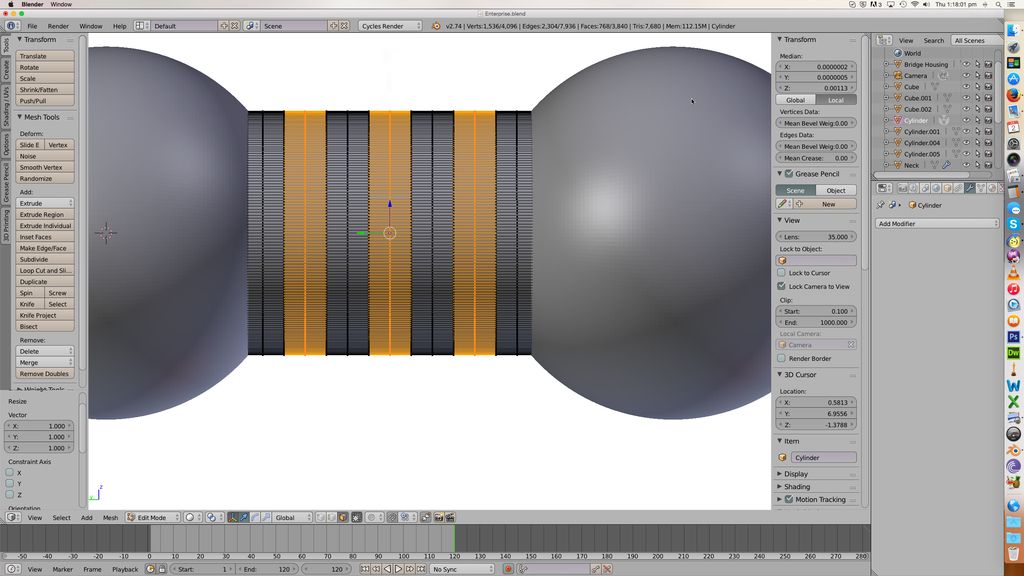
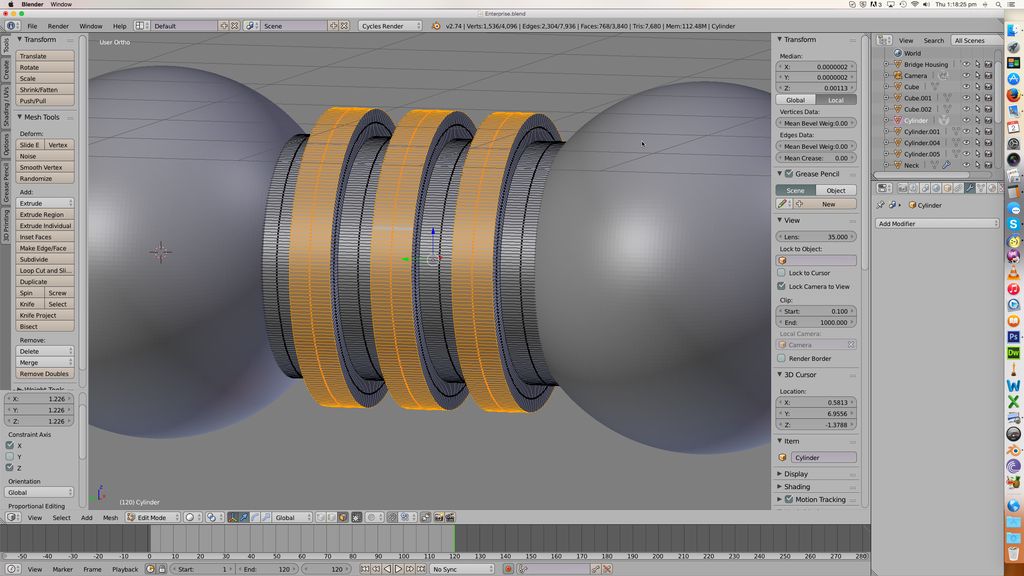
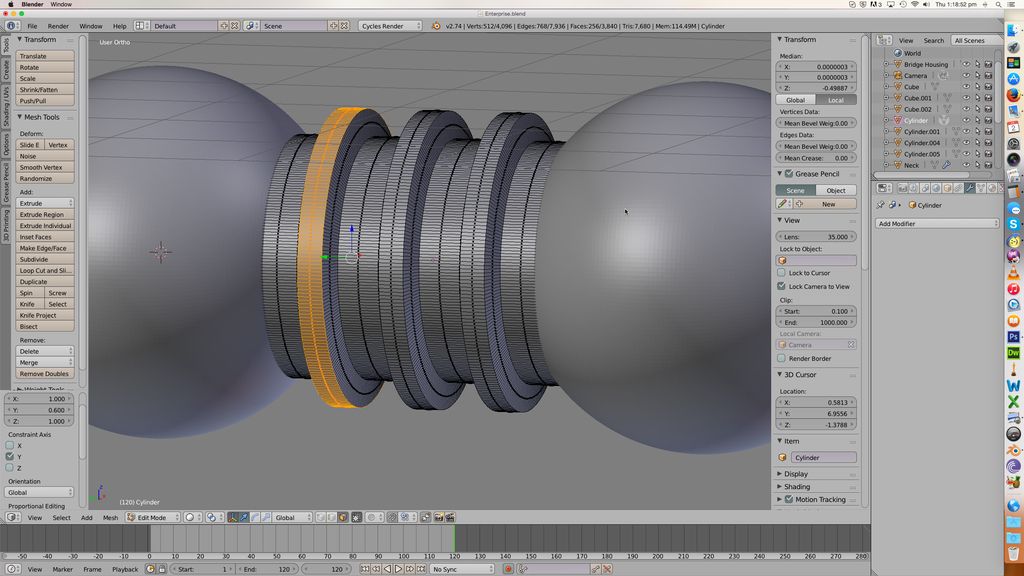
Anyway, so I'm doing that. I also thought I might do some screen grabs as I go, give you an idea what's involved in making a blender model.
So step one. Find a pic to use as a guide, and set it as a background in blender.
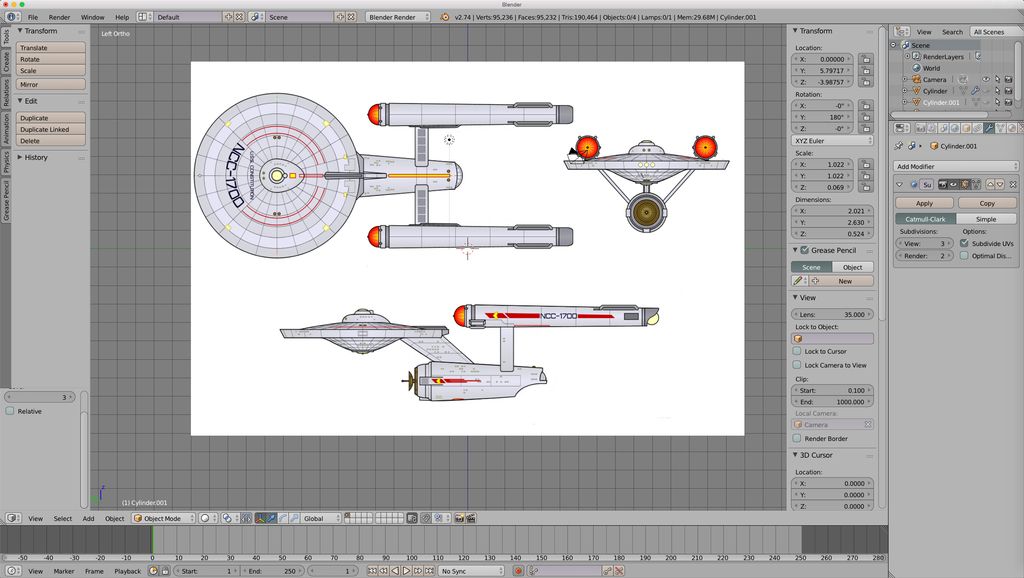
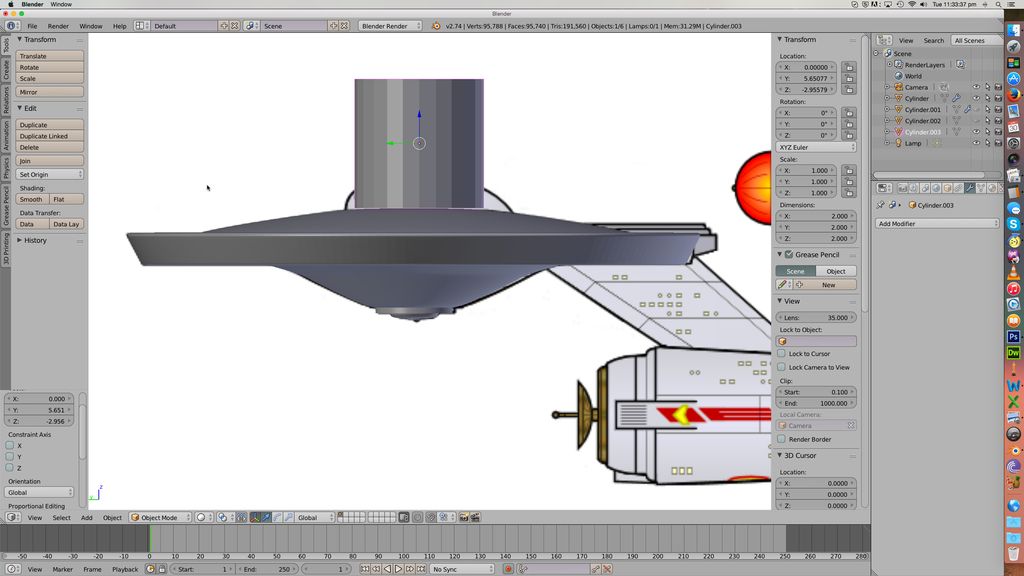
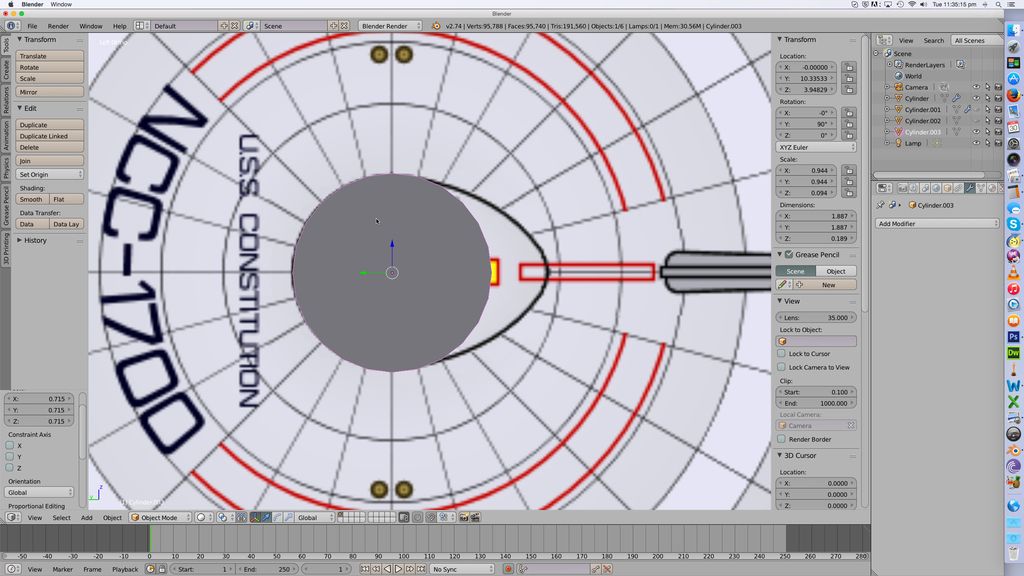
Primary hull first. That hull is all circles, so add a cylinder to the scene. Note it's low resolution - we deal with that later on.
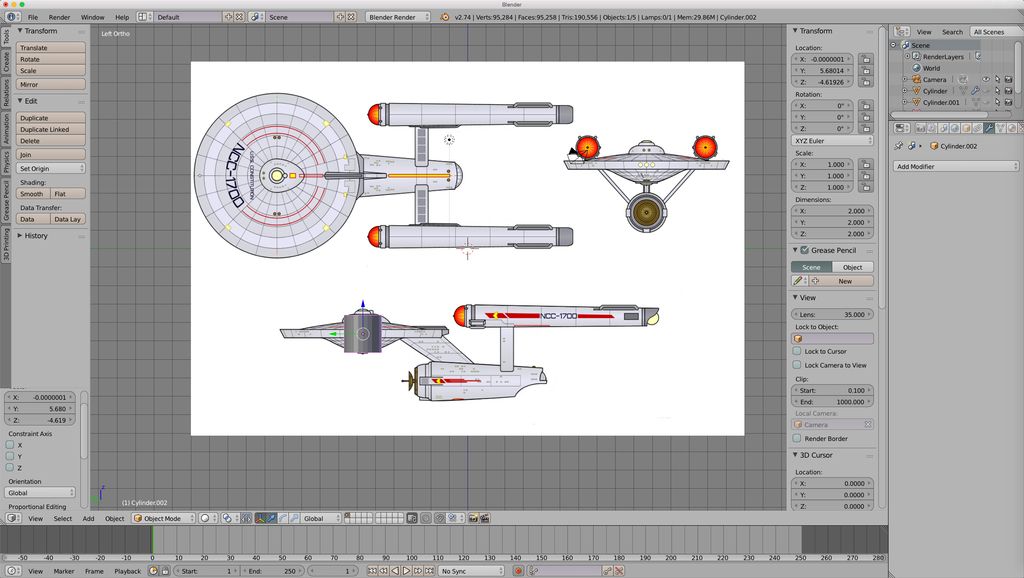
Resize the cylinder to be wide and flat. To scale an object, you just press the S key; pressing X, Y or Z will limit the scaling to one of those axes, pressing Shift X, Y, or Z will scale it in the other two. So to make it flatter, press S - Z; moving the mouse then stretches or squashes it in the Z direction.
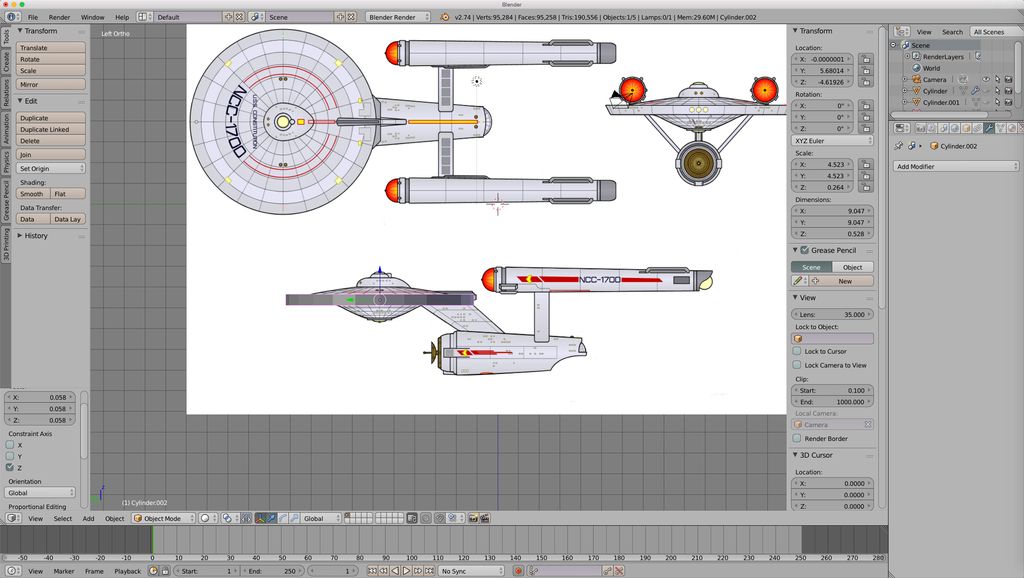
Now the dorsal hull dome. There's a function called "extrude"; you select a face or edge, click E, and it projects a new face onto the model. So I select the upper edge of the cylinder, press E to make a new edge. Then I press S to scale that edge and shrink it down.
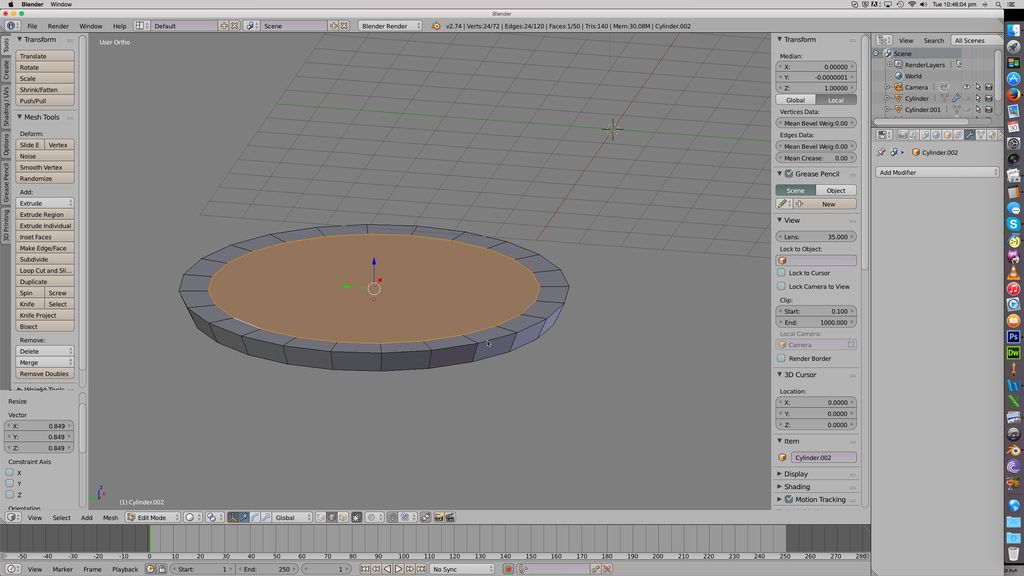
Now I grab that inner circle and hit E again, but this time I shrink it just a little, and then drag it up in the Z direction like so :
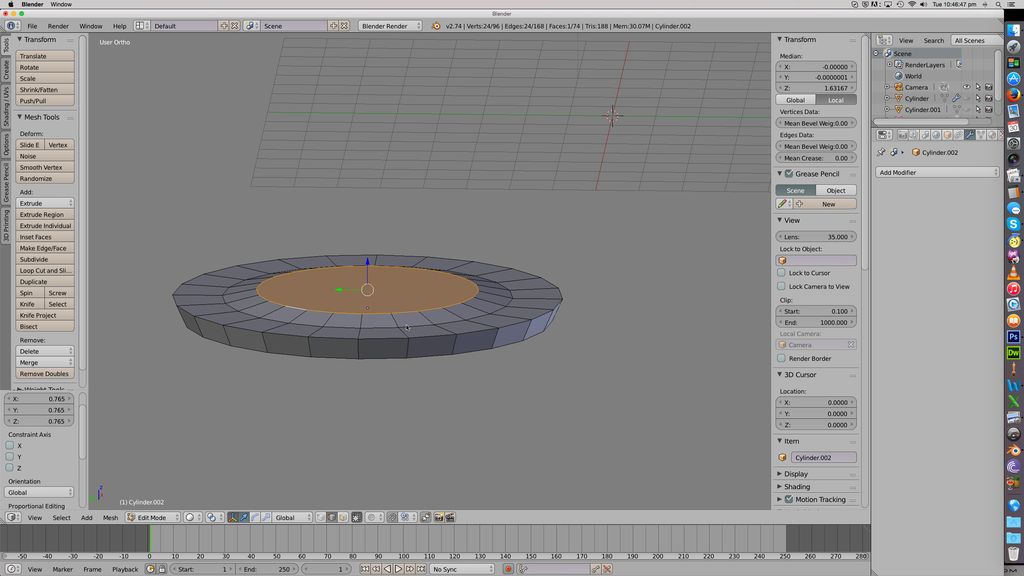
Then just repeat that process several times to build the dorsal hull dome. You use the background image as a guide to get the curve right. Repeat for the underside, again using the image as a guide :
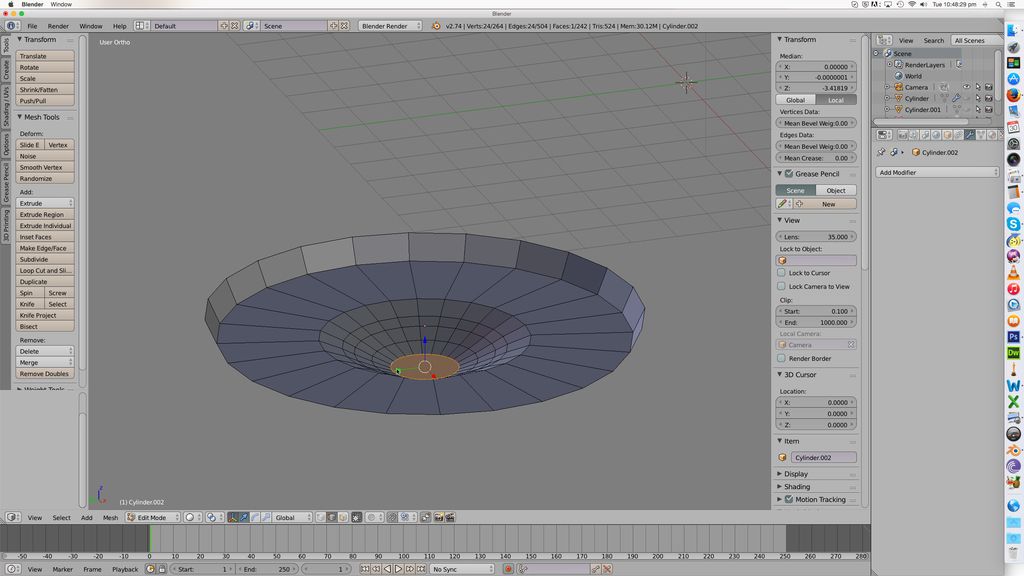
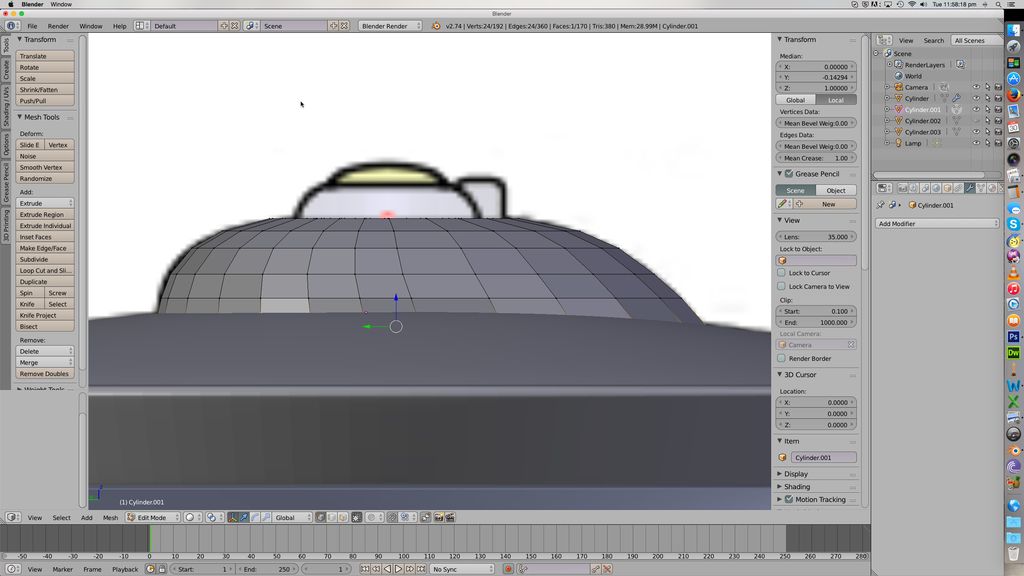
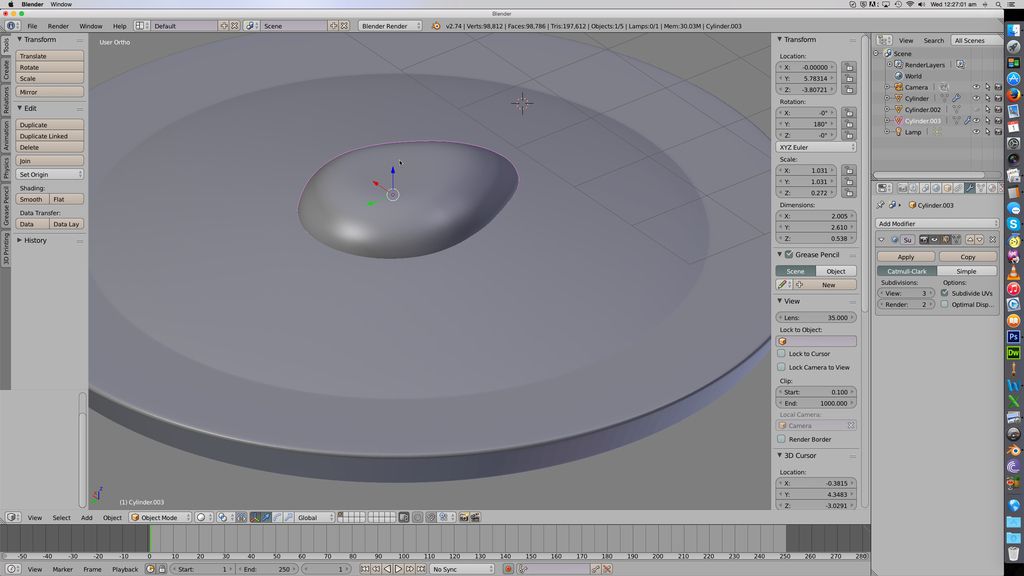
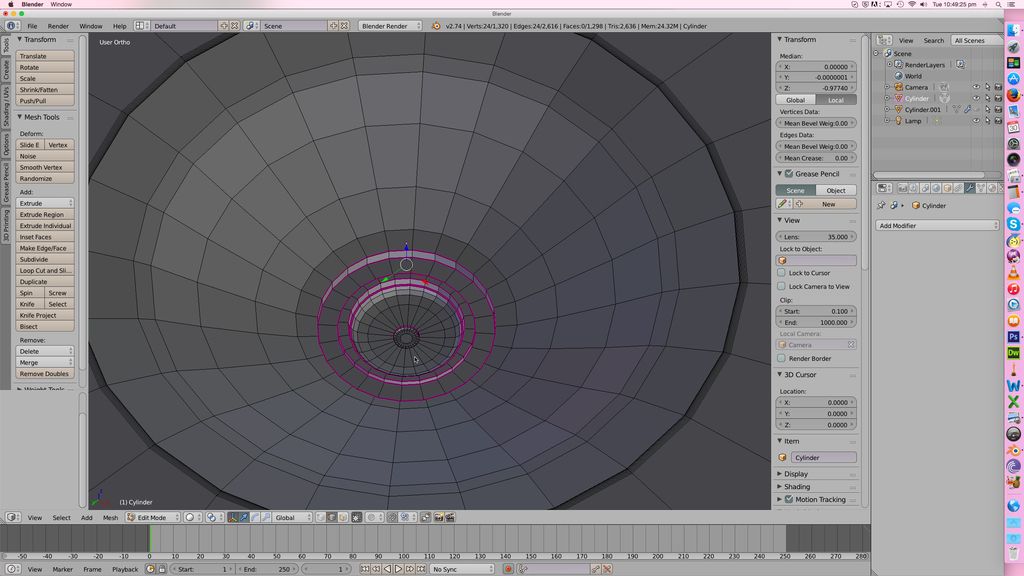
Making the central sensor dome. Again, it's just extruding the end of your original cylinder over and over again, scaling each one or dragging it up or down (+ Z or -Z). Note that some of the edges are in purple. That's because I set something called a "Mean Crease" value on them to 1. Every edge on the model has an MC value, all 0 by default. I'll show you what that's for in a moment.
So, with all that done, here's the basic shape of my saucer section :
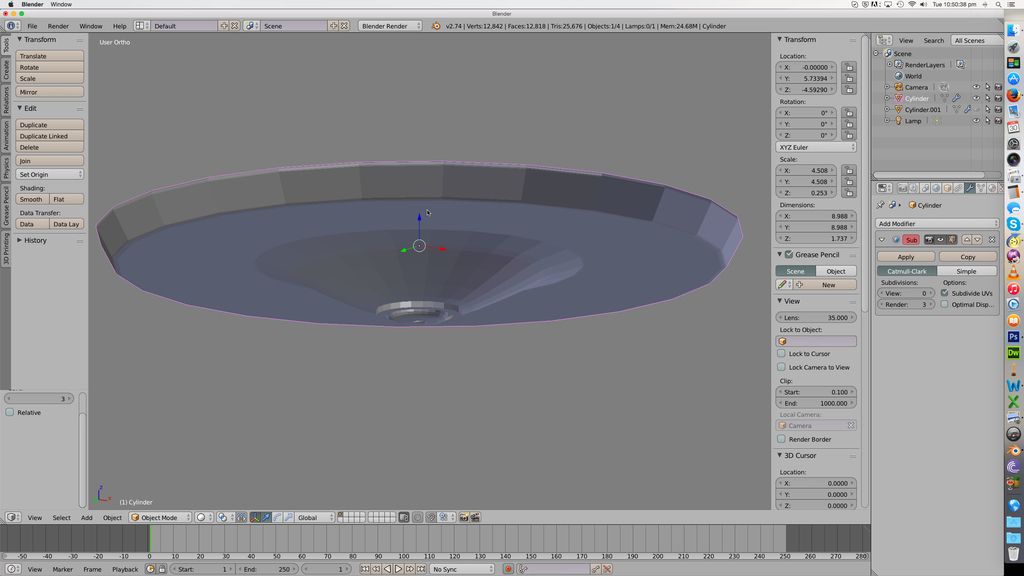
Problem is, it's rather low resolution. Very 1990s! But there's a function called "Subdivision surface", which smooths out edges. But if I did that, it would smooth out EVERY edge... and some of them we want to remain nice and sharp. That's what the Mean Crease value does - if you apply a mean crease of 1 to an edge then the subsurf function won't smooth it out at all.
So, we apply a subsurf function. You can set how much subdivision goes on; a subsurf of 1 will make it just a bit more rounded, 2 or 3 is more usual, and 4 will give you a nice rounding. The cost of this is, your model acquires many, many more faces and thus becomes much harder to mess with once the function is applied. This is our saucer ventral surface with a subsurf of 3 applied. See how those purple edges stay sharp?
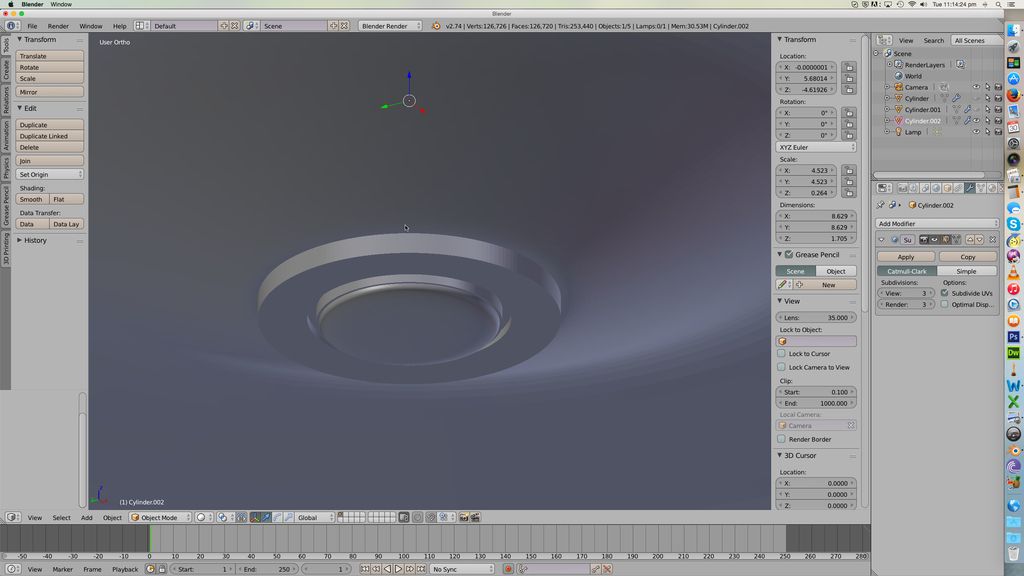
However, now look at the edge of the saucer section. Not so sharp...
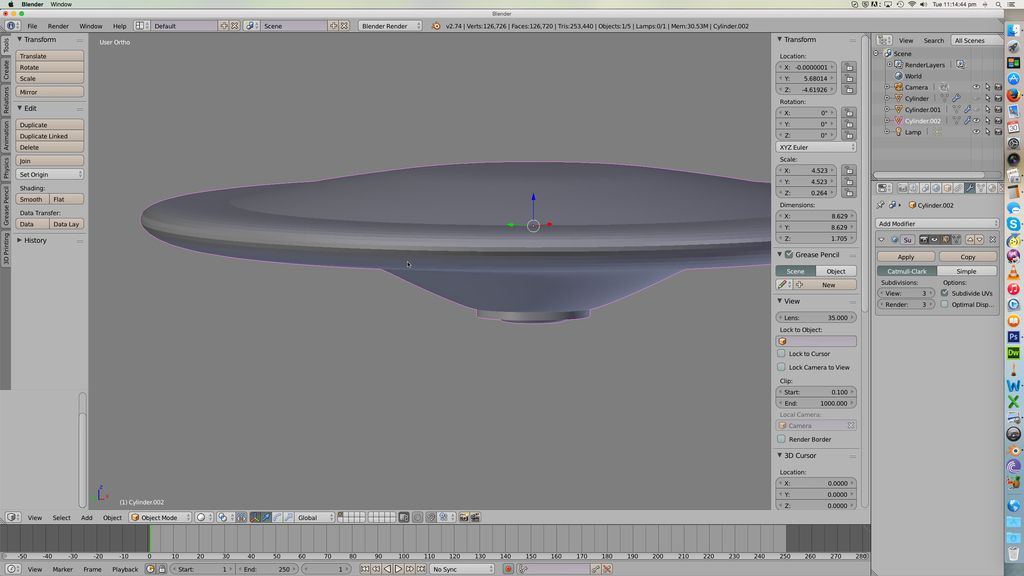
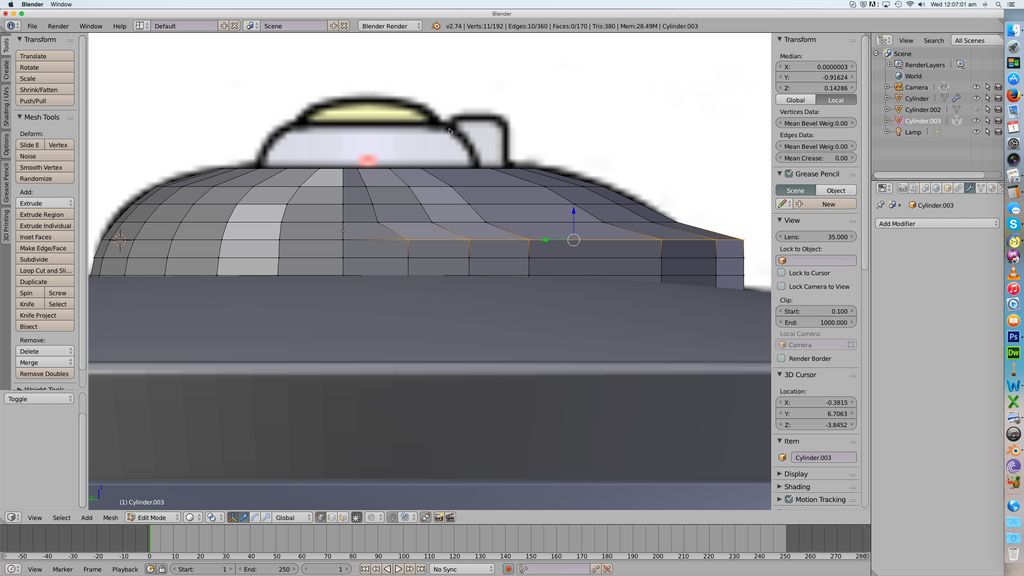
Looks like a classic flying saucer! Now here we hit a slight problem. The Connie's hull edges aren't curved like that... but nor are they sharp, either. We could apply a mean crease value of, say, 0.8... but honestly that doesn't look very nice. So what we do is use a different function, the Bevel tool.
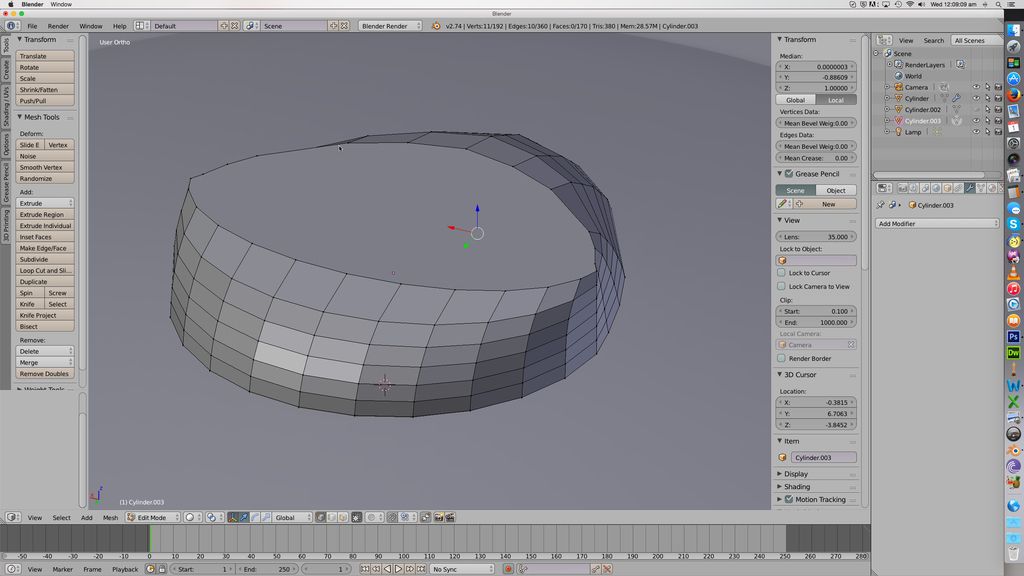
Beveling an edge splits it up into multiple edges - up to eight. It can be a hard function to use sometimes, especially when you're bevelling a bunch of edges at once. But here it's perfect because that's a single continuous edge. It's a bit fiddly to get it right, but I managed in the end. So I turned this :
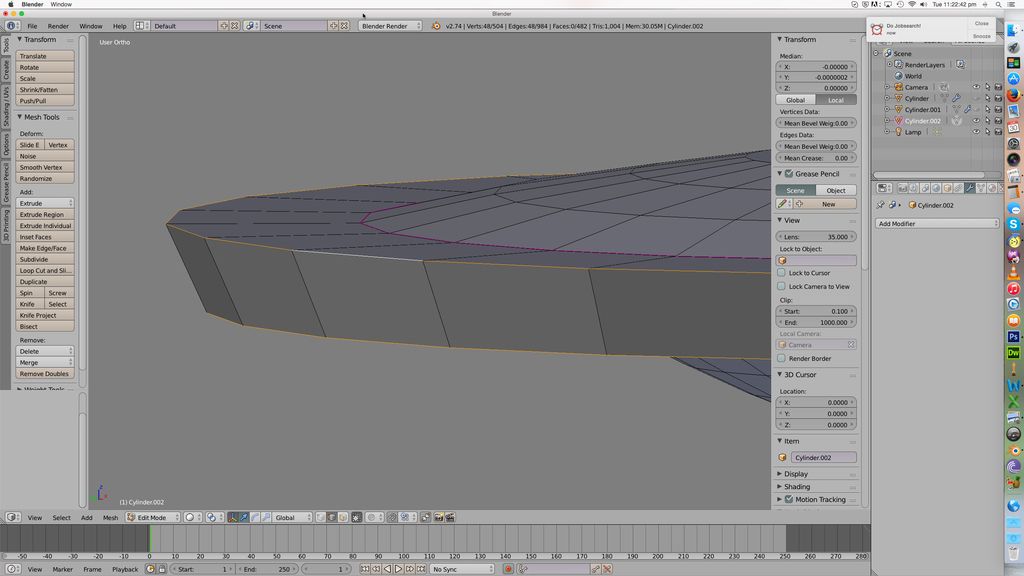
Into this :
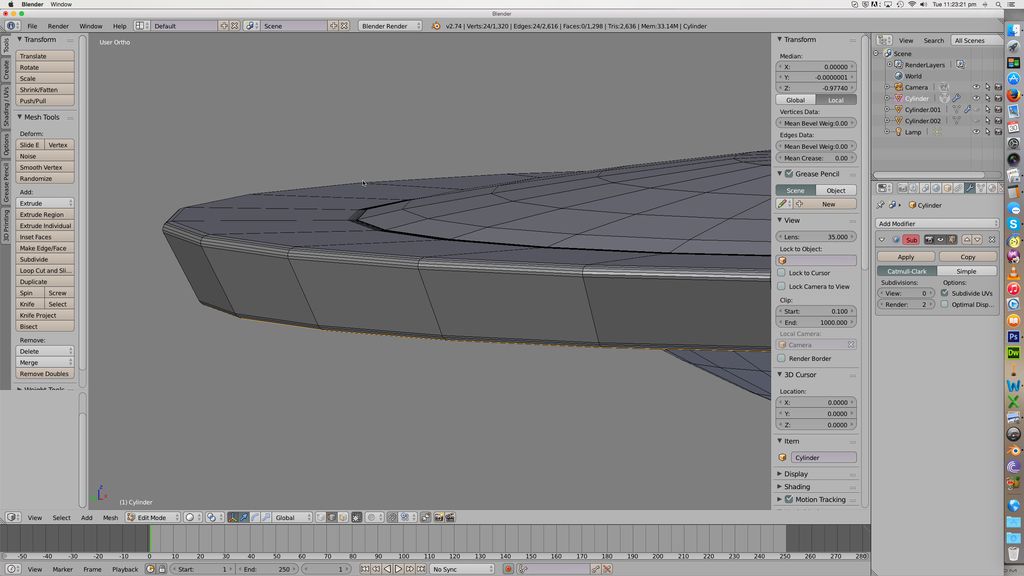
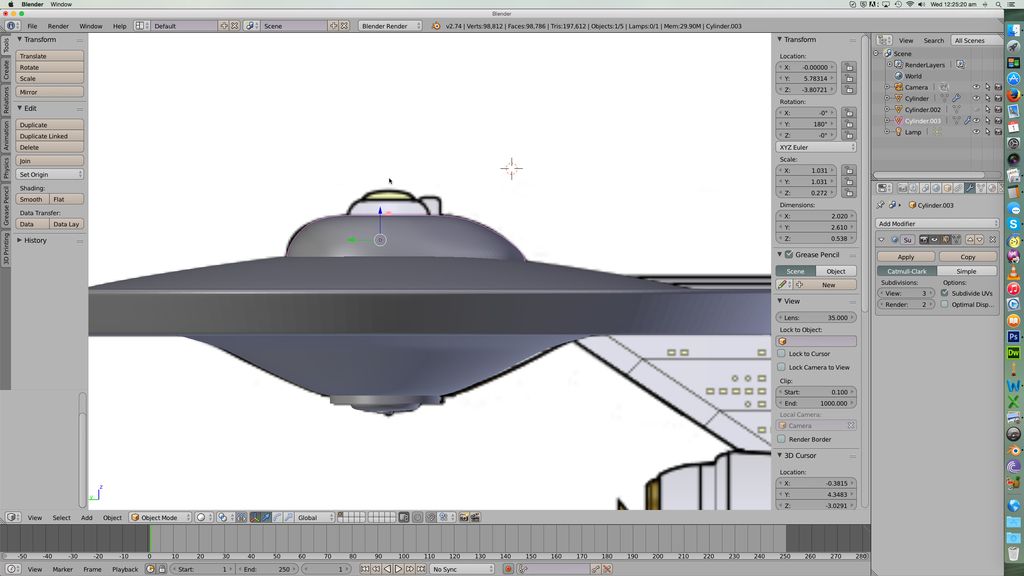
Now when I subsurf the shape, it looks like this :
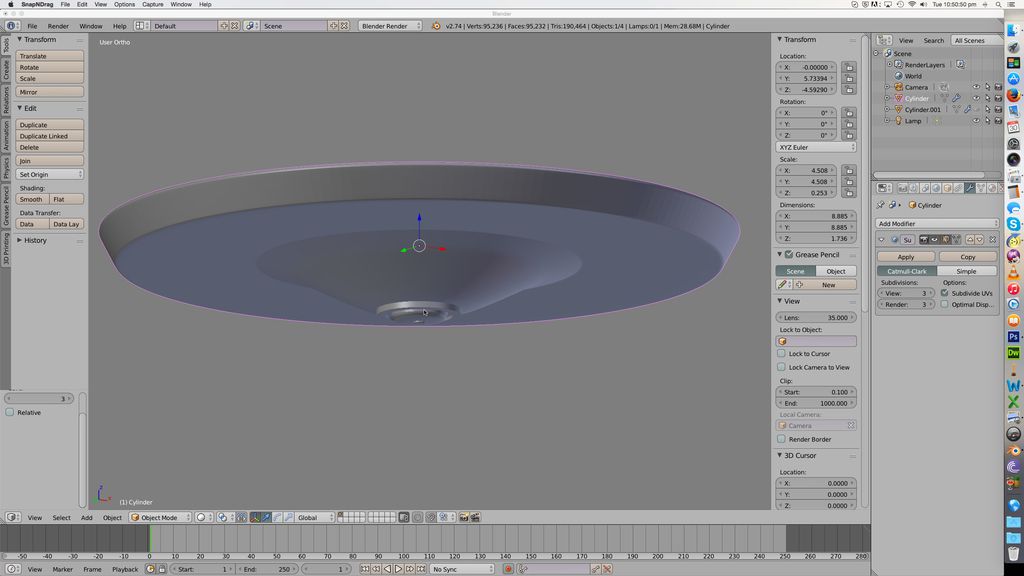
And that's the basic Primary hull done. Total time spent so far... about an hour. And that was with taking all the snapshots and writing this post.
More to come...
However, this time I'm doing "my" Connie. My intent is not to replicate the TOS Connie as closely as possible, but rather to use that as a guide and design the version I'd have done. Mostly, that is going to mean paying a bit more attention to things like weapons, tractor beam emplacements, etc. The weapons thing always bothered me about the Connie. In TOS, phasers and photons emerged from pretty much anywhere the animator felt like on that week; even in the versions seen in Enterprise and the refurbished TOS, the phasers seem to emerge from a given point, but it's one that makes no sense to me - phasers and photons both come out of a featureless point on the front of the ring around the lower sensor dome!
Anyway, so I'm doing that. I also thought I might do some screen grabs as I go, give you an idea what's involved in making a blender model.
So step one. Find a pic to use as a guide, and set it as a background in blender.
Primary hull first. That hull is all circles, so add a cylinder to the scene. Note it's low resolution - we deal with that later on.
Resize the cylinder to be wide and flat. To scale an object, you just press the S key; pressing X, Y or Z will limit the scaling to one of those axes, pressing Shift X, Y, or Z will scale it in the other two. So to make it flatter, press S - Z; moving the mouse then stretches or squashes it in the Z direction.
Now the dorsal hull dome. There's a function called "extrude"; you select a face or edge, click E, and it projects a new face onto the model. So I select the upper edge of the cylinder, press E to make a new edge. Then I press S to scale that edge and shrink it down.
Now I grab that inner circle and hit E again, but this time I shrink it just a little, and then drag it up in the Z direction like so :
Then just repeat that process several times to build the dorsal hull dome. You use the background image as a guide to get the curve right. Repeat for the underside, again using the image as a guide :
Making the central sensor dome. Again, it's just extruding the end of your original cylinder over and over again, scaling each one or dragging it up or down (+ Z or -Z). Note that some of the edges are in purple. That's because I set something called a "Mean Crease" value on them to 1. Every edge on the model has an MC value, all 0 by default. I'll show you what that's for in a moment.
So, with all that done, here's the basic shape of my saucer section :
Problem is, it's rather low resolution. Very 1990s! But there's a function called "Subdivision surface", which smooths out edges. But if I did that, it would smooth out EVERY edge... and some of them we want to remain nice and sharp. That's what the Mean Crease value does - if you apply a mean crease of 1 to an edge then the subsurf function won't smooth it out at all.
So, we apply a subsurf function. You can set how much subdivision goes on; a subsurf of 1 will make it just a bit more rounded, 2 or 3 is more usual, and 4 will give you a nice rounding. The cost of this is, your model acquires many, many more faces and thus becomes much harder to mess with once the function is applied. This is our saucer ventral surface with a subsurf of 3 applied. See how those purple edges stay sharp?
However, now look at the edge of the saucer section. Not so sharp...
Looks like a classic flying saucer! Now here we hit a slight problem. The Connie's hull edges aren't curved like that... but nor are they sharp, either. We could apply a mean crease value of, say, 0.8... but honestly that doesn't look very nice. So what we do is use a different function, the Bevel tool.
Beveling an edge splits it up into multiple edges - up to eight. It can be a hard function to use sometimes, especially when you're bevelling a bunch of edges at once. But here it's perfect because that's a single continuous edge. It's a bit fiddly to get it right, but I managed in the end. So I turned this :
Into this :
Now when I subsurf the shape, it looks like this :
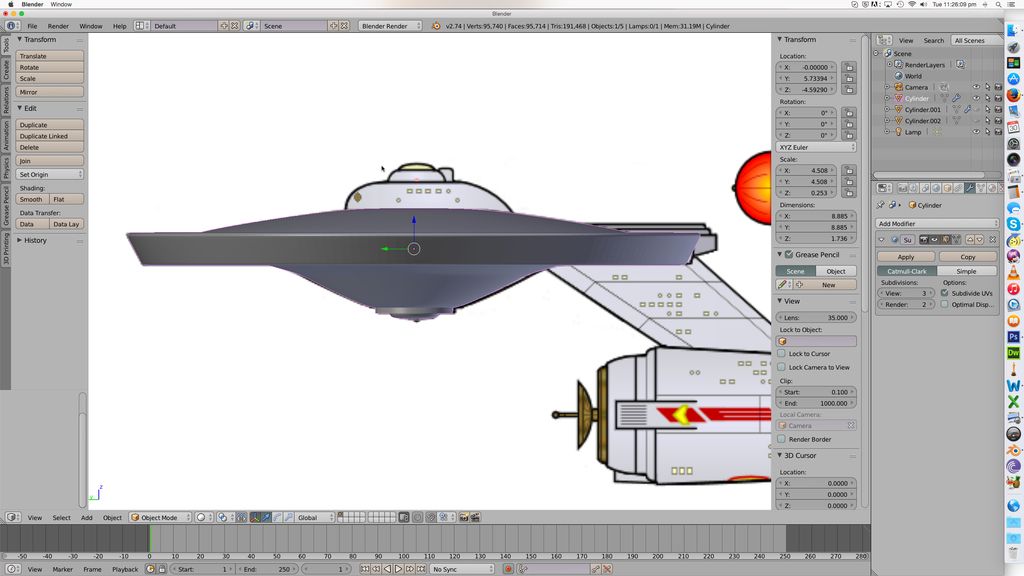
And that's the basic Primary hull done. Total time spent so far... about an hour. And that was with taking all the snapshots and writing this post.
More to come...
Give a man a fire, and you keep him warm for a day. SET a man on fire, and you will keep him warm for the rest of his life...
- Graham Kennedy
- Site Admin
- Posts: 11561
- Joined: Mon Jul 09, 2007 2:28 pm
- Location: Banbury, UK
- Contact:
Re: Making Enterprise
Making the Dorsal bridge housing. Again, add a cylinder.
Scale it to roughly fit the housing size.
Rotate it 90 degrees about the Y axis and then drag it over to the top view on the background image to refine the size.
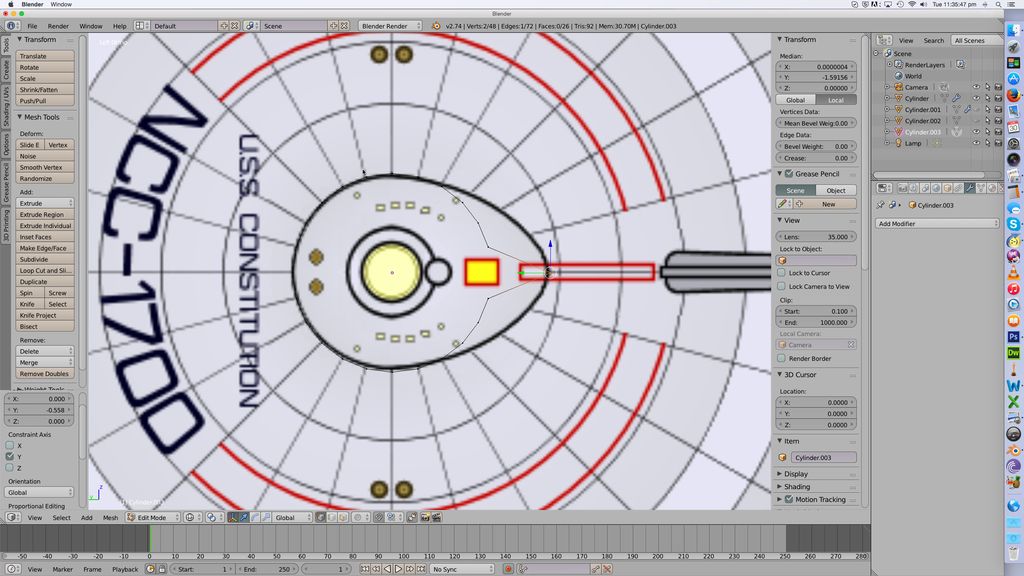
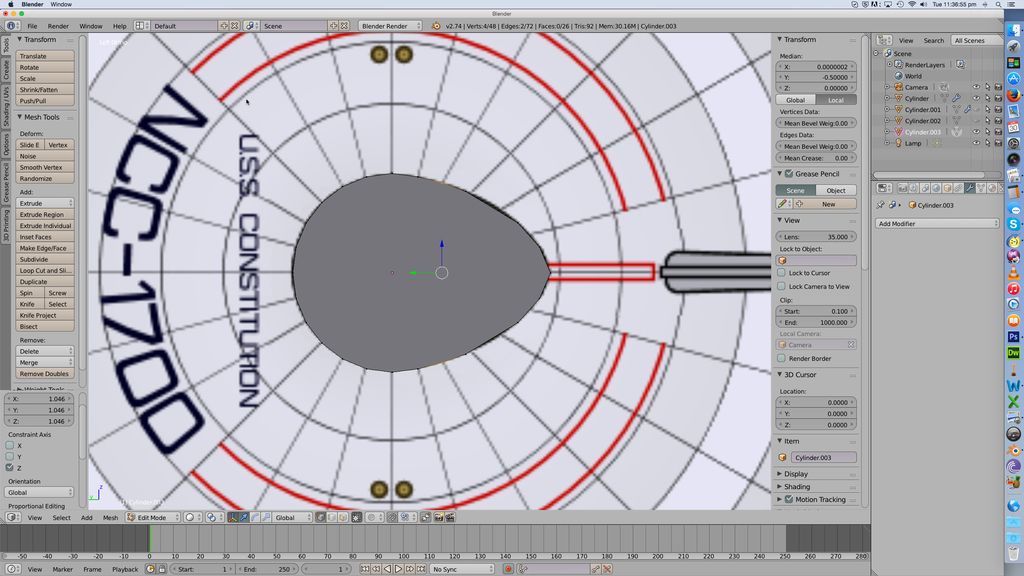
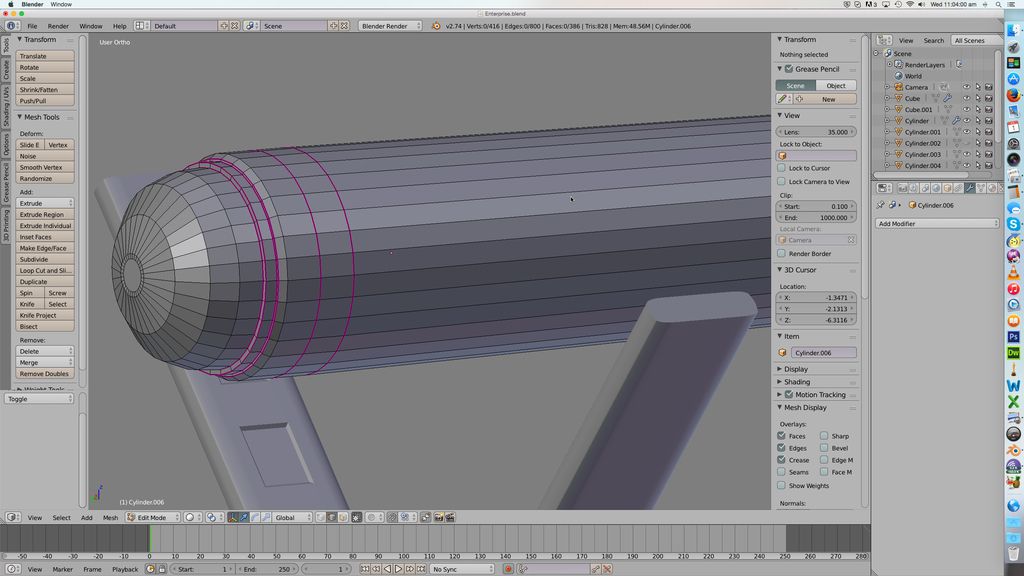
Now, the issue here is that whilst the forward half of the housing has a cylindrical shape, the aft half does not. So, we switch into "edit mode". This lets us modify the individual polygons that make up a given object, rather than modifying the overall shape. We also hit the Z key to make the object transparent, so we can see the background image through it. We start grabbing the points that make up the cylinder (they are called verticies), and dragging them back in the Y direction to match the mount. Note the little Y / Z in the bottom left of the viewing area, that's there to give us a visual reference of how the shape is oriented.
So using this method we quickly get the right shape. Note it's not perfect, a little bit angular at the back there. If you wanted to be really perfect you'd have used more faces on the cylinder, and thus ended up with a more perfect curve here. But that takes more time, is harder to do... and anyway, when I subsurf this in a minute, it will all smooth out anyway.
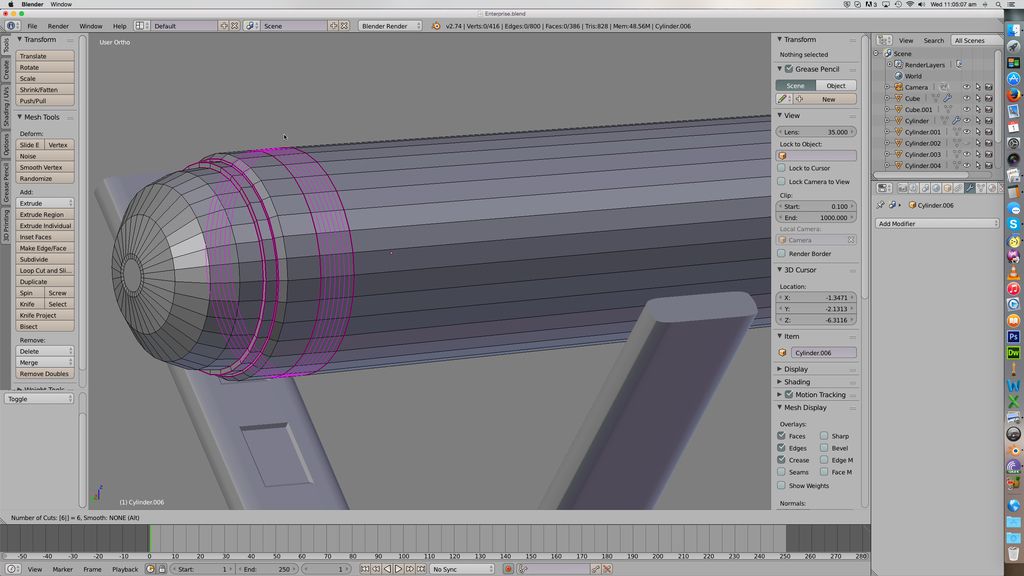
So now rotate it back around the Y axis again and put it back on the side view. Now we do exactly as before; we grab the top edge, then extrude it upwards and scale it in the Y direction to match the background image. BUT, if we just do that, it goes a bit wonky as we do - that's because the back of the housing curves more than the front, so the "mid point" of any given edge is not directly above the edge of the point below.
Now this doesn't actually matter as such... but I like to keep it non-wonky, so the way to do that is not to scale the extruded edge and then drag it to match the background, but rather to select the forward half of the edge and scale it to the front, then grab the aft half of the edge and scale that seperately. That way you never change the middle vertex, so it looks less wonky. This is a good example of how there are often many different ways to achieve something in blender; you pick them up through practice, watching other people's demos on youtube, reading the online manual, reading blender forums. As you practice making different shapes you gradually start to get a feel for the best way to approach any given problem.
So here's the housing being scaled the way I just described. See how the central edge remains straight?
However, we've only scaled our shape in the Y direction... so from side to side, in the X direction, it looks... rather wonky :
So how to fix this? Exactly the same way, grab an edge, scale it in the X direction, and repeat for each edges.
Note that with seven edges, each scaled three times (forward Y, aft Y, and X), we have done no less than 21 different scalings to get this shape right. It's a lot of work, not hard but repetitious and fiddly. The further an object is from a cube, sphere, or cylinder, the harder it is to get it right.
Once we're done, we set a mean crease to the bottom edge to keep it sharp, then apply a subsurf to make it nice and curved.
Not perfect, this... shape doesn't look quite right to me. But it's pretty fair, so I'll go with it for now.
Give a man a fire, and you keep him warm for a day. SET a man on fire, and you will keep him warm for the rest of his life...
- Graham Kennedy
- Site Admin
- Posts: 11561
- Joined: Mon Jul 09, 2007 2:28 pm
- Location: Banbury, UK
- Contact:
Re: Making Enterprise
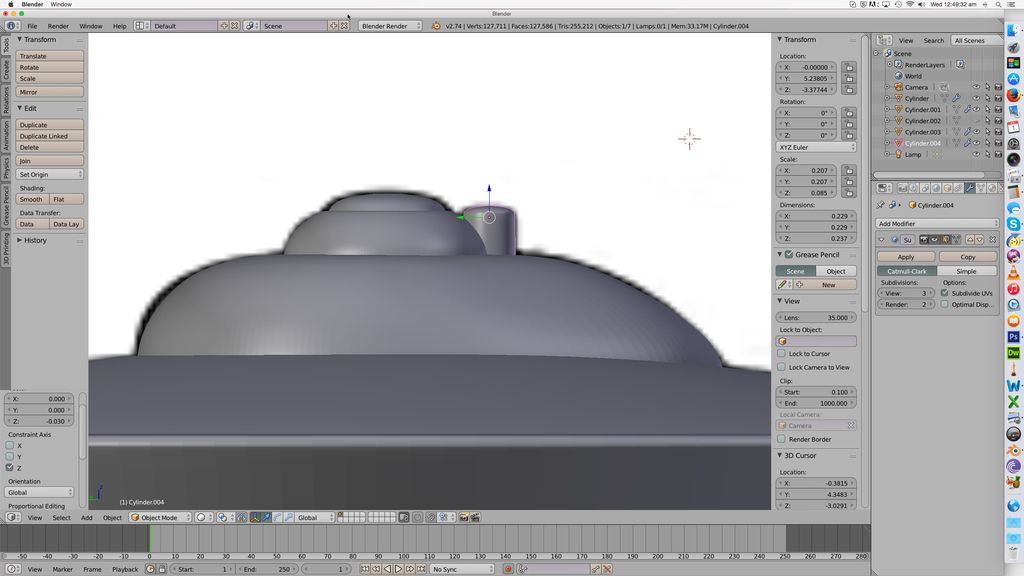
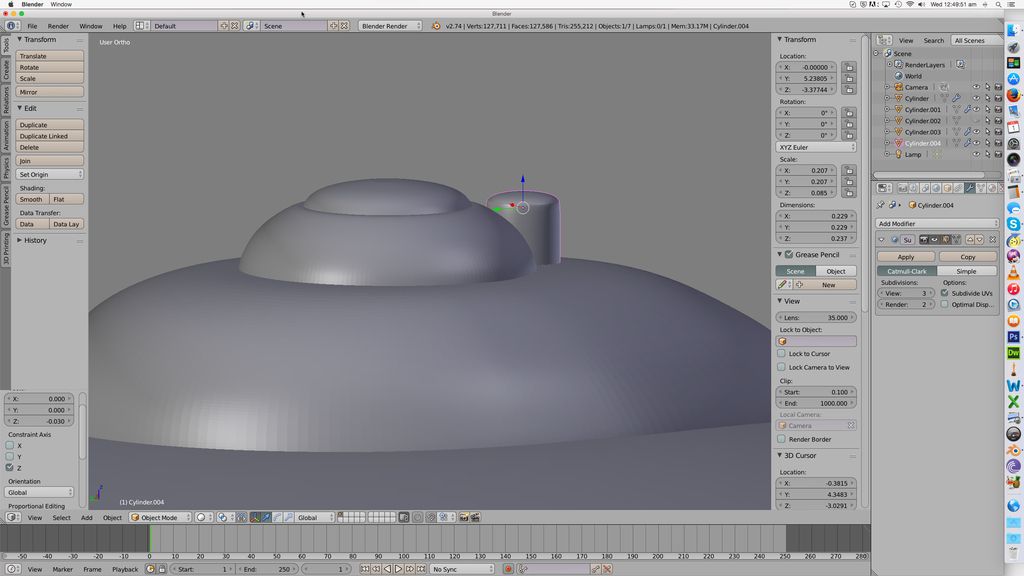
Now the bridge is easy. It's a simply cylinder, again scaled and then extruded, with each extrusion shrunk to give the curve. The bridge elevator is just another cylinder with a rounded top.
Give a man a fire, and you keep him warm for a day. SET a man on fire, and you will keep him warm for the rest of his life...
- Graham Kennedy
- Site Admin
- Posts: 11561
- Joined: Mon Jul 09, 2007 2:28 pm
- Location: Banbury, UK
- Contact:
Re: Making Enterprise
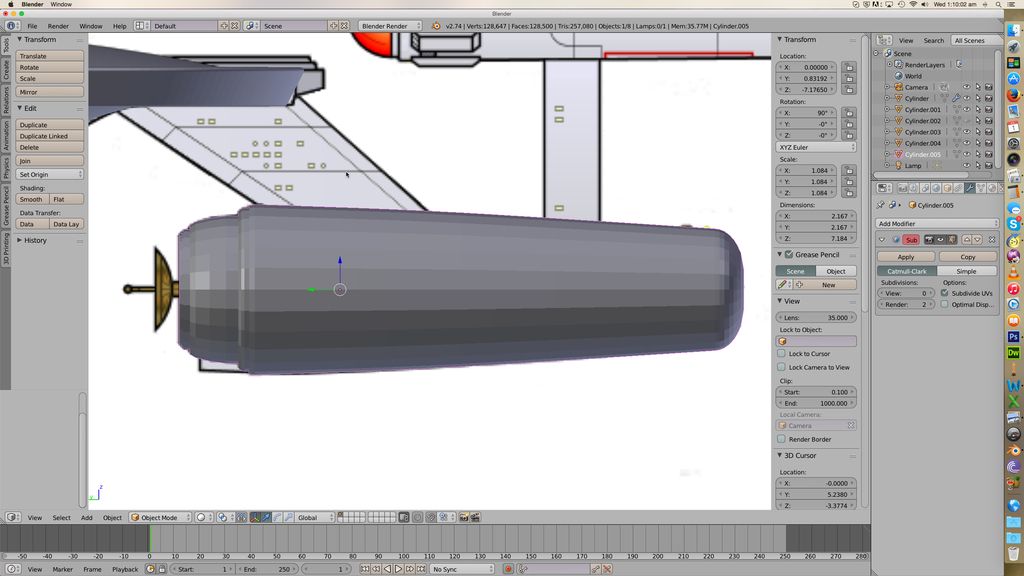
Engineering hull. This one is again a simple cylinder, scaled to size, and then lots of extrusion and scaling to give the proper curving. Most of the edges around the front are given a mean crease of 1 so that when we smooth the object out, they remain hard edges :
Then add a subsurf to get it smooth :
Now for the "swoop" under the back we're going to use a new function. The shape I need is a curve which becomes flat at the back. So I add a cylinder, flatten it in the Z direction, then cut the back end off the clyinder by selecting the vertexes back there in edit mode and deleting them. I then extrude the now flat back end of the cylinder to give me a flat box at the back. I position it in the proper place, like so. Moving an object is easy, every object you select has that little X/Y/Z thing on it, you just click on the arrow and drag the box in the direction you want. I did a subsurf on this shape too, just to make sure the surface will be nice and smooth :
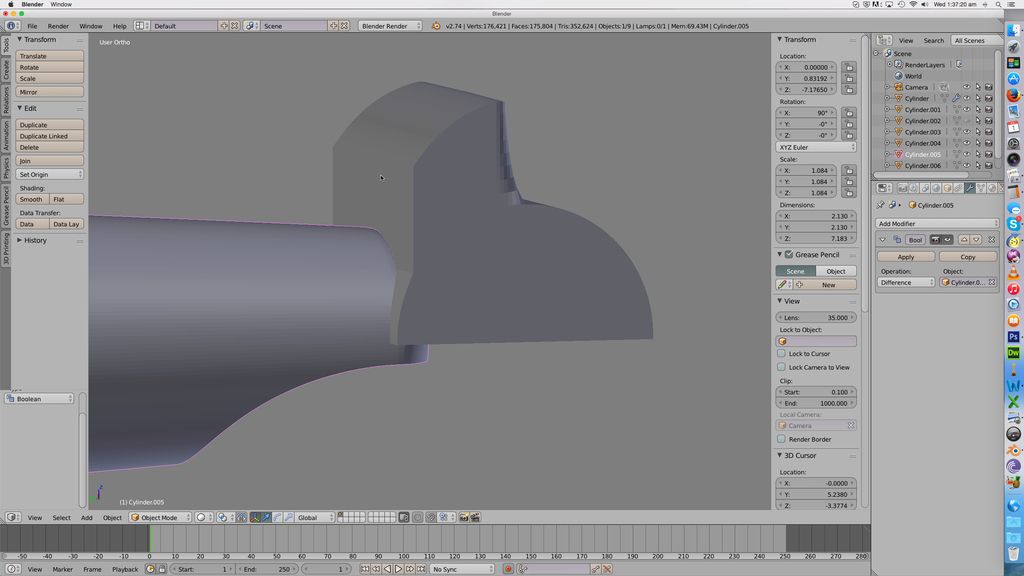
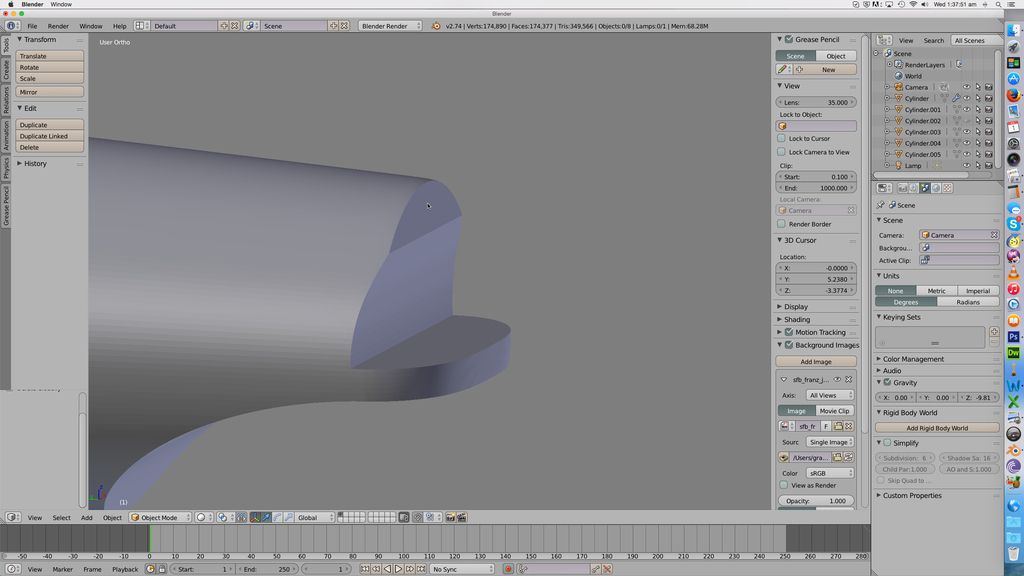
Now I use a new function called a boolean. A "difference" boolean will cut a hole in one object that is in the shape of another object. So I apply the boolean to the hull, telling it to cut in the shape of my modified cylinder. Then I simply delete the modified cylinder, leaving the hull chopped like this. I made the modified cylinder smooth with subsurf so that the cut would be nice and smooth :
One of the annoying things about blender is that the boolean function is quite buggy. If you mirror an object - which is a simple "make this a mirror image of what it was, along that axis" type thing, then blender will often make it inside out as it does it. You can reverse that... but once you do, the boolean function often refuses to work properly. If I'd mirrored the engineering hull before doing this, the result probably would have been that those two pieces joined together rather than cutting. Annoyingly, once it gets into that mood it's all but impossible to get it to work properly on that object again. Fortunately, this time it's worked perfectly.
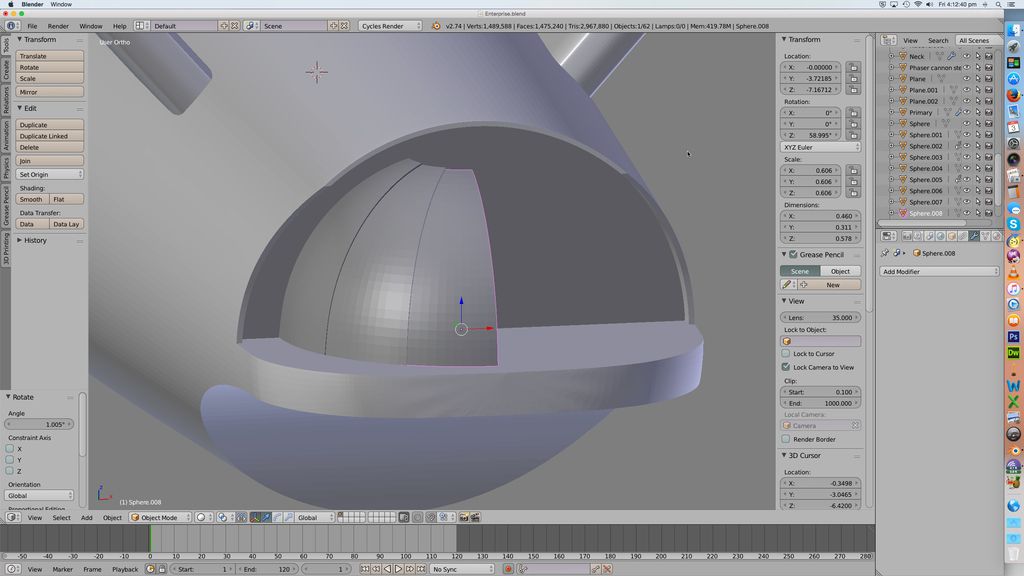
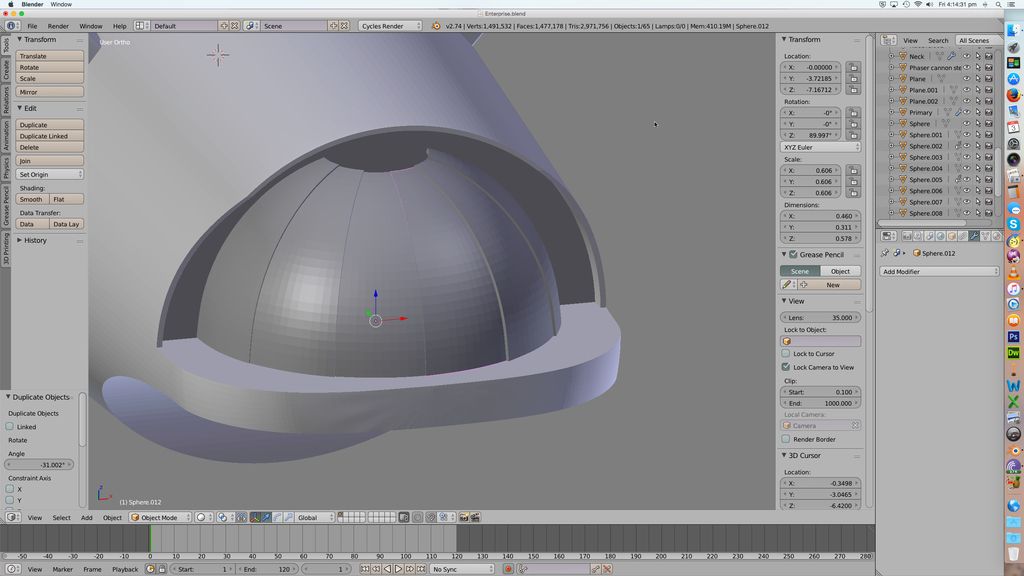
Now we need another modified cylinder to cut the shuttle bay. This is a weird shape; I had to flatten the bottom to give the hangar floor, then have it curve, then suddenly go straight up. The back end looks all weird because I again used subsurf to make the cutting cylinder nice and smooth; I used mean crease to make sure the edge at the hangar floor was sharp, but I don't care what the back end looks like because it's not interacting with the cut. So I left it alone and subsurf tried to blend it nice and smooth. Weird looking thing.
And the cut is made again with a simple boolean. You literally just click on the hull, click "Boolean", select "difference boolean", select "Use this other object", and then "Apply", and job done :
So as you can see, we're able to build up even reasonably complex shapes using modifications of very simple objects. So far the entire body of this ship consists of five modified cylinders - primary hull, dorsal housing, bridge module, elevator bump, engineering hull.
I am a little iffy on how the back end has turned out, though. It's okay, but it just doesn't look quite right to me. Not too much to be done about it now, though, so I will press on and perhaps re-examine it later.
Give a man a fire, and you keep him warm for a day. SET a man on fire, and you will keep him warm for the rest of his life...
- Graham Kennedy
- Site Admin
- Posts: 11561
- Joined: Mon Jul 09, 2007 2:28 pm
- Location: Banbury, UK
- Contact:
Re: Making Enterprise
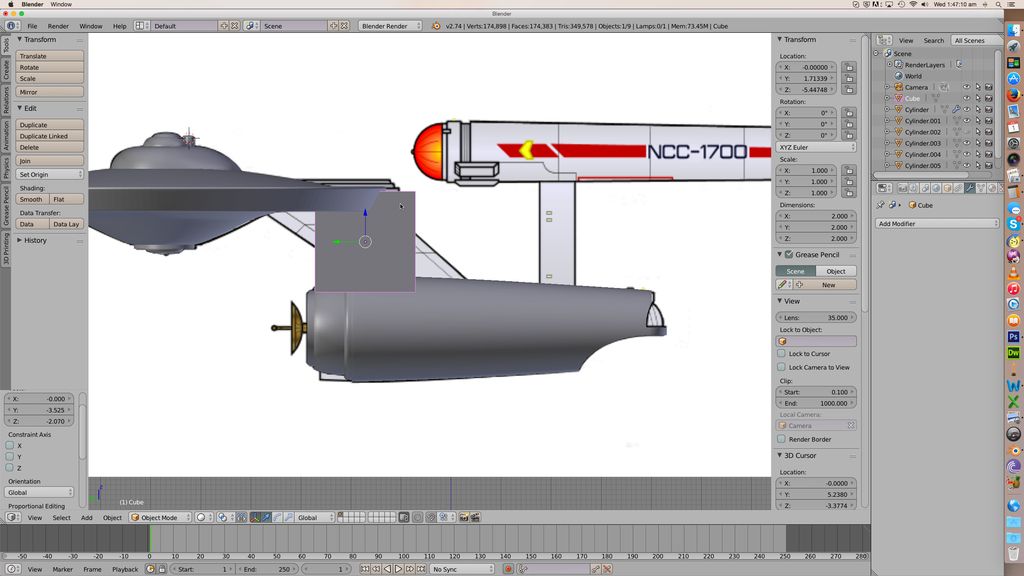
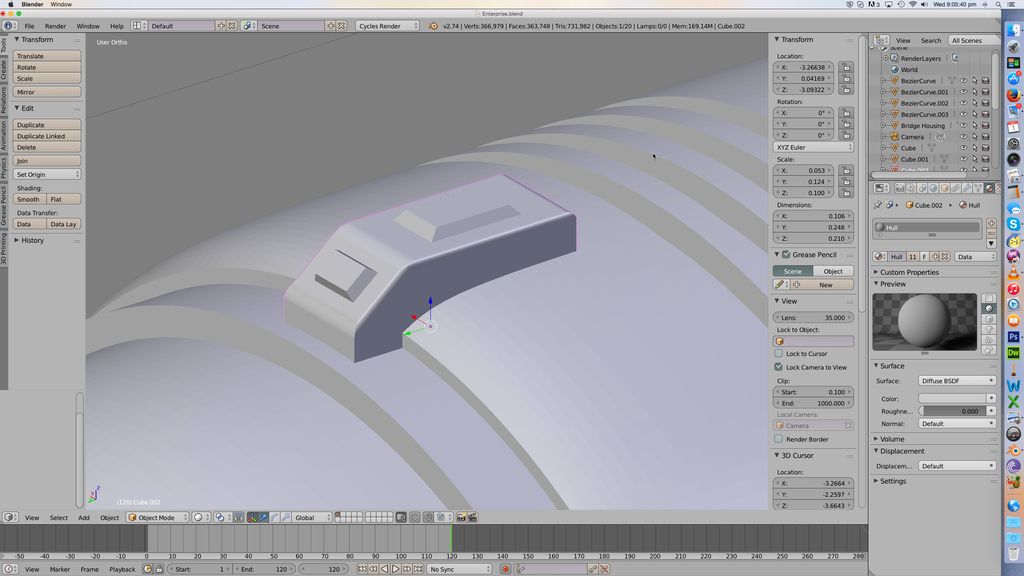
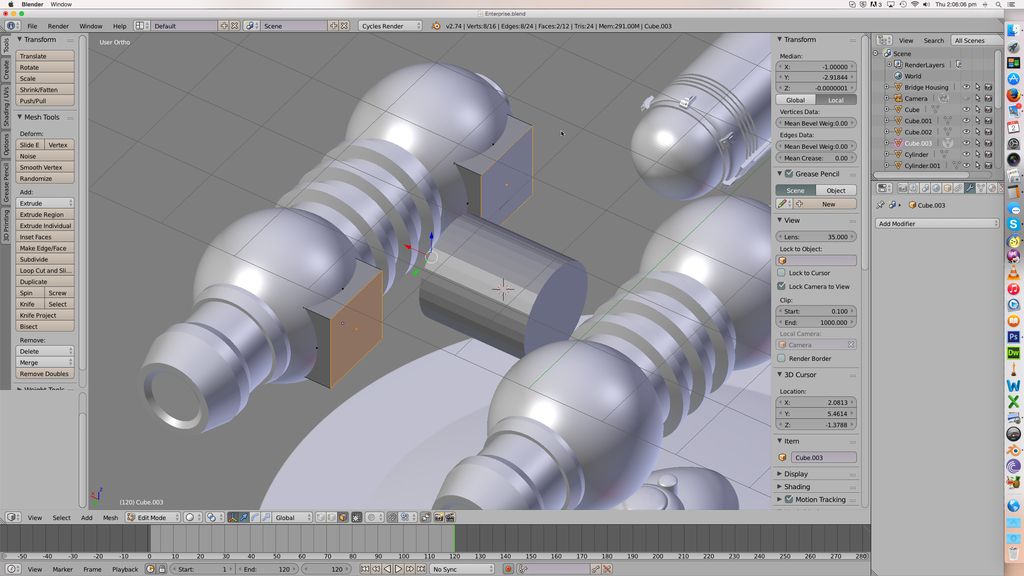
Connecting neck. This one is pretty easy. We add a cube :
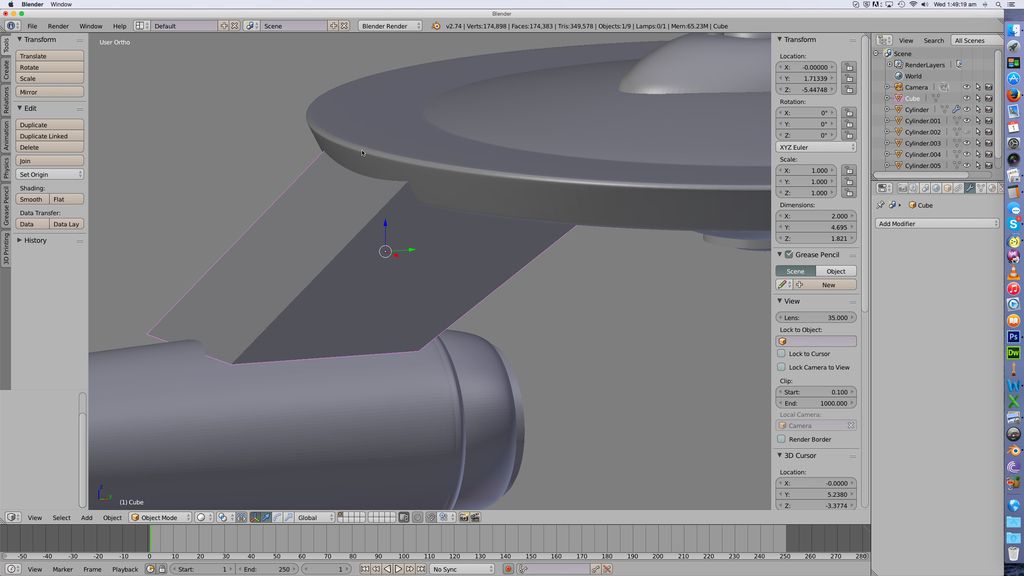
Remember in edit mode we can adjust the shape of parts of an object relative to one another, so we go into edit mode and grab the top face and drag it forward, turning our cube into a parallelogram.
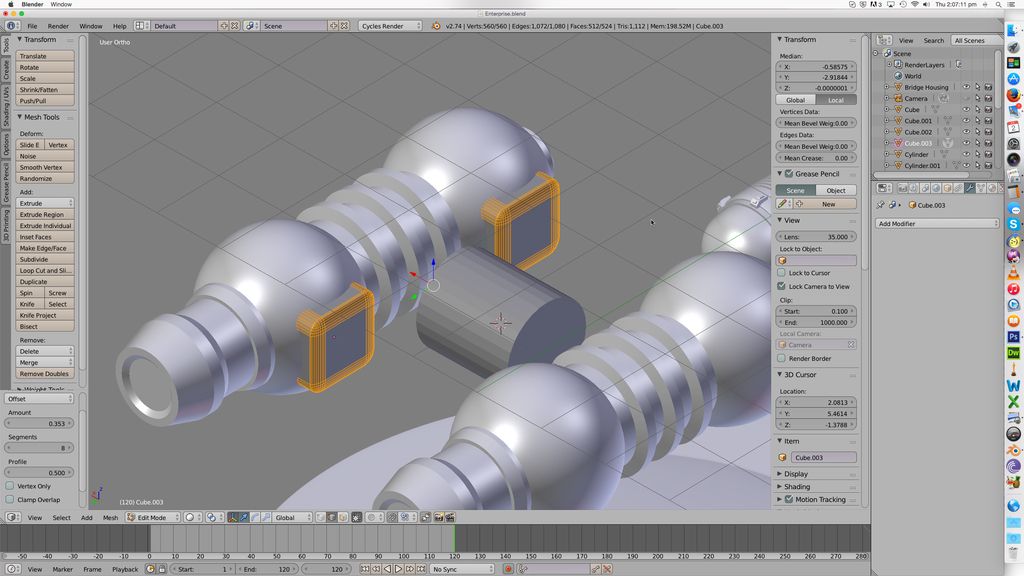
Then we scale it down in the X axis. Not I want it somewhat rounded, so I use the bevel tool on the four vertical edges to put two bevels in each face, just to bulge the neck out a little, and then I use the bevel tool again to round those corners.
Then I select the top and bottom edges of the neck and set the mean crease to 1. Since these edges are buried in the hull, I need to use the Z key to make the objects transparent so I can select them. Notice that as we add more and more objects, it starts to get confusing to find what edge belongs to what, where one object starts and another ends. This is just something you have to live with, mostly - it can be easy to lose yourself looking for a particular edge or corner somewhere.
Then we add a subsurf modifier of 3, and there we go.
Give a man a fire, and you keep him warm for a day. SET a man on fire, and you will keep him warm for the rest of his life...
- Graham Kennedy
- Site Admin
- Posts: 11561
- Joined: Mon Jul 09, 2007 2:28 pm
- Location: Banbury, UK
- Contact:
Re: Making Enterprise
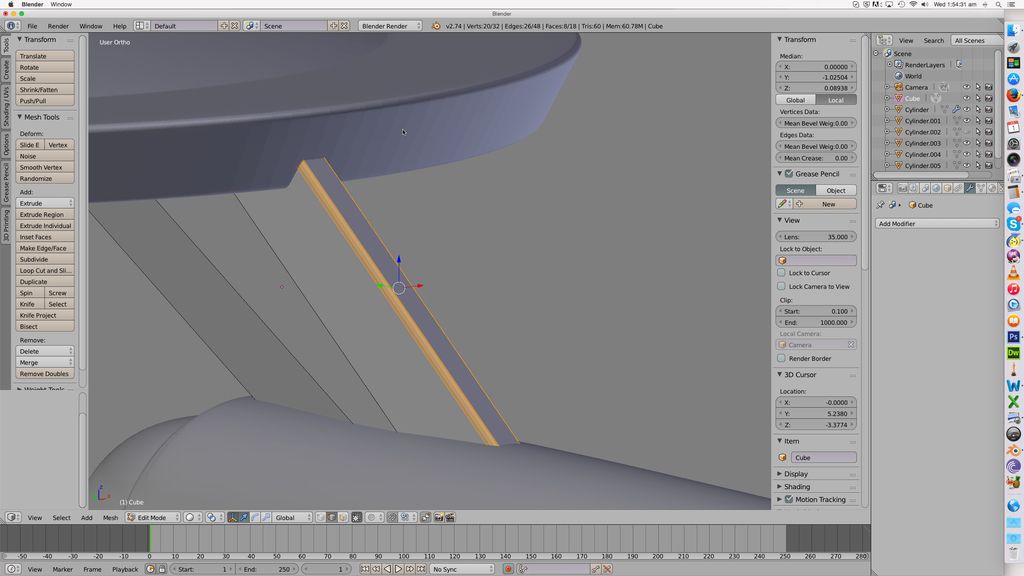
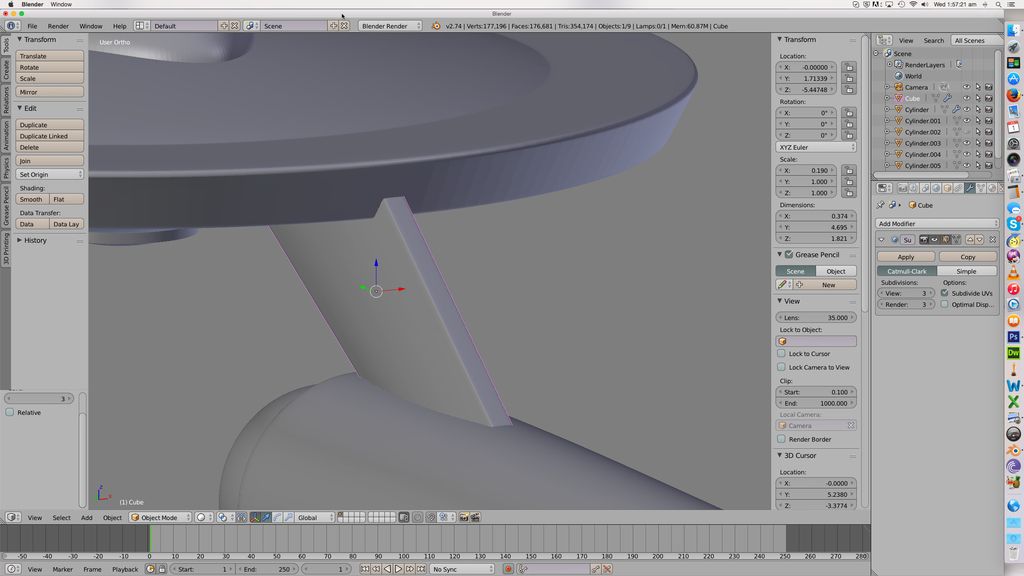
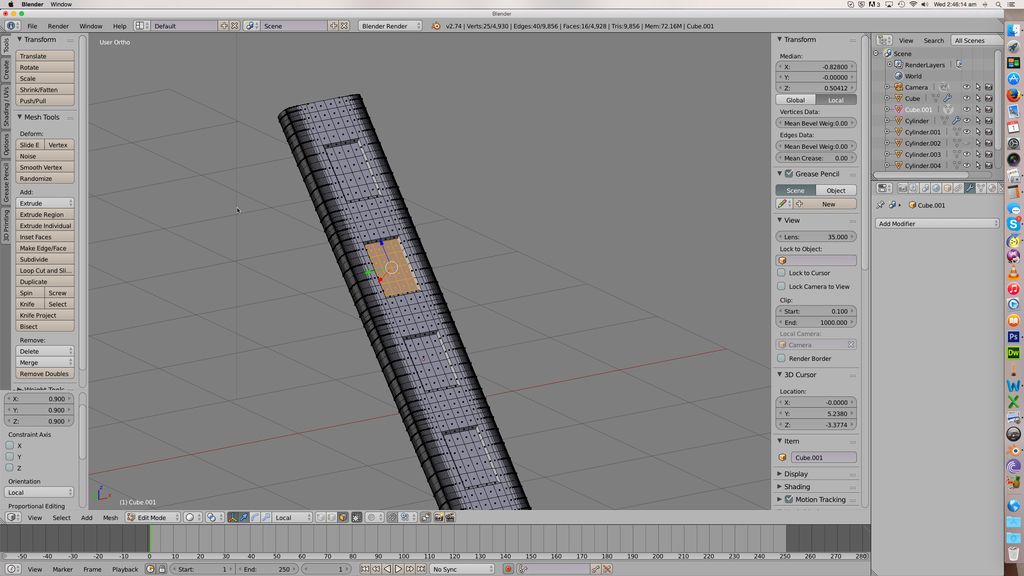
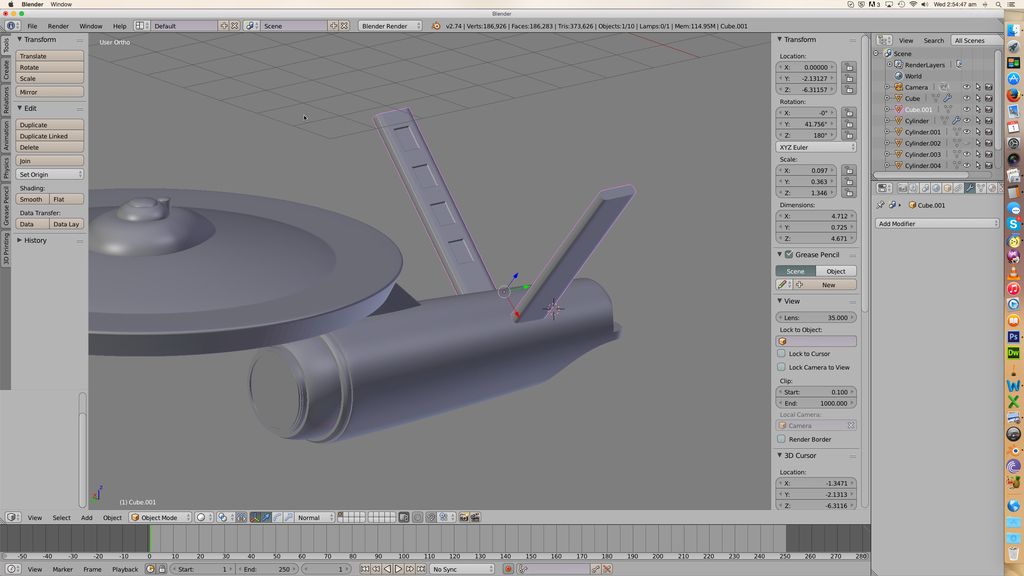
Nacelle struts.
Again, simple modified cubes. Scale the cube so it is tall, narrow and flat. Then hit the R key and rotate it to the correct angle :
Now use the bevel tool to once again round the edges, and add a mean crease of 1 to the top and bottom edges so they won't go all rounded on me when I do the subsurf, like so :
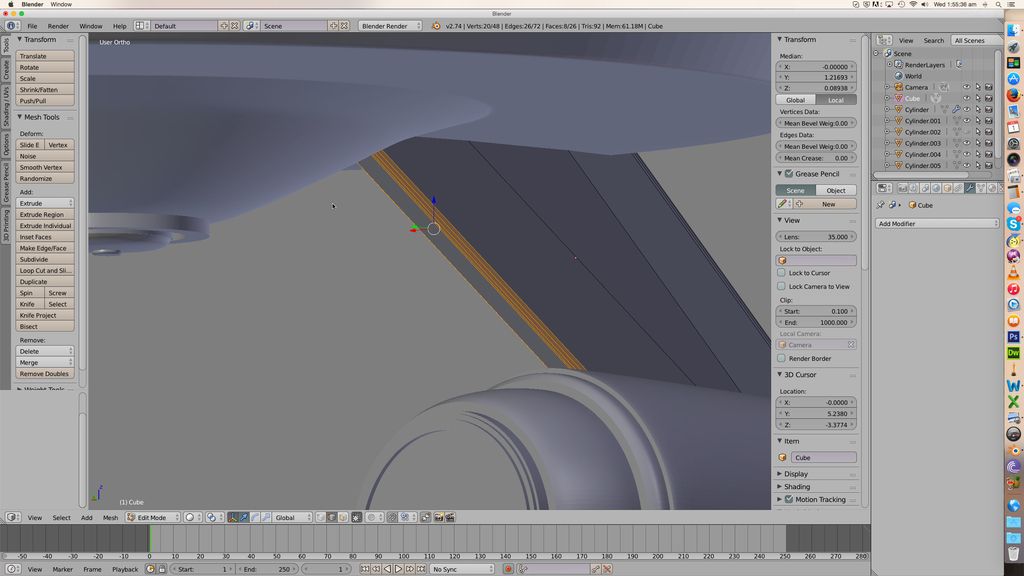
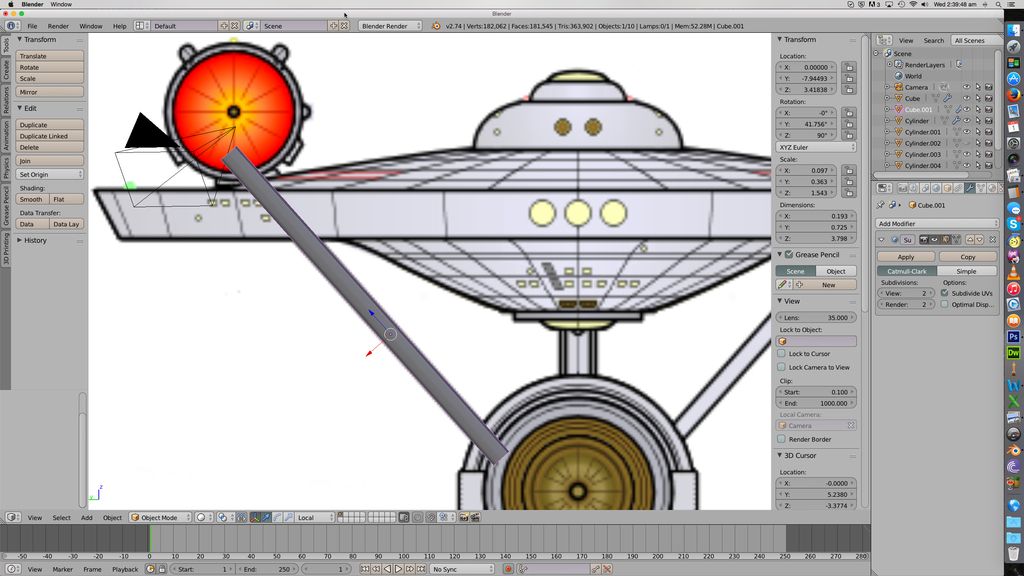
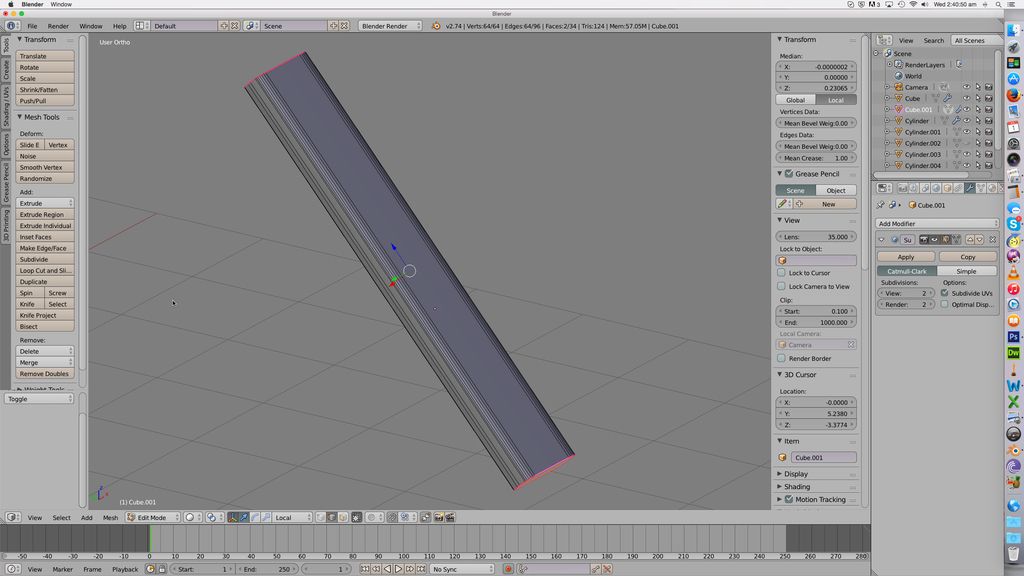
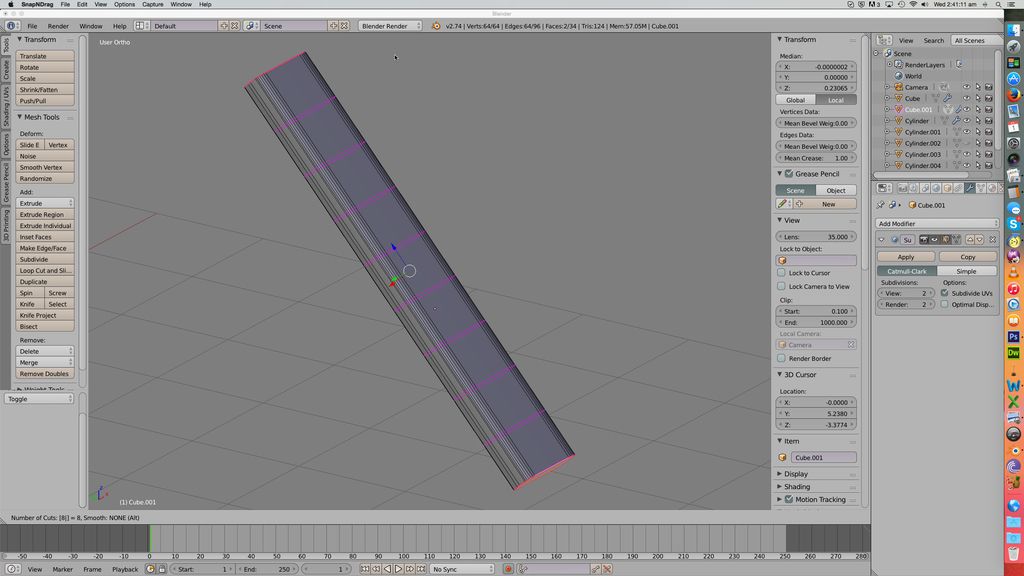
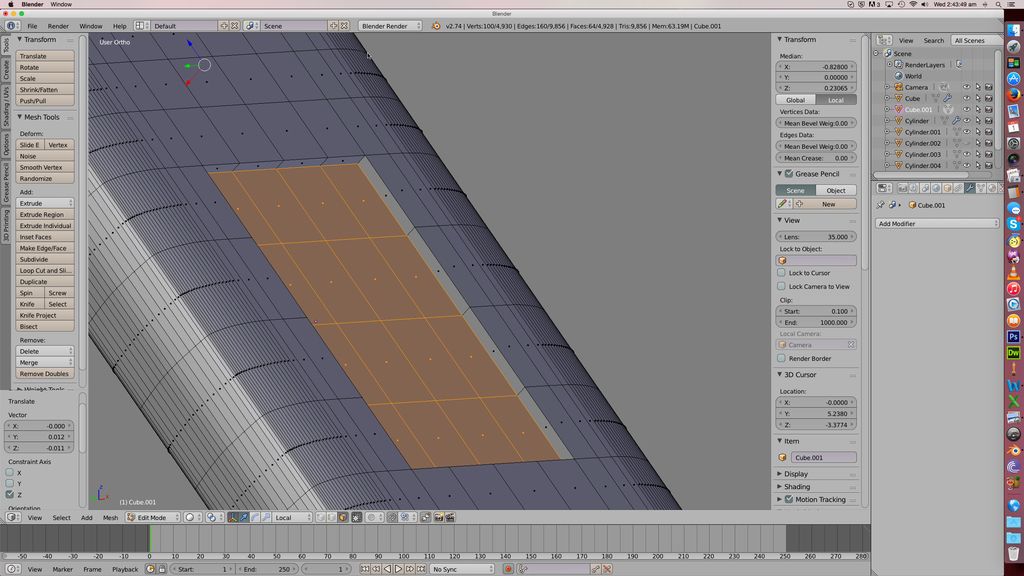
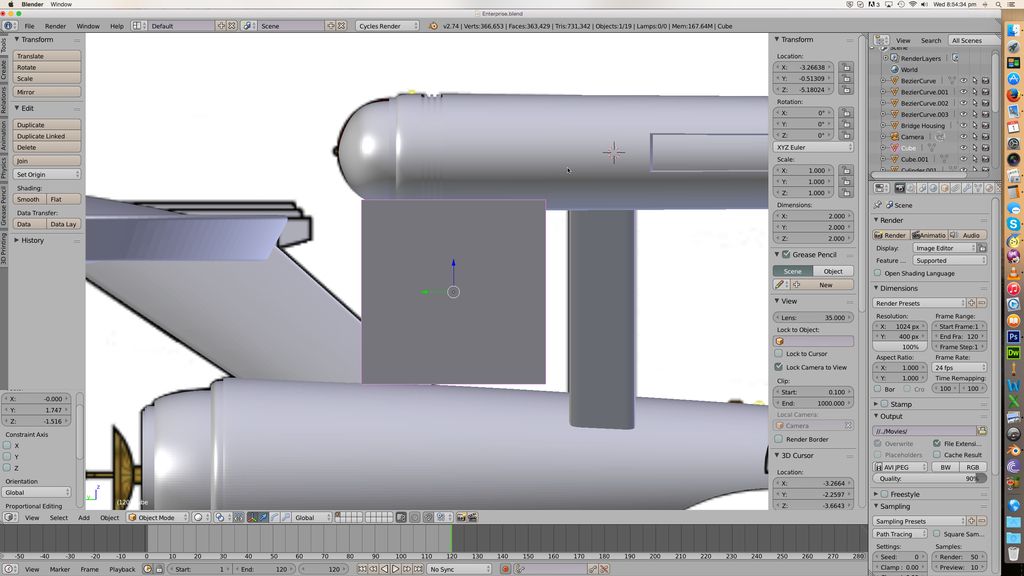
Now, slightly tricky. Many images of the Enterprise show panels on the inside of the nacelle struts, which are supposed to be some kind of radiator or vent or something. I could reproduce these simply as colours, but I want to add a bit of detailing here so I'm gonna make them recessed panels. Fortunately I can use the extrude function to do that. But, I need to have the faces in place to extrude. Notice in the last image, the object is one long piece from top to bottom. I need to split it up so I can have a face for each panel and a face for the space between each panel. There's a very handy tool called "Loop cut and slide" which helps me do this. I hit the LC&S button and put the mouse over the strut, and it offers to divide it in two. I hit 8 to tell it no, I don't want it divided in two, I want 8 cuts; and it offers that :
I accept that. I can use those faces as my panels, BUT LC&S makes the cuts evenly spaced, and I want the panels bigger than the gaps between them. So one by one I select each pair of edges and scale them. Now this is a little tricky; remember, blender lets you scale in the X, Y or Z axes; if I'd done this before I rotated the strut it would be fine, because I could simply scale in the Z direction - but I didn't. Never fear, thoug; you can change the axes form a "global" up/down, left/right, forward/backward to a "local" one, that is "up" becomes "In the direction towards the top", and so on. So I pick that, and you can see how the little X/Y/Z symbol has tipped over to match the object. So I grab the edges of each panel in turn, and scale each one in the local Z direction by 50% - S for scale, and ZZ for local Z rather than Z for global Z.
Now at this point I apply the subsurf. But that means that out neat single face radiator things become multi-face. Not a big problem, it just means it is a little tedious to select the faces I want. I use the extrude tool, only this time I extrude the faces INTO the strut rather than out of it.
Now, I decide I want those faces around the grill to be sloped, rather than right angles. That's easy, I can just keep the faces of the panel selected and scale them to make them smaller, which will slope the edges. However, if I scale them all at once it will scale the distance between each panel as well as their size. To avoid this, I muse select the panels and scale them one at a time. Again, it's a little tedious and repetetive. Much of creating models like this is just grinding little details out with lots of care and patience.
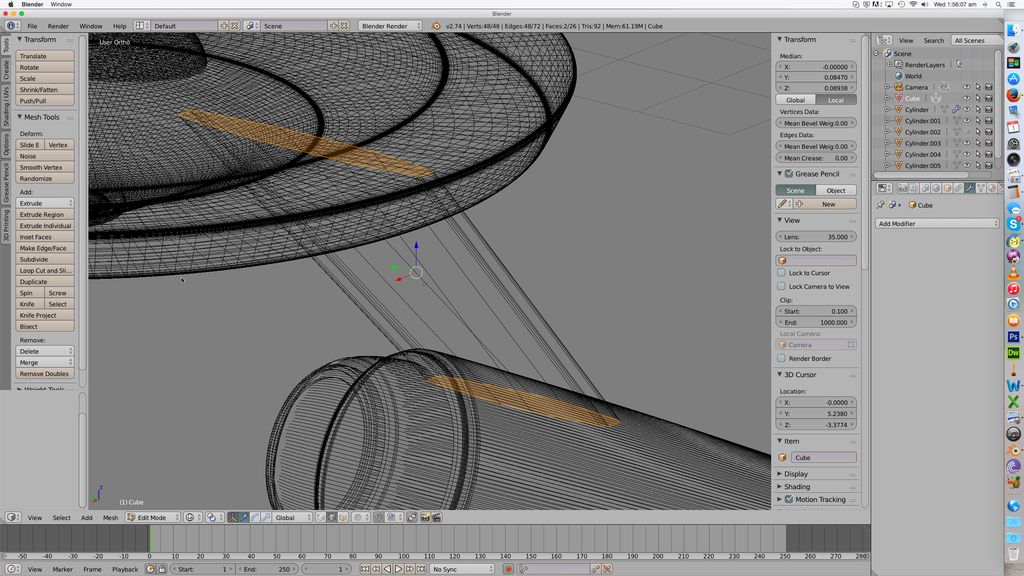
Now my strut is done. I duplicate it... and here's a trick. I could just duplicate the strut and then mirror the copy in the X axis to make the other one - but if you remember, mirroring will make the strut turn inside out, and give me potential future problems. Plus, the mirror function itself often doesn't work that well, mirroring in axes you didn't ask for as well as the ones you did. But my strut is very symmetrical; so instead I duplicate it, switch to top view, and then rotate it 180 degrees. It's now effectively mirrored, but without the mirror function. It's technically back to front compared to the other one, but since they are symmetrical front and back, that doesn't matter. I drag the copy over and merge both struts to make one object. When you do that, the pivot point of the object (the point around which it will rotate, if you rotate it) becomes whatever the pivot point of the last object selected was. So I reset the pivot point to the centre of mass. Drag the struts over to the right position on the model, and job done.
Give a man a fire, and you keep him warm for a day. SET a man on fire, and you will keep him warm for the rest of his life...
- Graham Kennedy
- Site Admin
- Posts: 11561
- Joined: Mon Jul 09, 2007 2:28 pm
- Location: Banbury, UK
- Contact:
Re: Making Enterprise
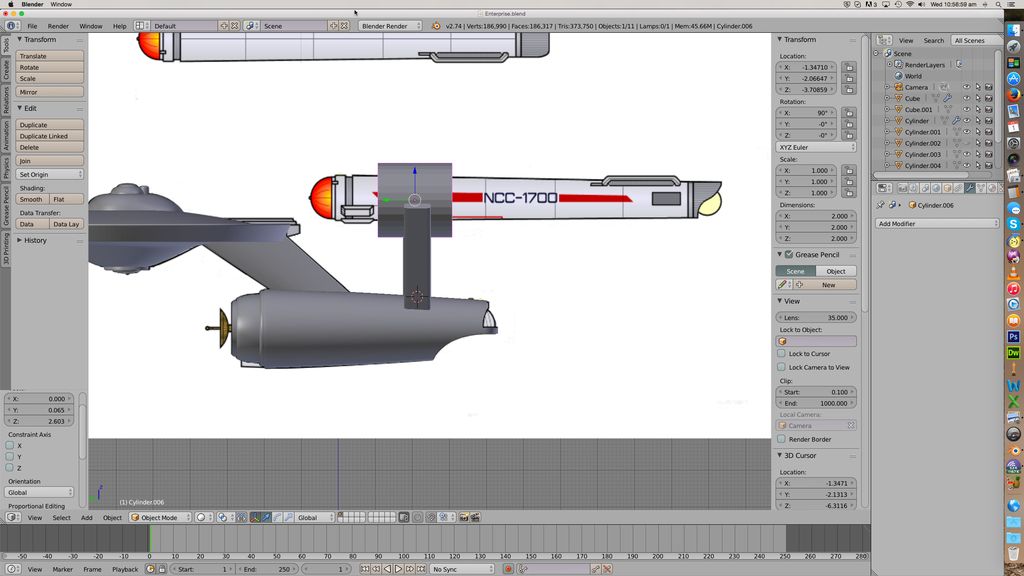
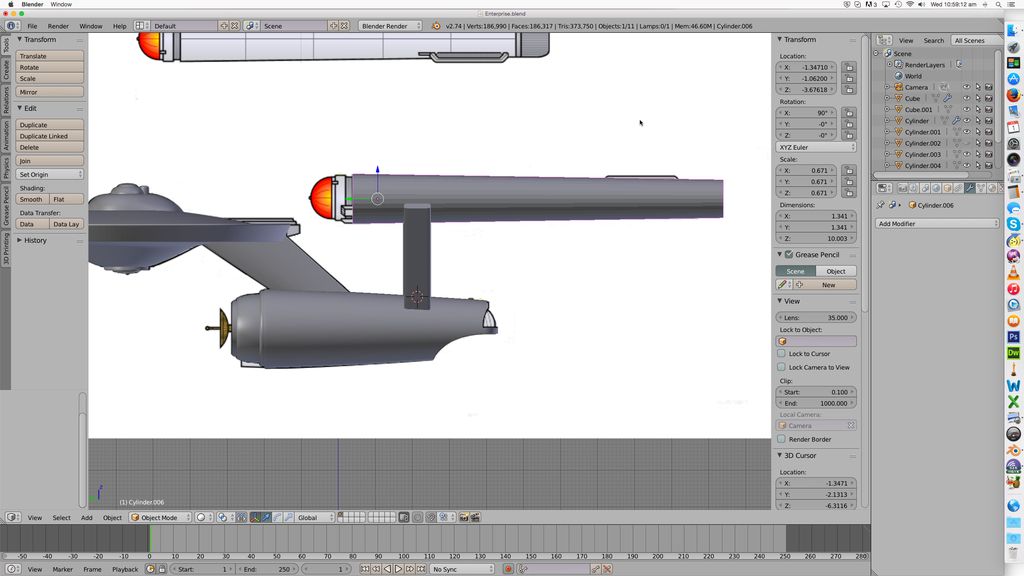
On to the nacelles.
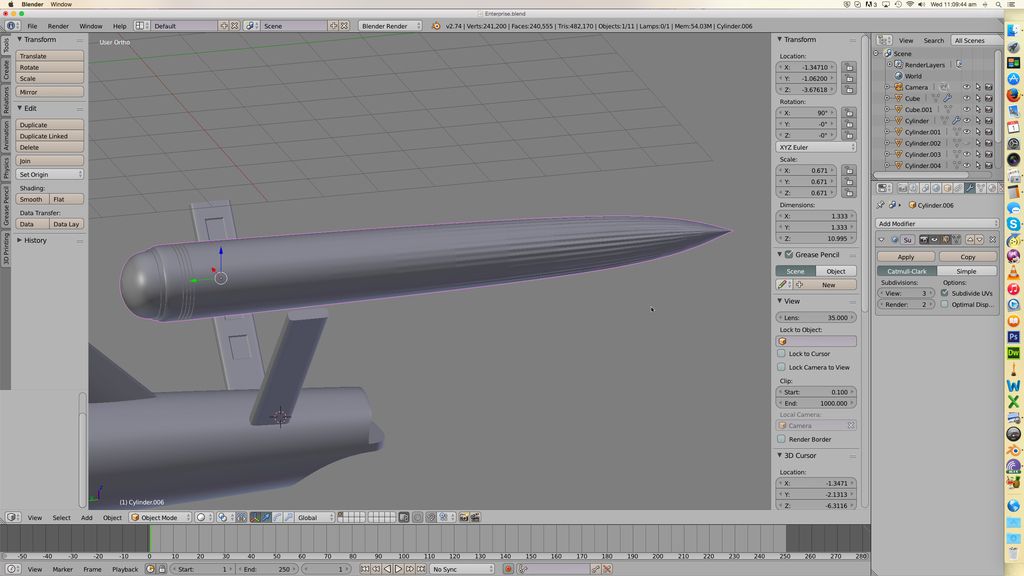
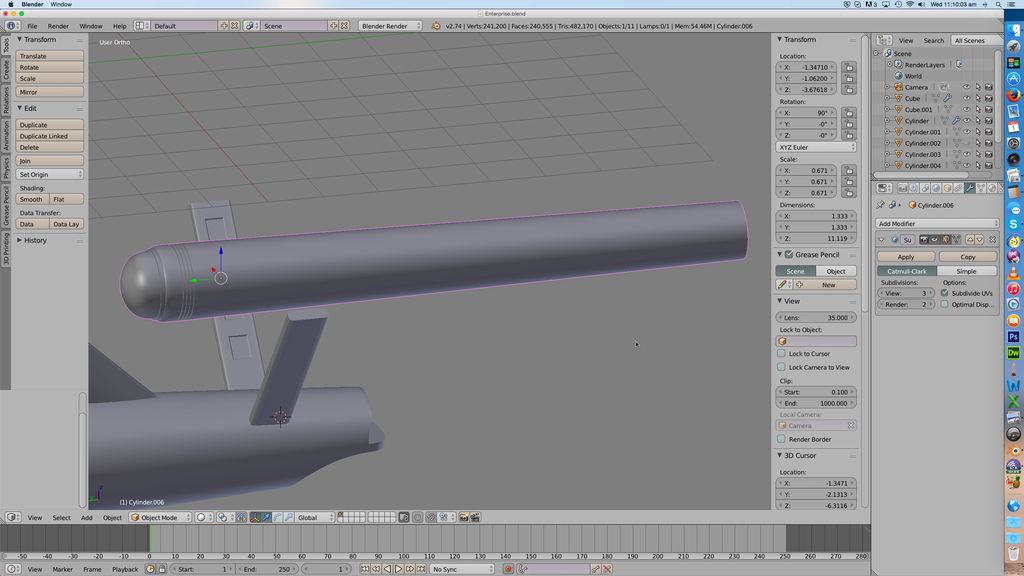
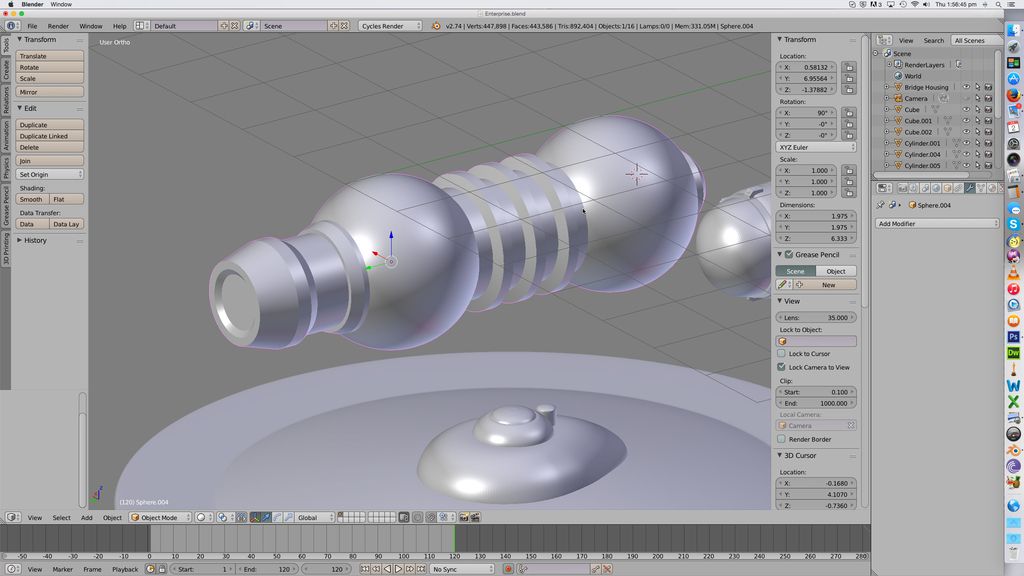
So rather obviously, each nacelle is a cylinder. Make your cylinder, scale it, and start extruding the end yet again...
You can already see, I hope, that you can begin to build up quite a complex shape like the Enterprise and it's really not that difficult.
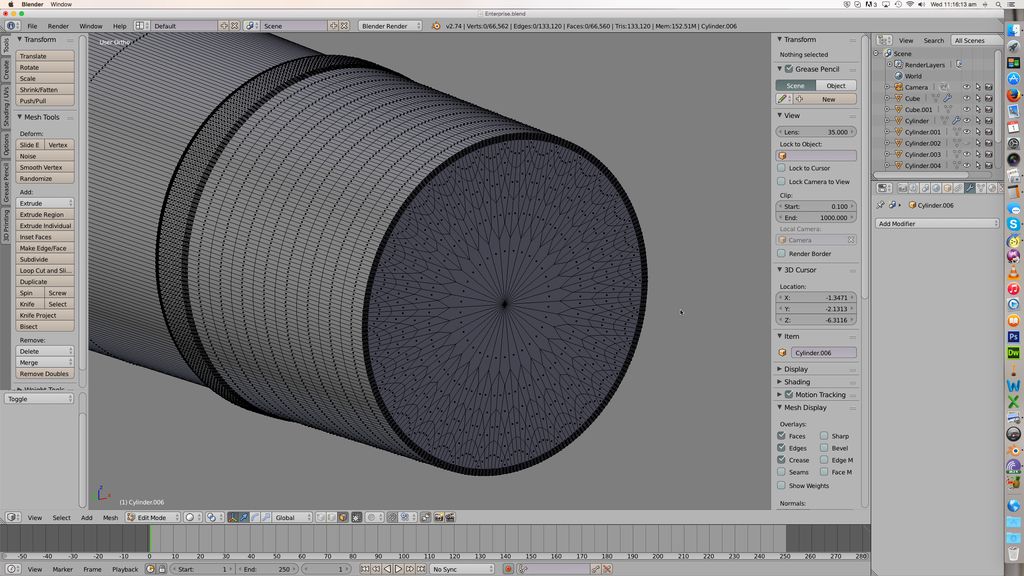
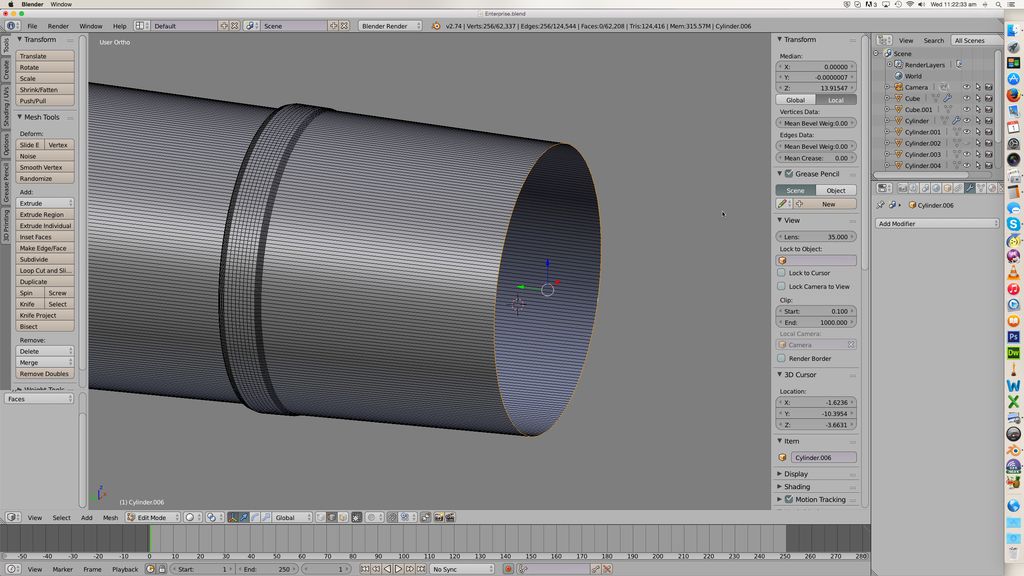
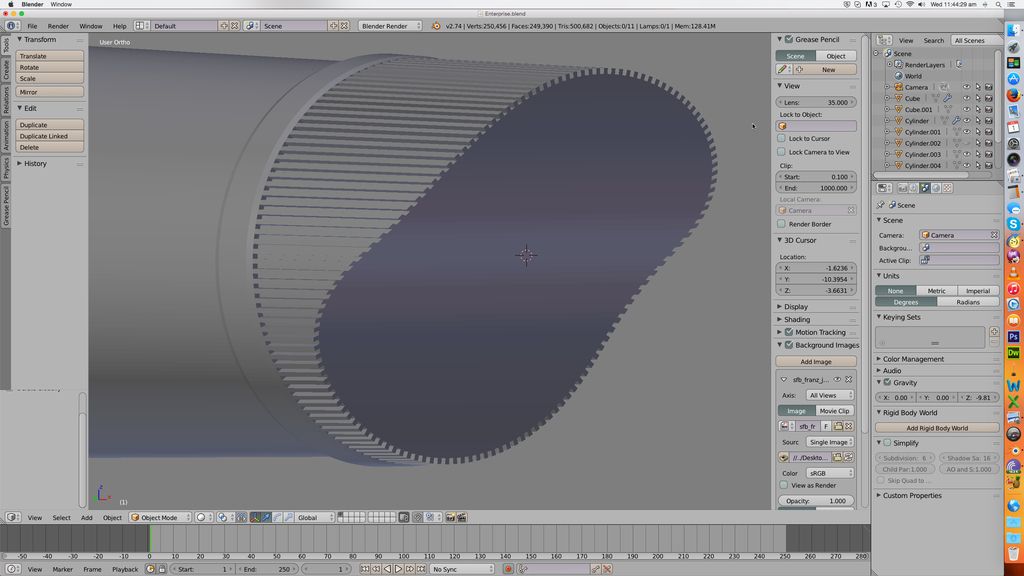
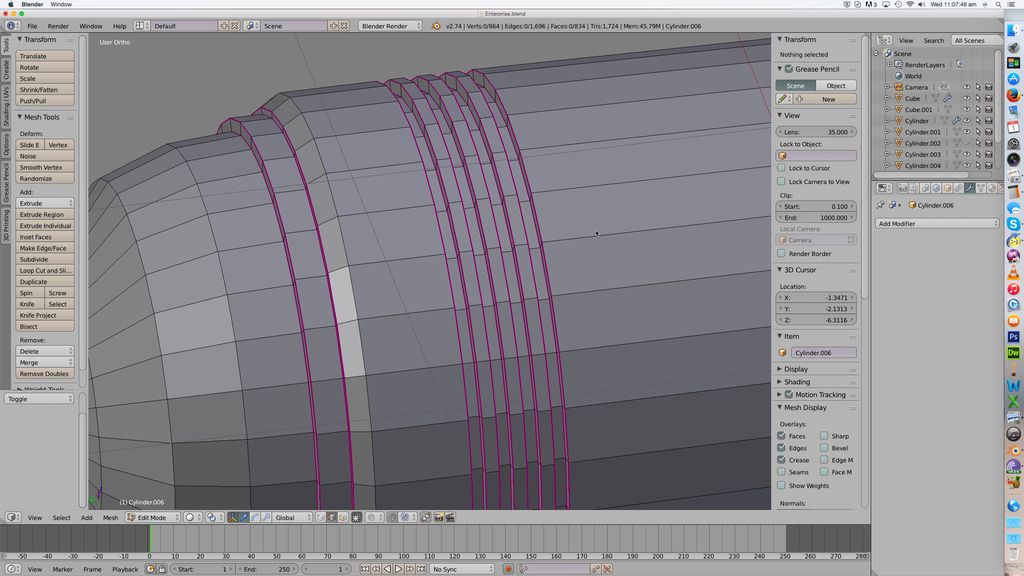
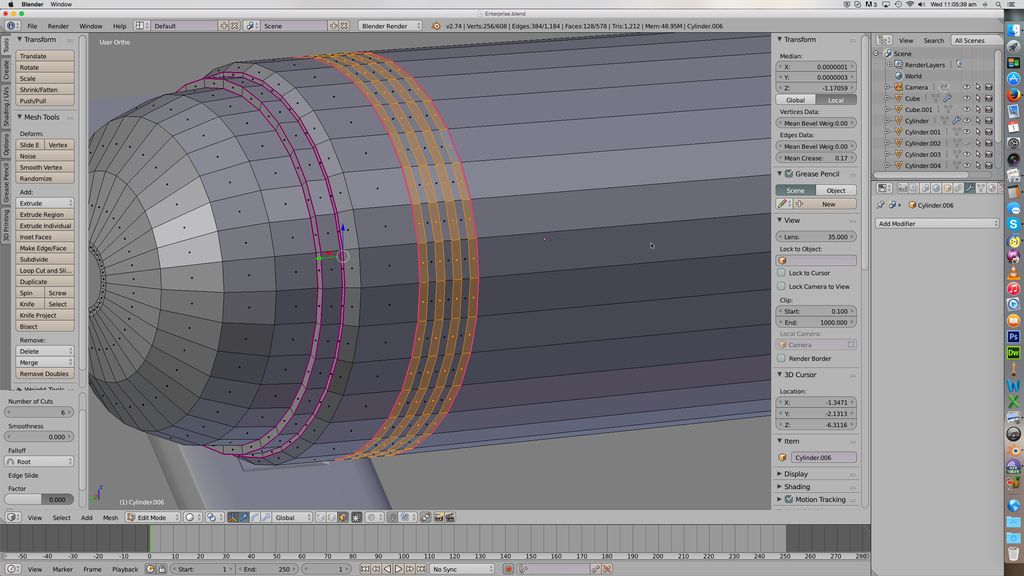
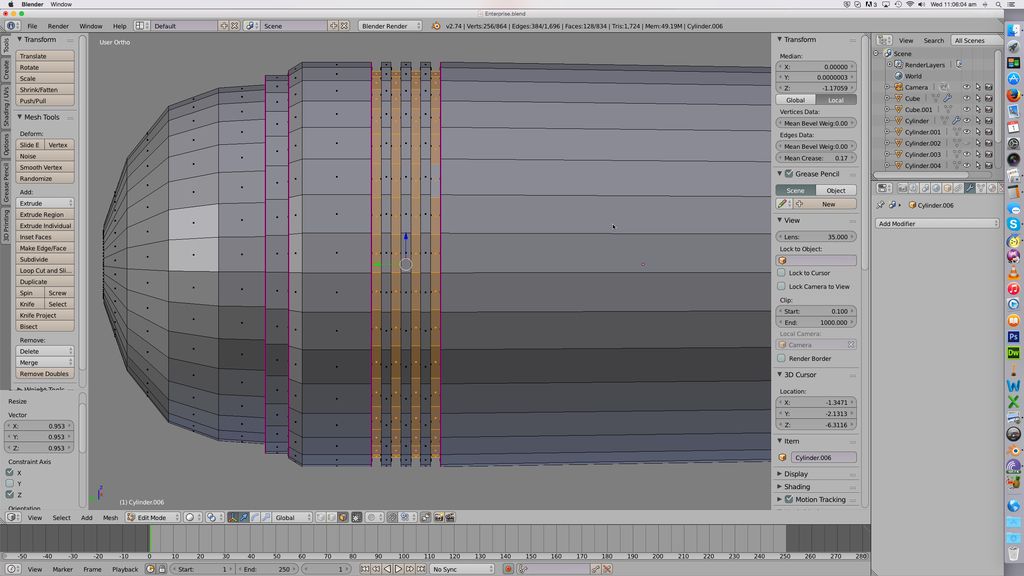
Now, there's a kind of ring of seams or lines of some kind near the front. So to make those I'm going to use Loop Cut and Slide again, and split that ring up into a bunch of rings. I apply the mean crease to them, so they'll stay sharp.
Now I select those rings and use the extrude tool, scaling them smaller to make the seams. I don't scale in the Y direction though, i.e. from front to back, or it would distort the rings by making them narrower at the bottom than the top.
More mean crease, and that's done.
Now I am ready to subsurf my nacelle and make it smooth :
Whups! What did I forget to do? Yes, I didn't set the mean crease on the aft end of the cylinder, so blender is trying to round that end. Fortunately modifiers like this come in two parts; you add the modifier, but it just kind of sits there showing you a preview of what it would look like if you applied it. That way you can play with the object, tweaking it to get the look you like, and then finally say apply whenever you like - and truth be told, I still haven't applied most of the subsurf mods I used on this model. So no need to undo my action there, I can just apply the mean crease and the problem goes away.
Now the nacelle is one place where I'm going to be a little creative. First I'm modifying the back end a little, making it slightly more prominent. No particular reason, I just think it looks cool. I apply my subsurf modifier... and look. What an icky ass end this thing now has! For whatever reason, subsurf really doesn't react well to single circular faces.
But I can select all those easily enough, using a circular select - that gives you a dotted circle on the screen, and as you click anything inside it is selected. Select them, delete them. And I'm actually gonna select all those "extra" rings of faces and get rid of those too :
Why? Because I want to make the ridged effect these things have. One way to do that is select each face you want ridged, i.e. every other face, and extrude and shrink them. But look how many faces there are, it would take forever to select them! But I can "ring select" the entire ring at once, and then use a fuction called Checkerboard select to deselect every other one. Very useful function... but it would only work properly if I'm doing a single ring. Otherwise it would deselect every other face in ring 1, then the alternate faces in ring 2, then the alternates to those in ring 3, etc.
So NOW I can extrude and shrink. Then I use another cutter block to make the back end curve, just like I did on the engineering hull. Only I forgot to take photos of the checkerboard thing. Oh well.
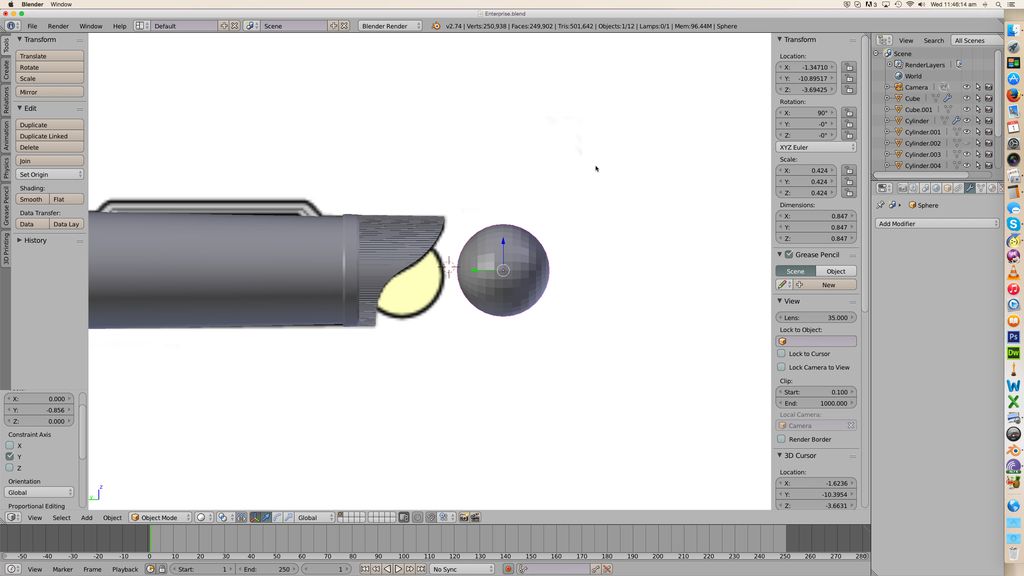
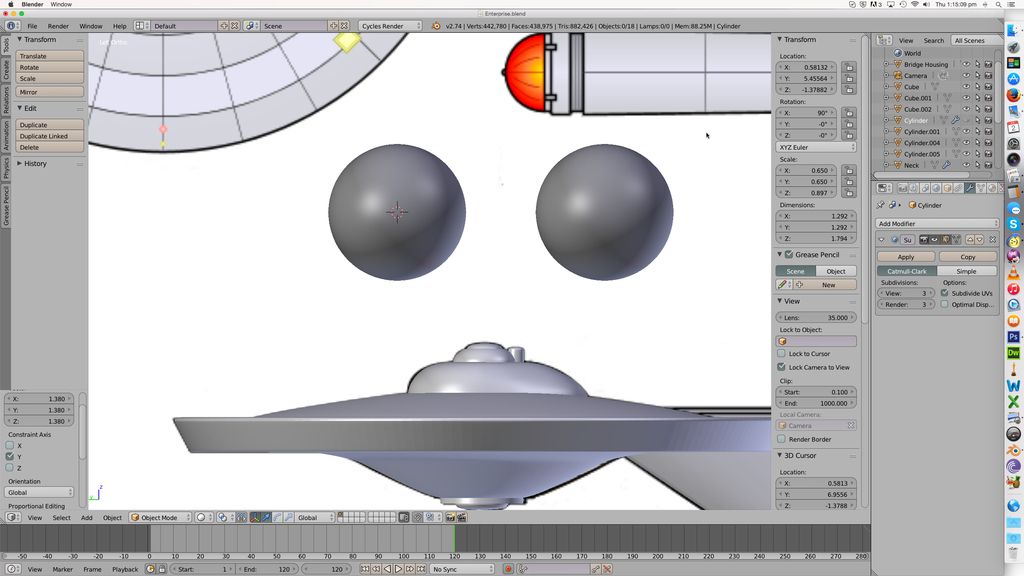
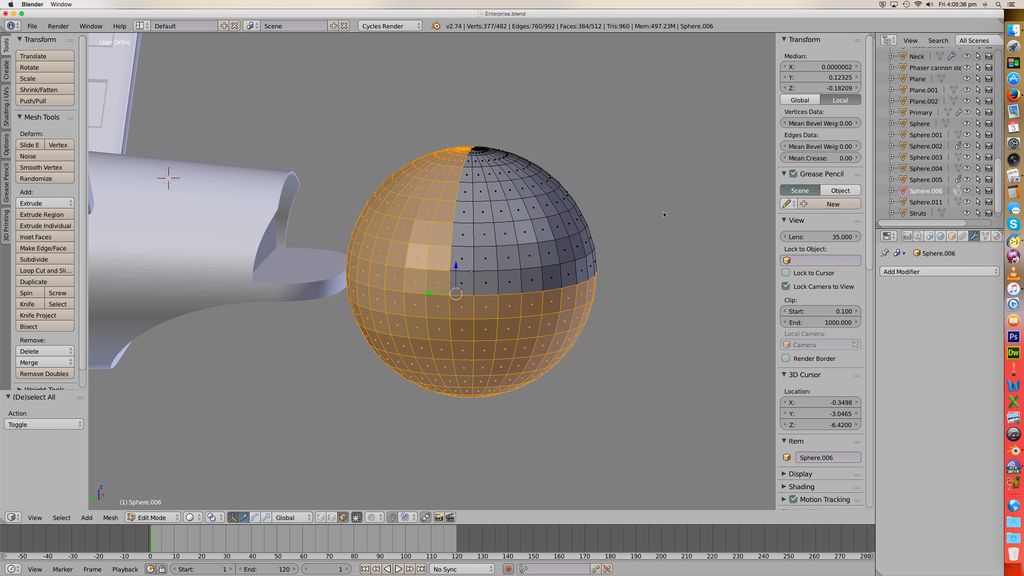
Now for the aft ball. Add a sphere - first time I've used one on this build, actually.
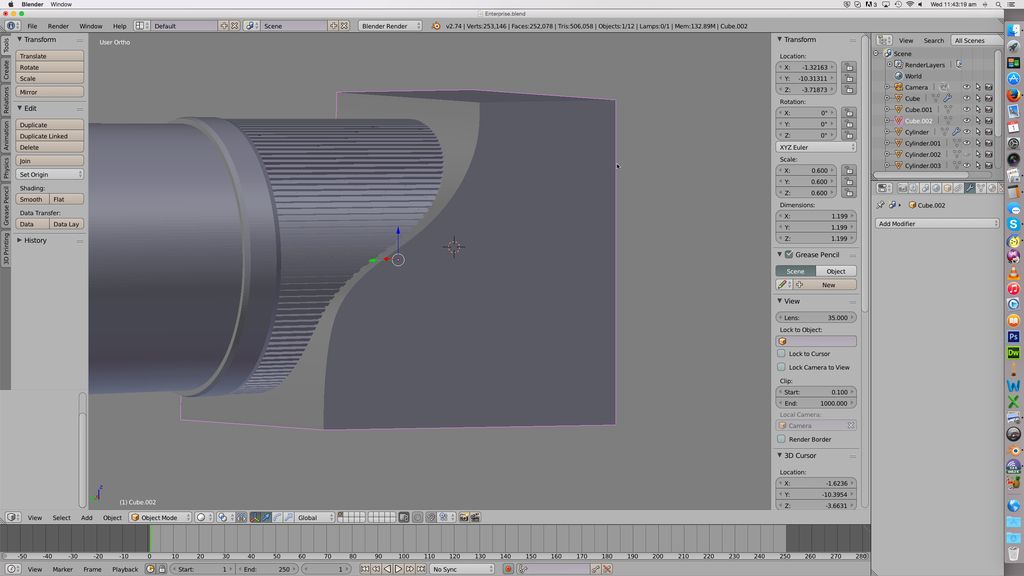
To cut a long story short... chop the back end off the sphere. Extrude it out to make a kind of cylinder with a rounded end. Subsurf to make it smooth. Then use a boolean to cut a hole in the back of the nacelle with it. Shrink the sphere down a little. Now it's a cylinder with a rounded end, sitting in a hole in the back end. Looks cool, yes?
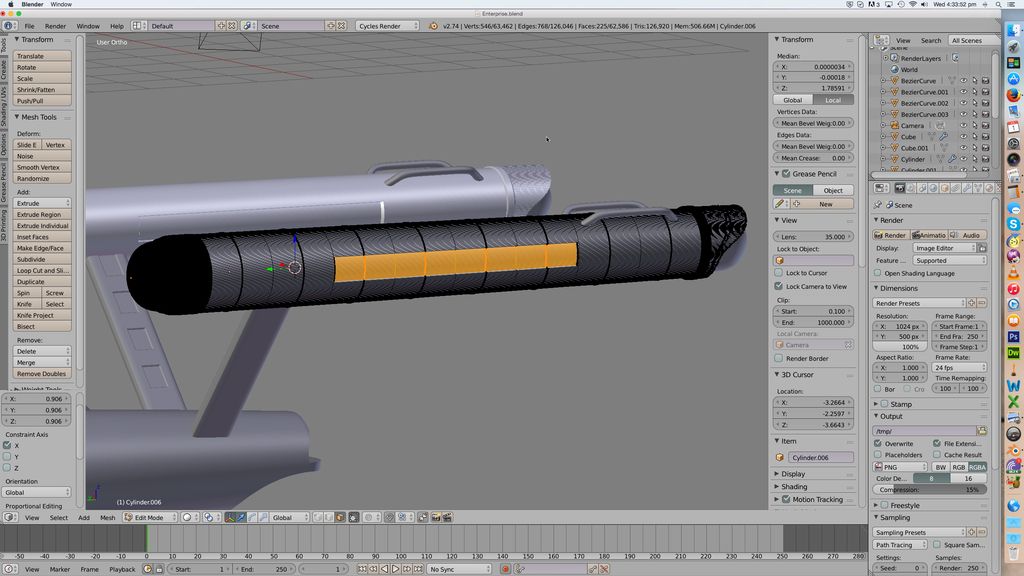
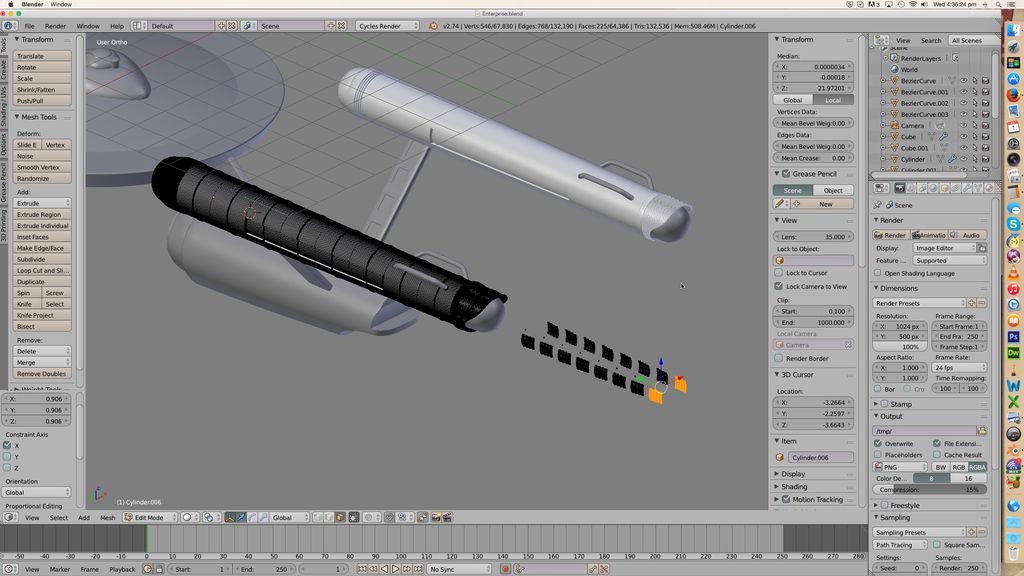
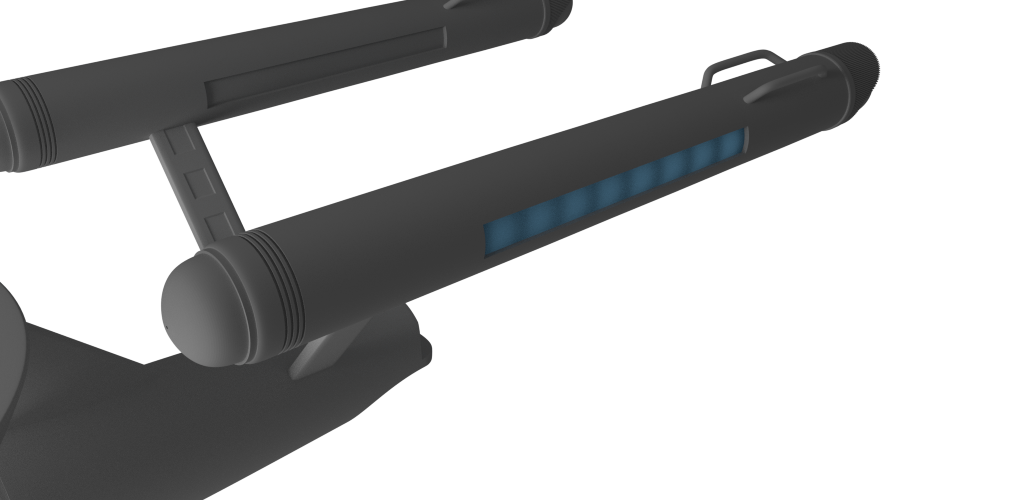
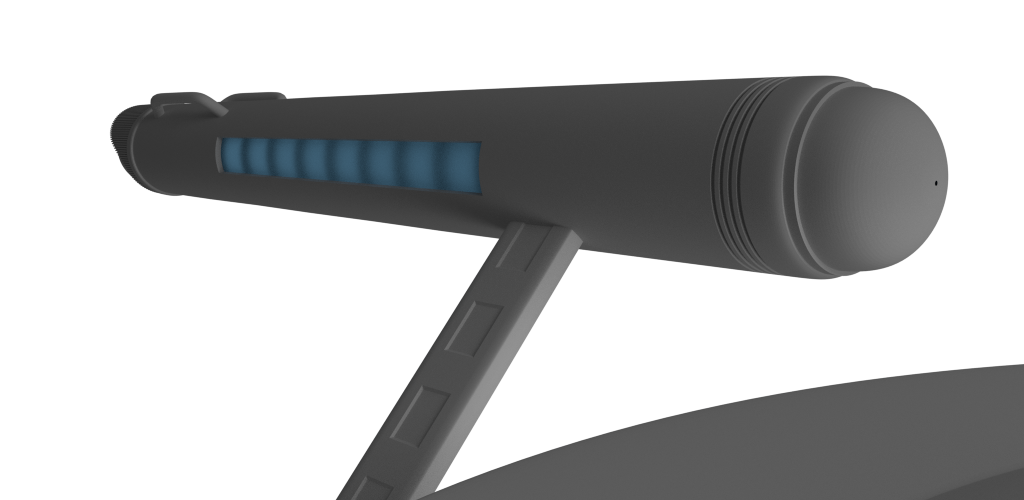
Now another thing I wanted to do was give this ship blue glowing side panels. They're in the NX, and the post Connie ships like Excelsior, but not the connie. Well I plan to fix that. I do them just like the plates on teh struts - select some faces and extrude, shrink it inwards. The hard part is making sure you select faces symetrically on both sides of the nacelle, but you can do that by hitting Z to make it transparent. Then when you do an area select, it selects both sides.
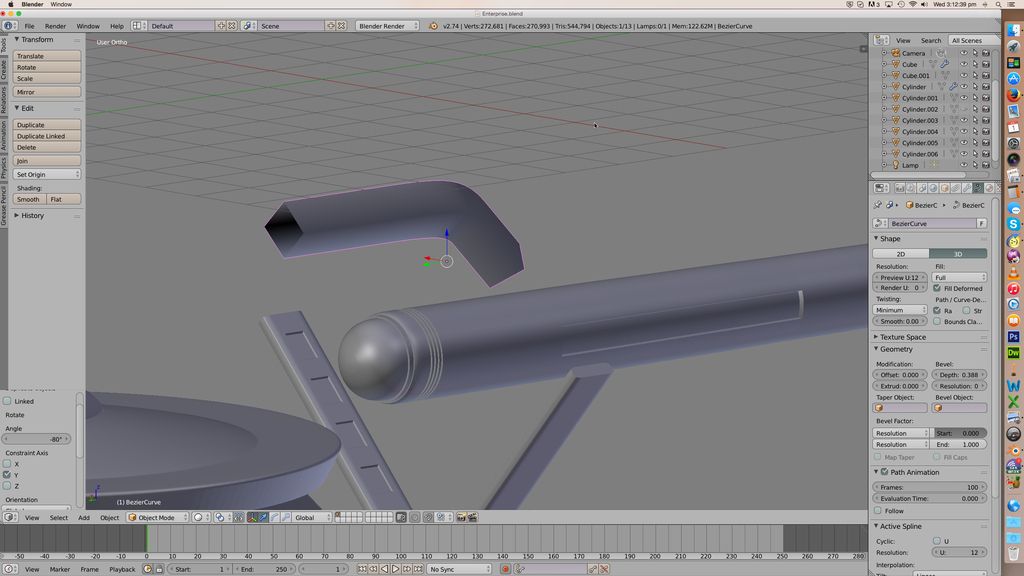
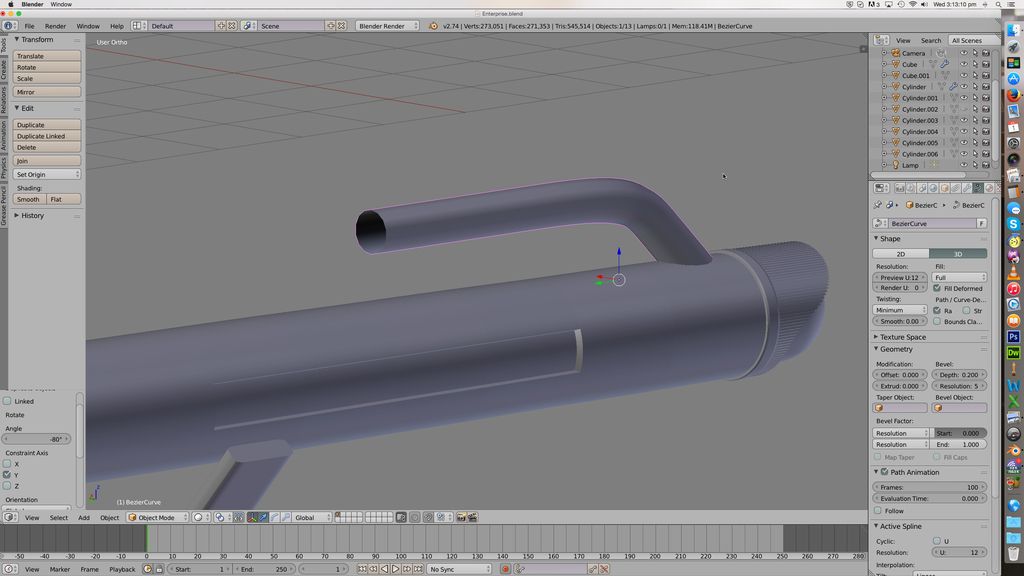
Next I make the little bar things at the back of the nacelle. I add a curve for this. Curves don't work like objects. Each curve is a set of points which you can drag around; a curve is drawn between them automatically. You can then "thicken" the curve to make a pipe :
As you see, the pipe is angular. I want a tube, so there's a setting to smooth it out. I use another function that converts a curve to an object with faces. Notice I've only done one end - that's because it's fiddly to match both ends of a curve perfectly, make them look alike. So when I have the object I duplicate it, rotate it, match up the ends and hey presto. I then scale it down.
I copy and rotate that one to make the other one.
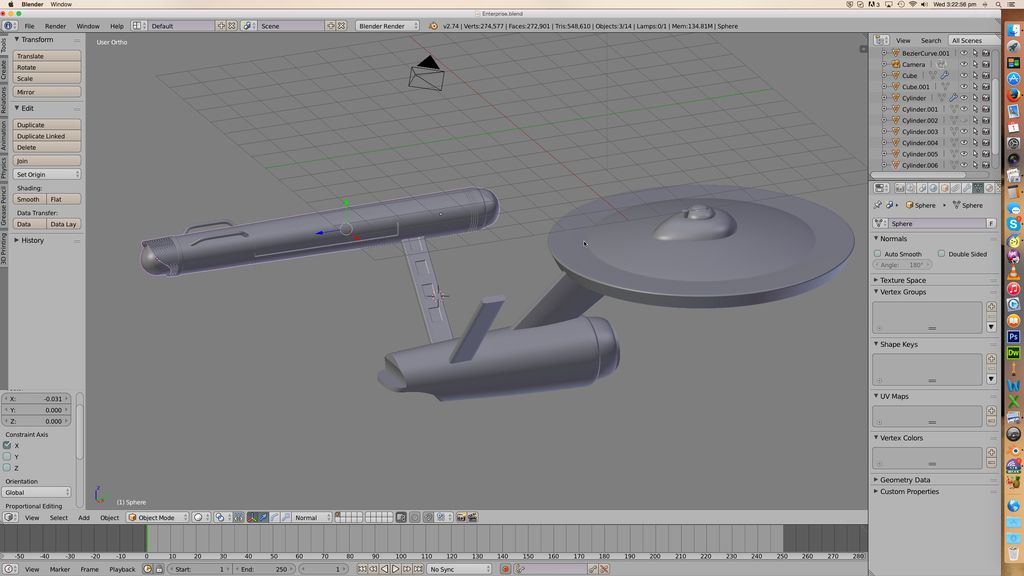
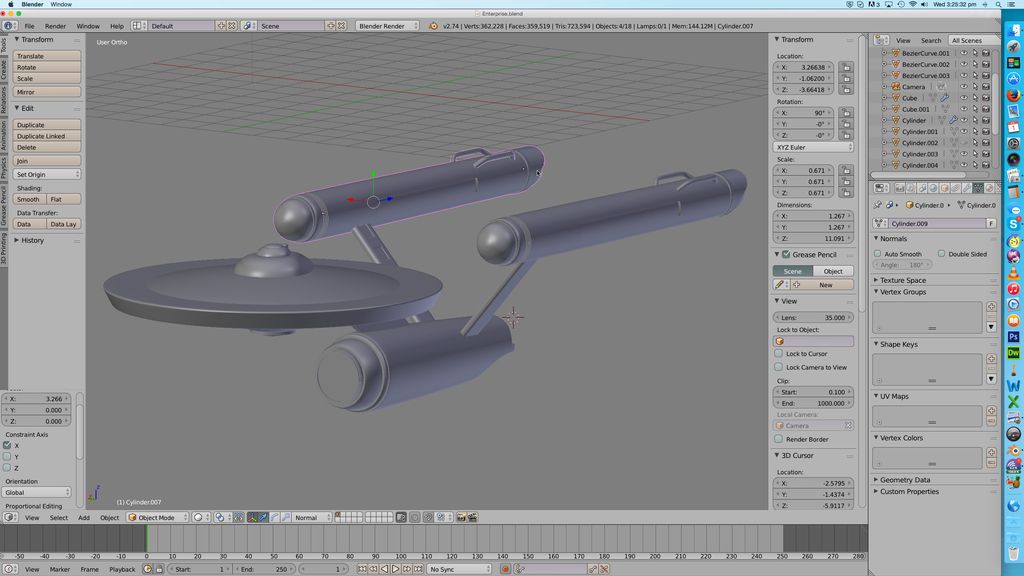
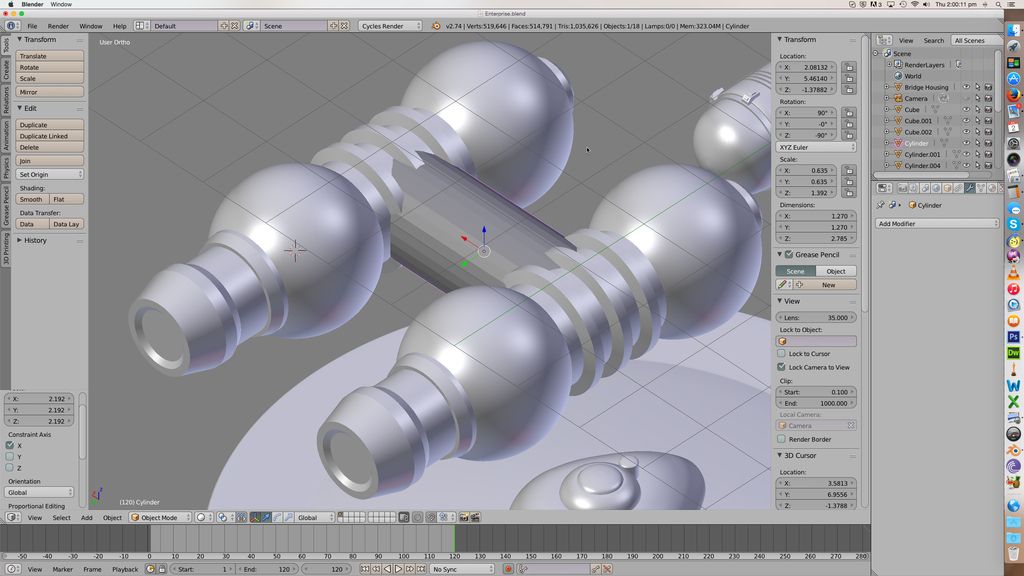
And now the nacelle is well on the way. Just to see how it looks I duplicate it and position them.
Cool, huh?
Cool as it is, you really shouldn't do this until the thing you're copying is done, and I mean down to every little detail. Because When I start to do stuff like adding colours or making the panels glow, I either have to repeat all that work on the other nacelle - with the near guarantee that it won't be exactly the same on both - or delete the thing and recopy the completed one.
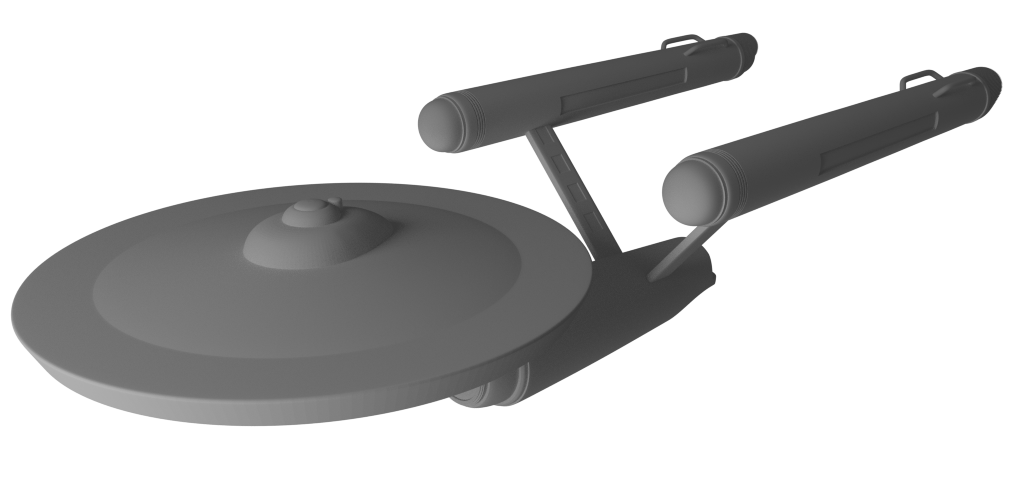
Let's have a look at a render. For this I need a light source. You can add lamps, but frankly they look terrible to my eyes. So I add two large flat planes, and give them a material look. The material I choose is "emission", i.e. a glowing material. That casts a nice light, and...
Not bad at ALL!
Give a man a fire, and you keep him warm for a day. SET a man on fire, and you will keep him warm for the rest of his life...
- Graham Kennedy
- Site Admin
- Posts: 11561
- Joined: Mon Jul 09, 2007 2:28 pm
- Location: Banbury, UK
- Contact:
Re: Making Enterprise
Okay, glowy nacelles. This is quite easy. It's also the start of the material choices. I made a grey "Hull" colour, a frosted glass, and a blue glowing colour (same Emission material as before).
Make the nacelle Hull colour. Select the grilles, and make them frosted glass.
Then copy that same part, shrink it in the Y direction so it's just a thin chunk, and shrink it again so it's smaller than the nacelle. Well now those faces are inside the nacelle, which makes them hard to work on, so I drag them right back so I can still see what I'm doing and select faces easily. Duplicate it over and over, moving it back each time. And hey presto :
Looks like I copied some extraneous faces there - the line of little dots. I select them and get rid of them. Then I select all those faces and move them back inside the nacelle. Render again, and...
It's stuff like this that I wouldn't fancy having to repeat for the other nacelle. When I'm done with this one, I will delete the other and recopy the first.
Give a man a fire, and you keep him warm for a day. SET a man on fire, and you will keep him warm for the rest of his life...
- Graham Kennedy
- Site Admin
- Posts: 11561
- Joined: Mon Jul 09, 2007 2:28 pm
- Location: Banbury, UK
- Contact:
Re: Making Enterprise
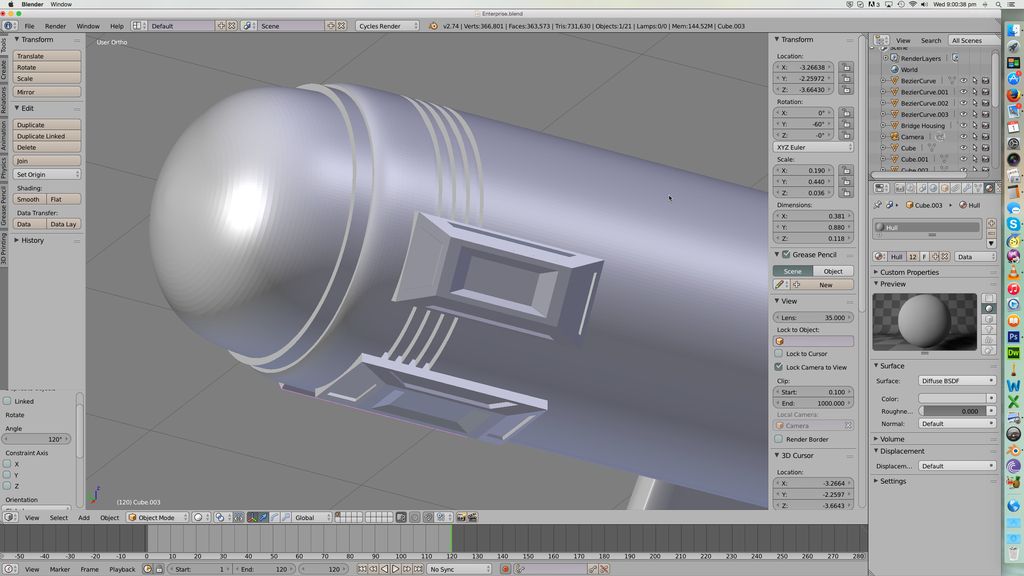
Okay, time to work on the front end of the nacelle. There are some little boxes attached to the underside. On the original model they look pretty plain, but I want to greeble them up a bit. So I add a cube as the starting point :
Then I scale it and flatten it. I use the Loop Cut and Slide function to cut the cube in half and scale the lower face down in edit mode - that gives the unit an oblong base, with an angled bottom. I choose each face of the bottom in turn and extrude another face, shrink it, and extrude again and move that new face inward, scale it again. I colour those sunken faces with a darker grey to differentiate them. This gives the piece a nice textured feel. Once I have one done, I copy it to make the other two :
Then I do much the same process to make some little greebles around the edge of the bussard collecter. To make them look a little different, the textured face bits point out rather than in on these pieces :
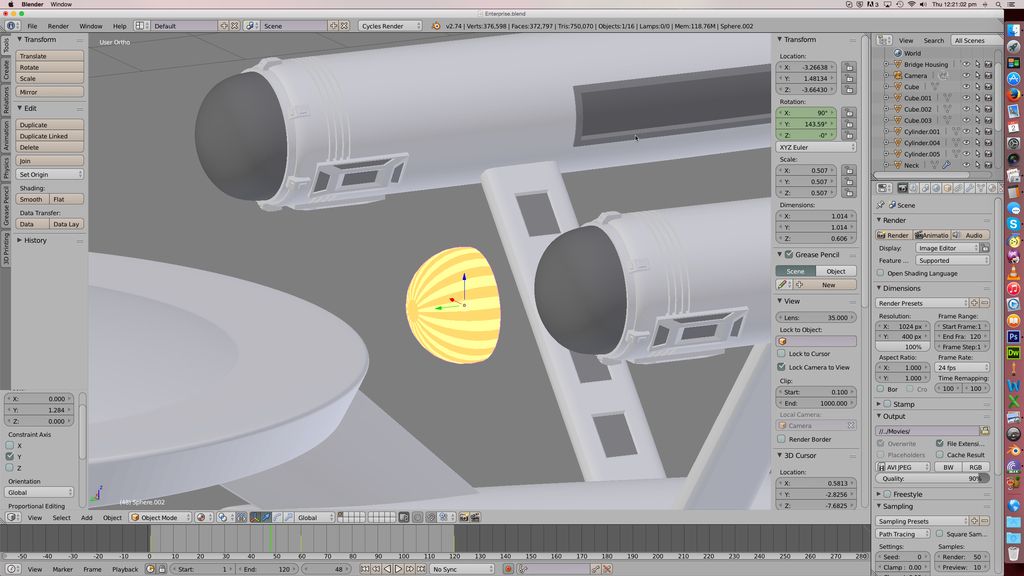
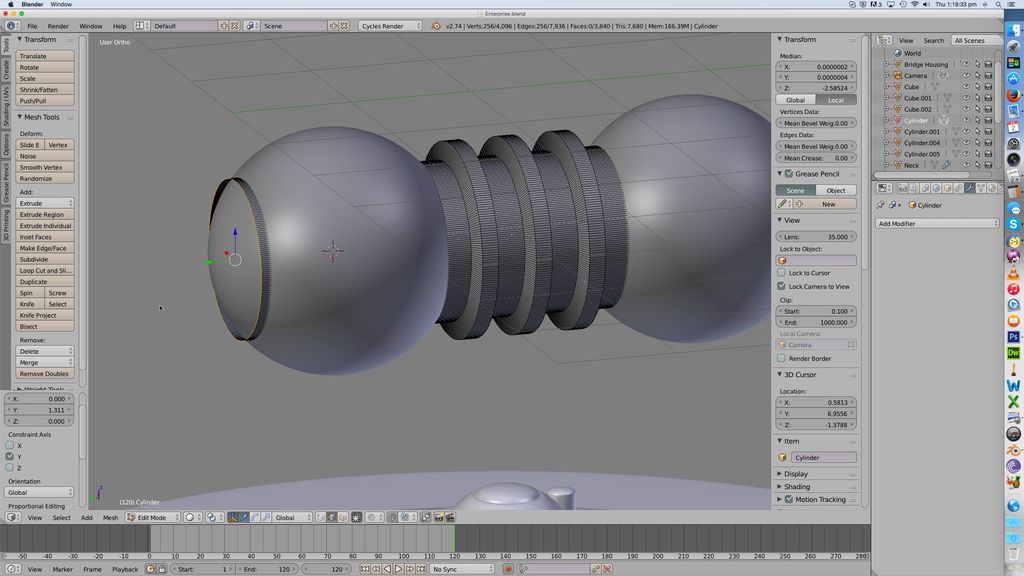
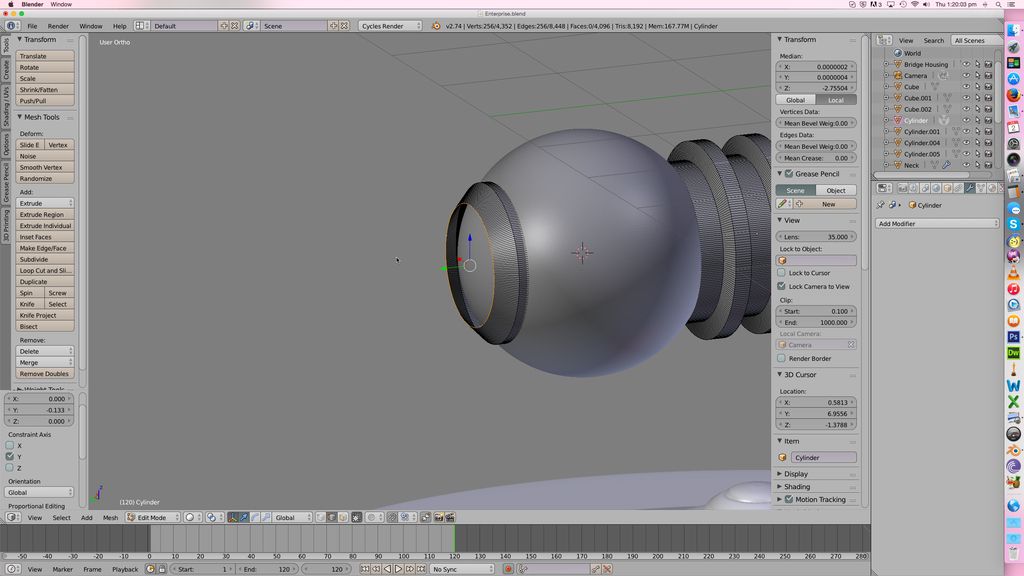
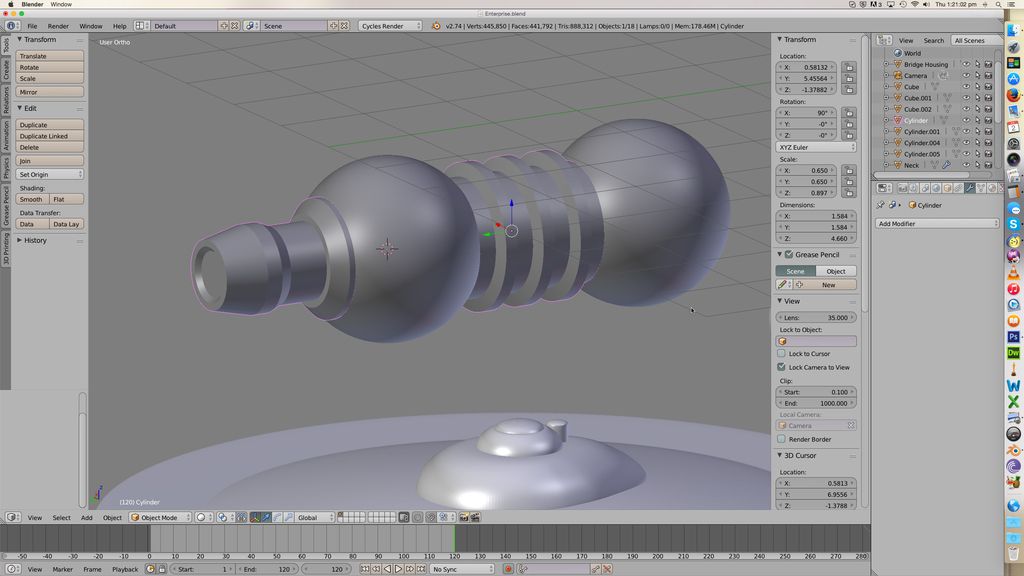
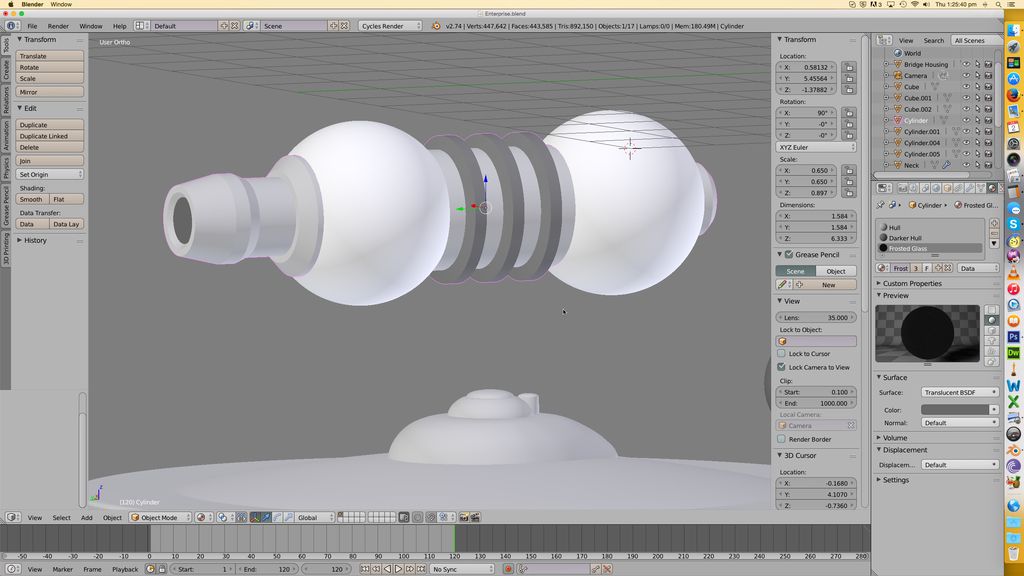
Now Bussard collecters are fairly awkward to do. I start by setting their material to a transulcent substance. Then I add a new sphere, leaving it fairly low resolution. I cut the back off it and then colour the sphere in alternating stripes of glowing orange and yellow. Make sure the sphere is smaller than the bussard dome, but not much smaller - if it's too small then the colours will simply blur together as seen through the dome. :
Now we want those to animate. Animation can be awkward, but this is fairly simply. You notice that there is a strip across the bottom of the blender program with a green line and some numbers on it. The numbers represent the frames of an animation, with the green line the frame you are on now. To animate a rotation, we want to start at frame 1 and hit I to insert a rotation "keyframe". That's the frame we want the rotation to begin on. We then advance to the frame we want it to end on - I chose frame 60 (there are 24 per second by default). Hit I again and set a rotation keyframe to say "this is the end frame". Then rotate the sphere around the Y axis by 180 degrees. I don't do the full 360 in one go, because for some reason that seems to confuse blender; always split a 360 rotation into two 180 degree rotations.
Now it's rotated I hit I and add a rotation keyframe. And that's it; hit play, and blender will produce a little animated movie of the dome rotating by 180 degrees.
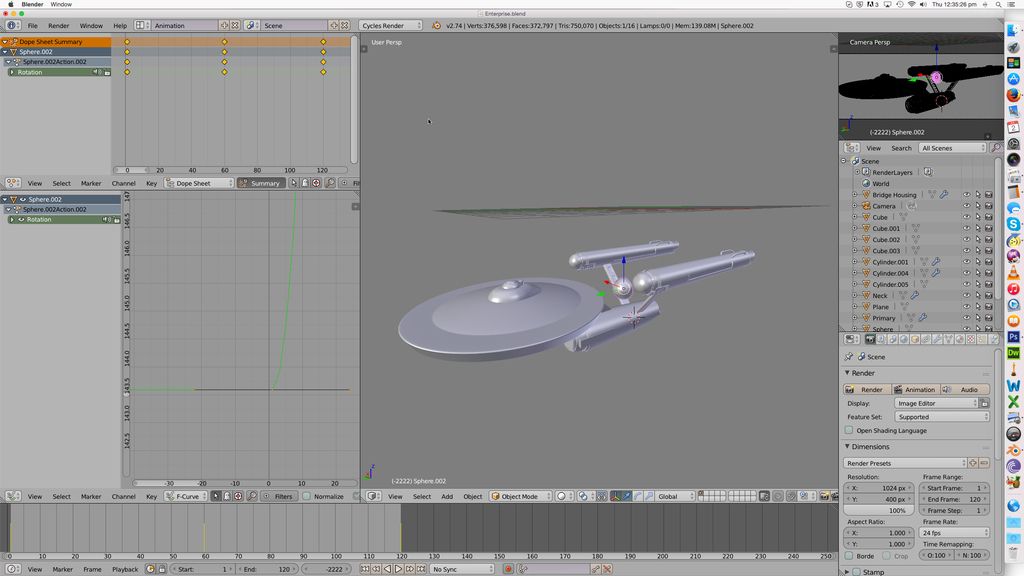
We're not quite done, though. By default, blender makes an object move slowly at first, then speed up, then slow down again as it reaches the end of the movement. That would be fine if we were showing the collector starting and stopping, but we want it running top speed throughout. So we change viewing modes to see the animation panel. This shows the object on the right; on the left is a panel showing all the keyframes at the top, and a graph showing the motion at the bottom. I've zoomed in on the start of the motion in the graph.
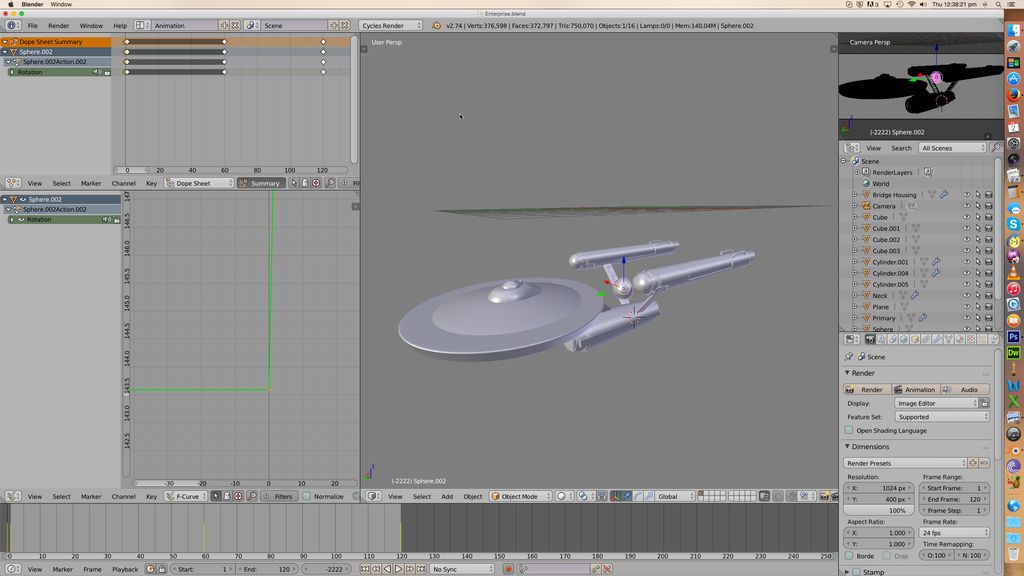
As you can see, the line is a curve. The motion is slow where the curve is flat, fast where it's steeply sloped. So you can see it starts slow and gets faster. At the other end it would do the opposite. We want constant speed, so that would translate to a straight line curve. To achieve that we click on that control point on the curve, hit S to scale it, and scale it to zero :
We do the same at the other end, at the top of the curve. Now the dome will rotate at the same speed throughout. We copy the dome over to the other nacelle, and job done. This is how it looks rendered :
I don't like how this came out, particularly. The point of having a translucent shell is that the spinny glowy bit is supposed to look like it's inside something else... but this just looks like there's a glowing rotating done there. I'm thinking I might replace the inner dome with a series of separate glowing objects, that might work better.
Give a man a fire, and you keep him warm for a day. SET a man on fire, and you will keep him warm for the rest of his life...
- Graham Kennedy
- Site Admin
- Posts: 11561
- Joined: Mon Jul 09, 2007 2:28 pm
- Location: Banbury, UK
- Contact:
Re: Making Enterprise
Taking a break from the nacelle to do a phaser weapon. Now as mentioned, I never much liked the way phasers in TOS seemed to emerge from all sorts of different places, with no visible weapons. Even in the remastered version they just come out of that ring around the ventral sensor dome, same place the photons come out from. So I decided to do a proper phaser turret.
Now I always liked the idea that this :
Was one of the ship's laser cannon in The Cage. And there's possibly precedent for laser weapons being refitted as phasers, as the hand lasers they use in The Cage were later used in TOS as phasers (to judge from their disintegration capability). (As an aside, I always wondered if a phaser beam might be produced exactly how a laser beam is, only with a different lasing material, that produces a weird particle [nadions?] rather than a photons; hence any laser weapon can be easily refitted to become a phaser weapon just by swapping out the lasing medium?) So I'm going to go with a modified model of that weapon as the phaser banks.
So we start with a pair of spheres. Use subsurf to smooth them. You'll see that I'm making it huge - that's just to make it easier to work with, once it's done I can scale it down. Blender scales objects in a very lossless way, and to a very wide range - making this a thousand times smaller would be very simple.
Add a cylinder between the two and smooth that the same way.
Now having a plain cylinder looks a bit dull, so I go into edit mode and select some alternate rings of faces. Fortunately you don't have to select each face separately; hold alt down and click on a ring and it selects the whole thing.
Now hit E to extrude, and his S to scale the extruction. Lock it in the Y direction, so the rings just increase their radius without getting thicker.
Now they look a bit clunky as just expanded cylinders, so select each in turn and shrink it in the Y direction by about 40%
Now for the nozzle, I select the front edge of the cylinder and drag it out through the end of the sphere in the Y axis.
Now extrude that edge and shrink it down to make a bevel
Keep doing this extrude and scale to construct the nozzle. I also did the same at the back end to make a piece there, since there's a thing there on the weapon I'm using as a guide.
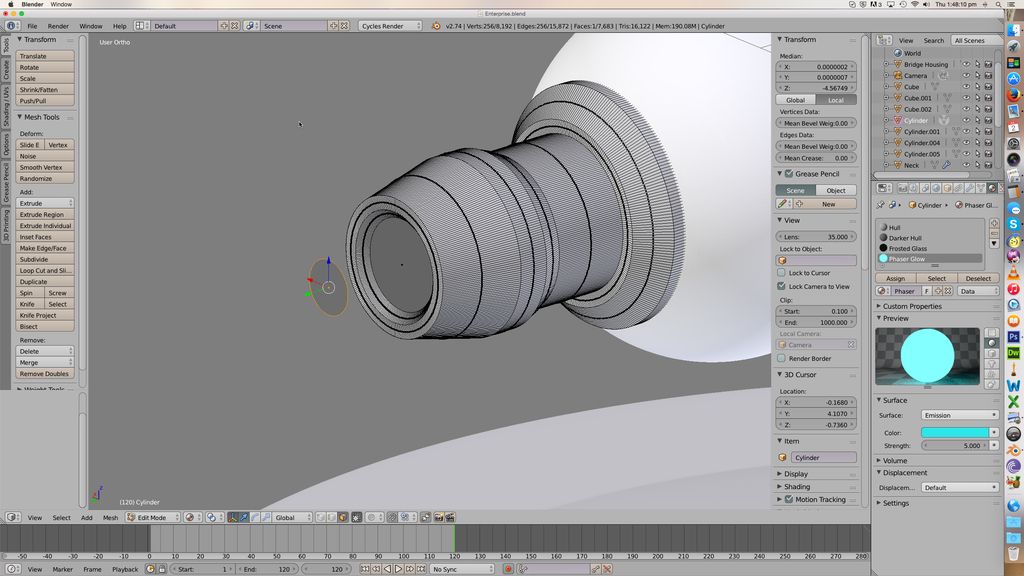
Now I colour the spheres white, as they are in the original weapon. The rest goes "hull grey" and "darker hull grey". Then I make the front the same "frosted glass" that is on the nacelles.
Don't wonder if the colours look really harsh; they always look much more subdued in an actual render than they do in the preview, and in any case once all the materials are set it's just a matter of changing a setting to alter them anyway.
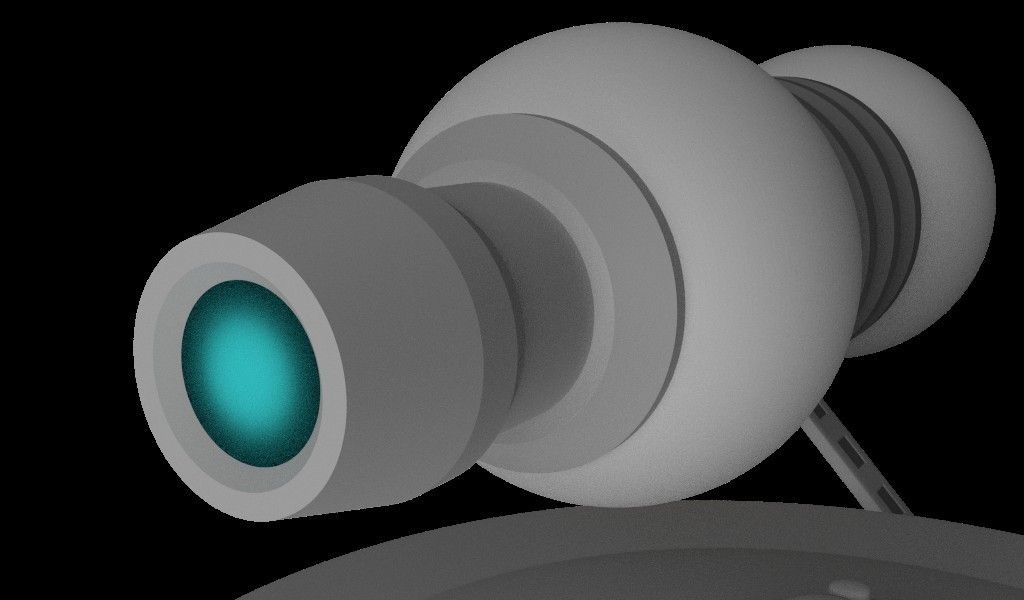
Now for the nose. I like a little glow in the barrel, to imply that the weapon is powered up and ready to fire. I used to simply set that end circle to a glowing material, but that looks flat and dull. So I set it to frosted glass, as mentioned; now I copy that single face, shrink it down about 60%, and set the material to a blue glow.
Now I move that face back just behind the frosted glass, so the glow will peek through it. You can't see through glass in preview mode, so here's a render of what it looks like
I really like that that came out!
Give a man a fire, and you keep him warm for a day. SET a man on fire, and you will keep him warm for the rest of his life...
- Graham Kennedy
- Site Admin
- Posts: 11561
- Joined: Mon Jul 09, 2007 2:28 pm
- Location: Banbury, UK
- Contact:
Re: Making Enterprise
So I decided the nozzel looks a bit thin compared to the body of the weapon. No problem, I just use ring select to grab all the forward faces, then scale them up in the X and Z direction :
And then a bit more...
Better!
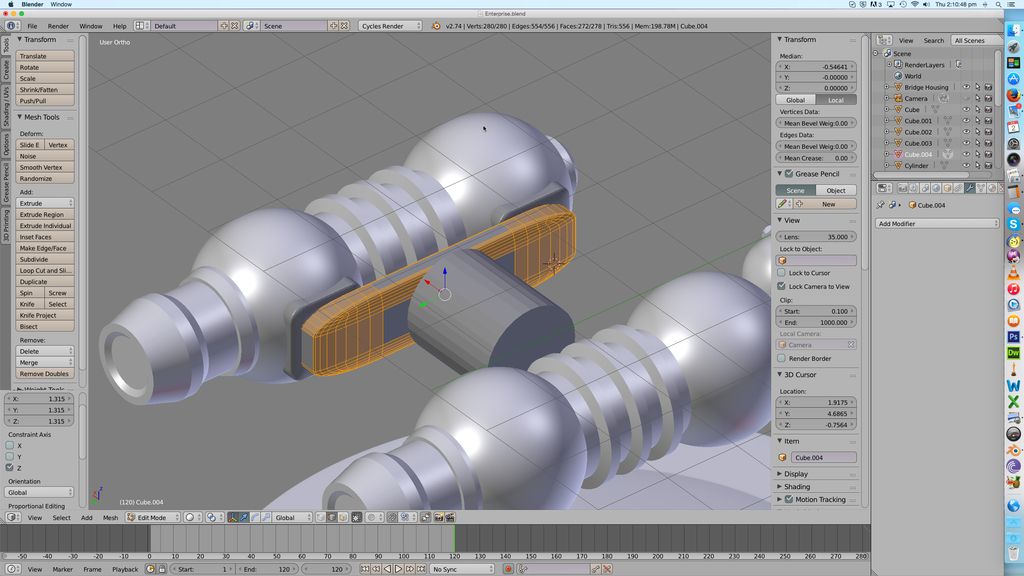
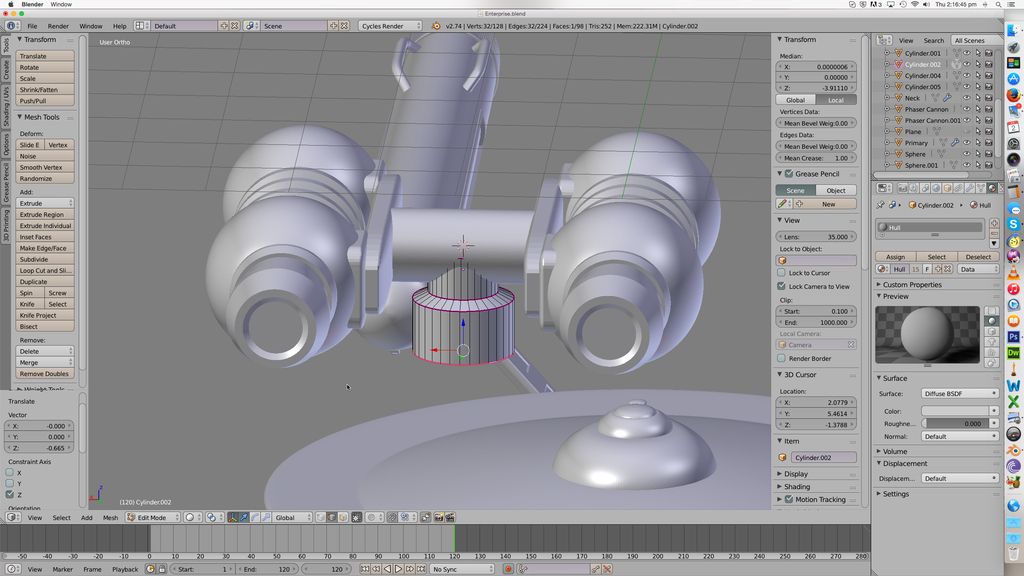
Now the weapon is about done. I want double beam cannon, though, so I duplicate this and move it over a bit. Add a cylinder between them for them to pivot for elevation.
Ugh. I HATE how that looks where the pivot cylinder intersects the weapons. Okay, what I think I will do is add an attachment point to the aft sphere. But I don't want it to pivot around that, it's too far back to look good. So I'll use a modified cube to make an attachment point for the pivot cylinder. That will mean moving the weapons further apart to give room for the new parts.
Bevelling edges to make it look a bit nicer...
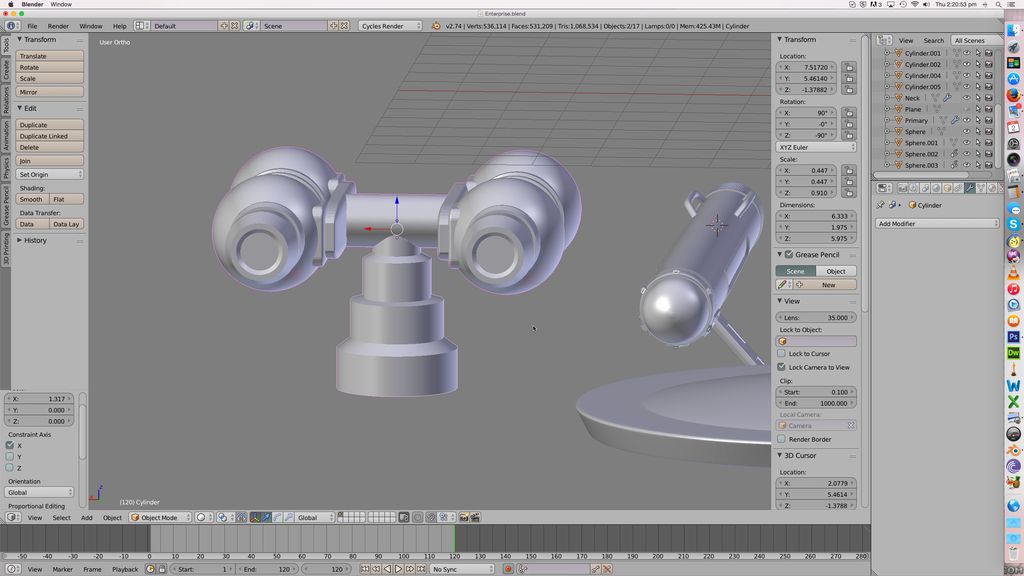
And now working on a base. The base needs to be tall enough for the cannon to elevate to 90 degrees.
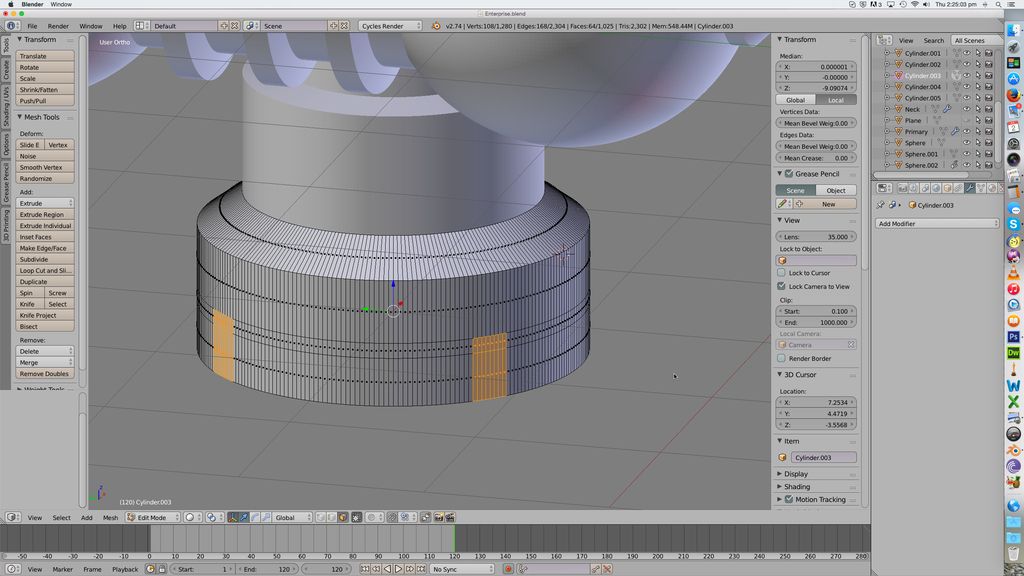
Adding some greebles to the base...
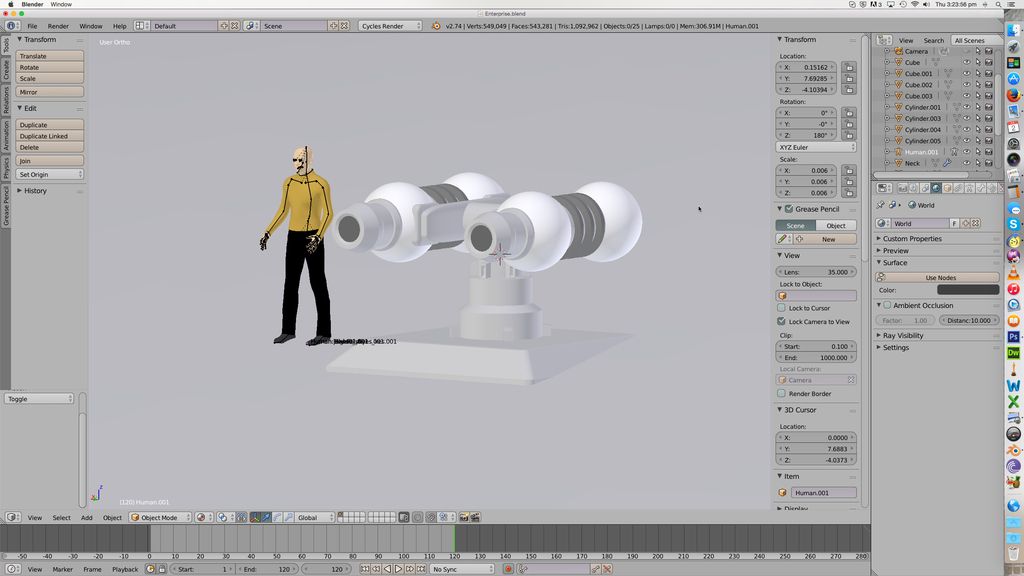
Now with a dude added for scale.
Give a man a fire, and you keep him warm for a day. SET a man on fire, and you will keep him warm for the rest of his life...
- Graham Kennedy
- Site Admin
- Posts: 11561
- Joined: Mon Jul 09, 2007 2:28 pm
- Location: Banbury, UK
- Contact:
Re: Making Enterprise
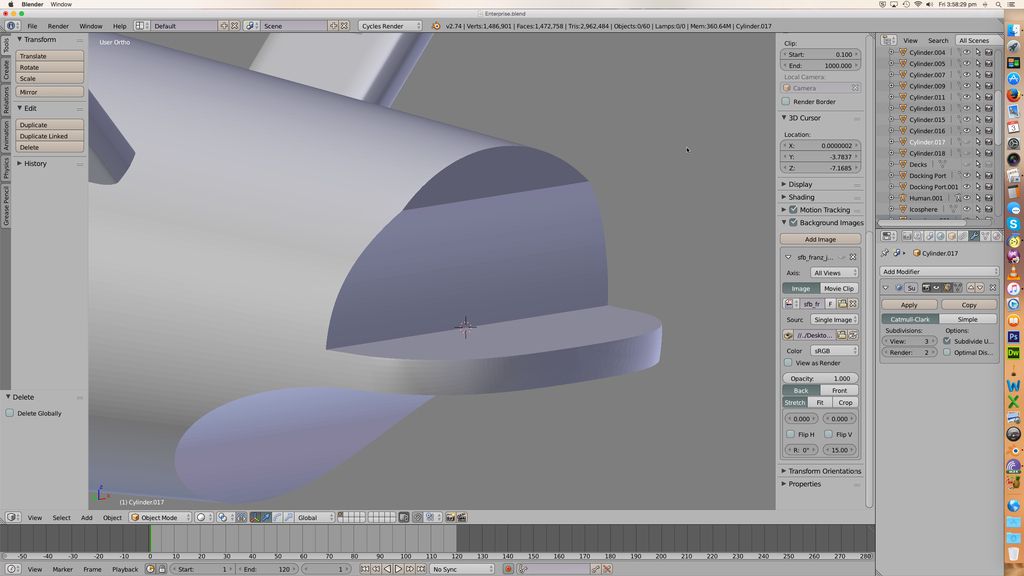
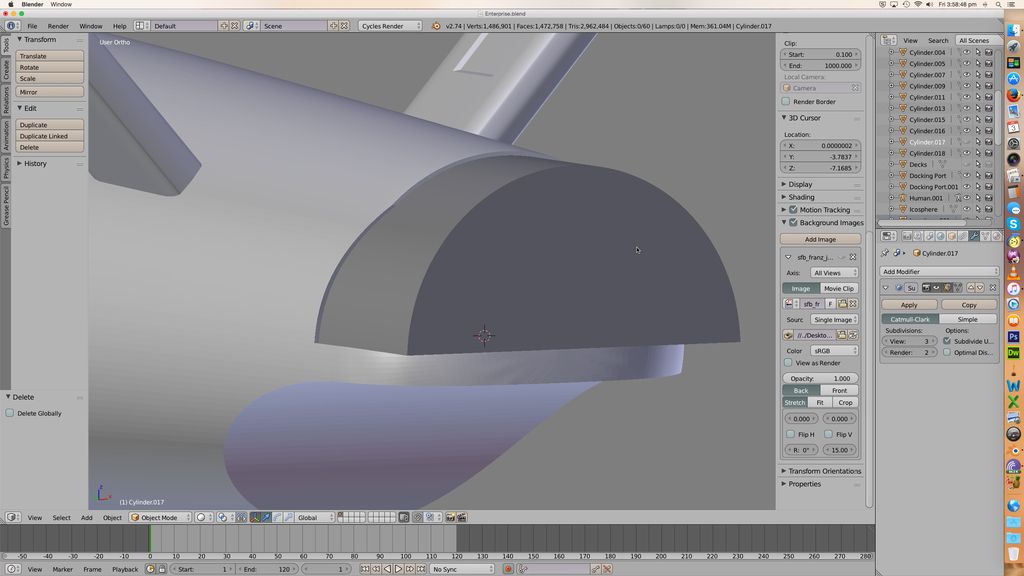
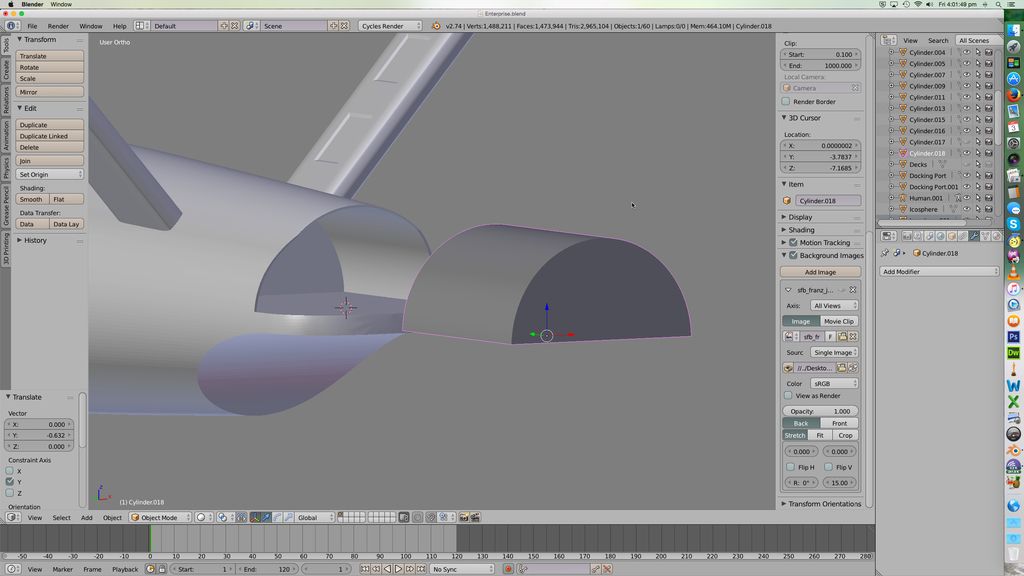
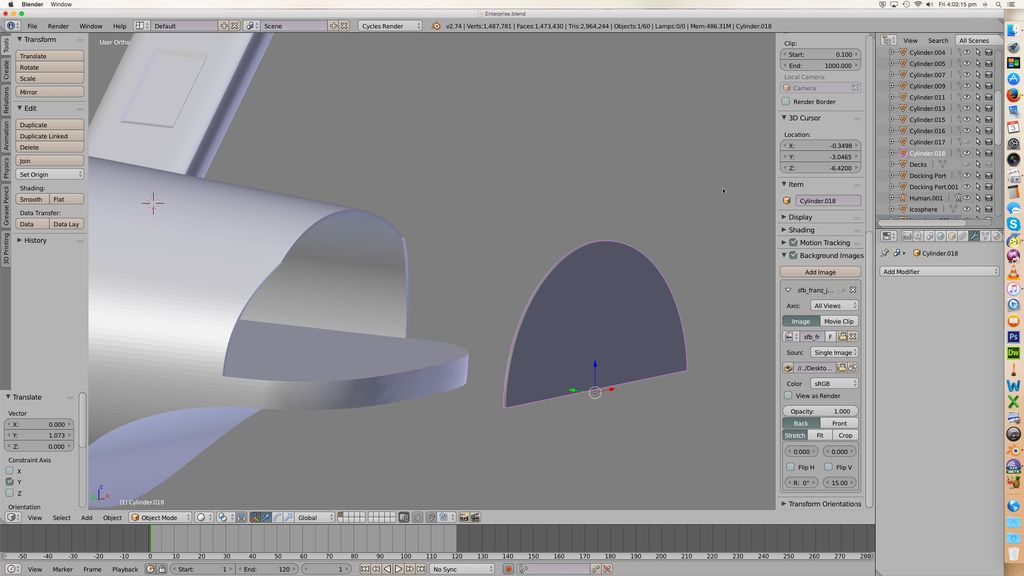
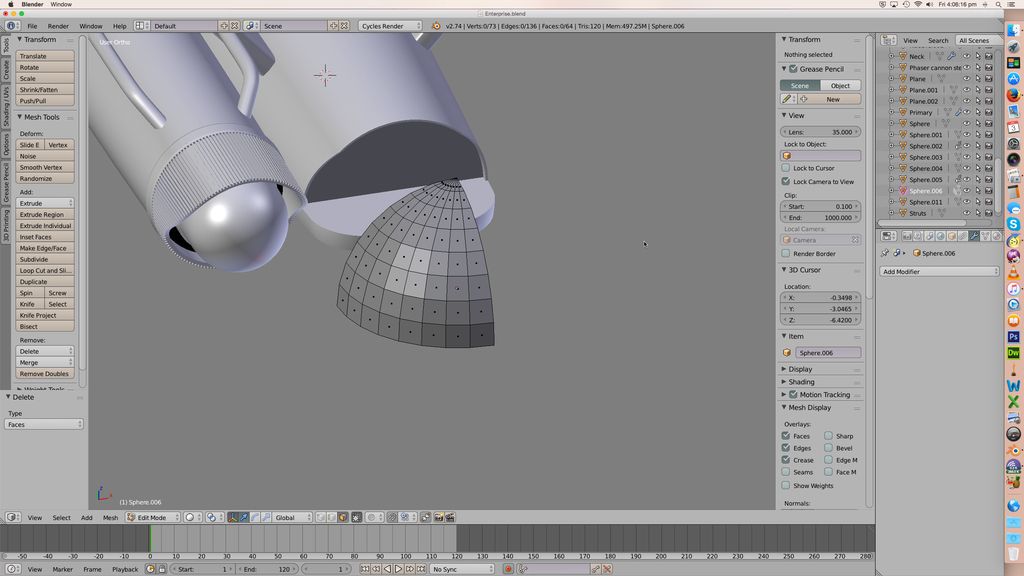
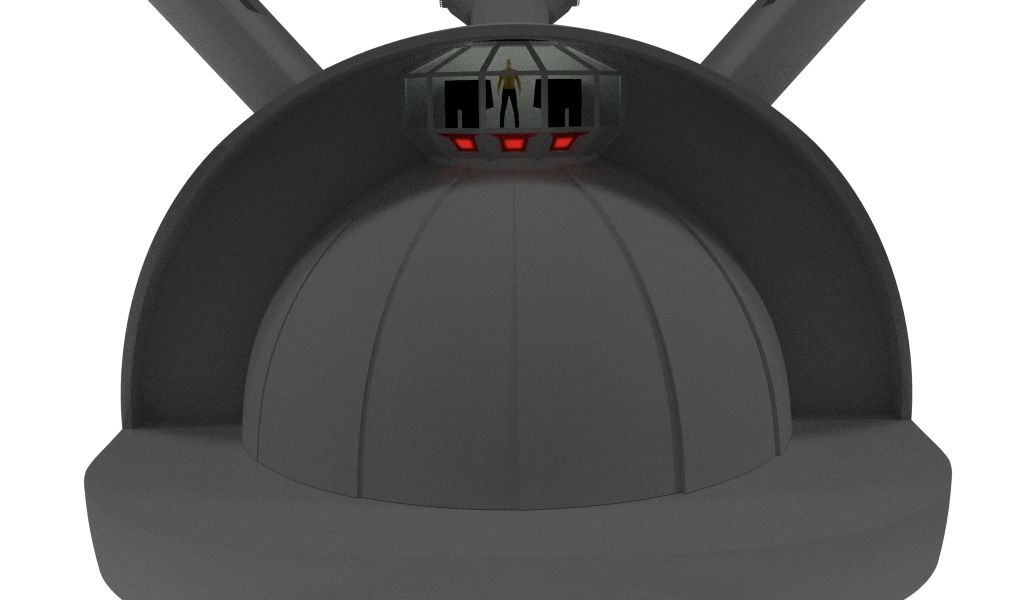
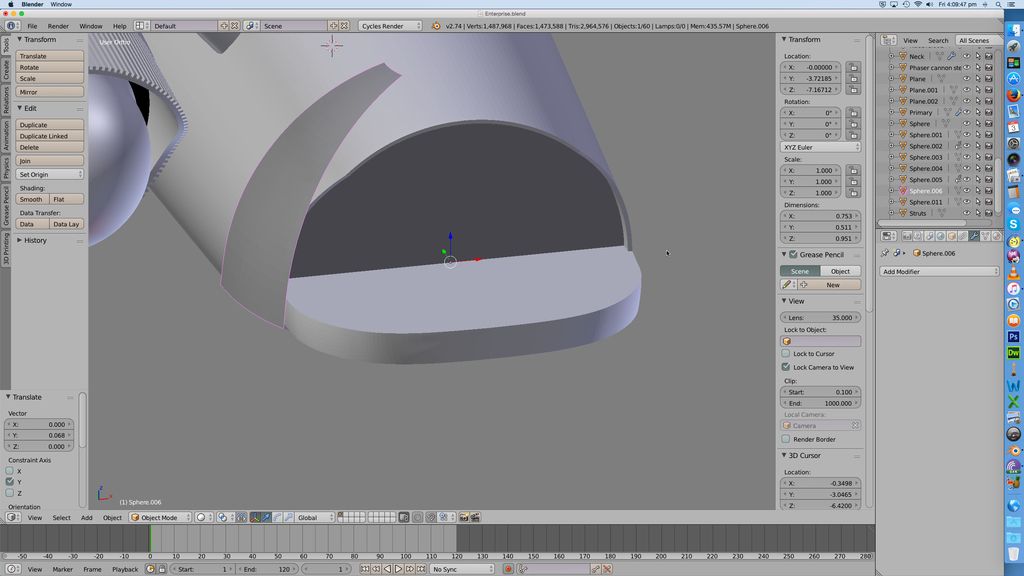
Working on the hangar deck now. First step is to carve out the bay itself. For this I add a cylinder, chop the bottom half out, and shrink it just a bit smaller than the aft hull :
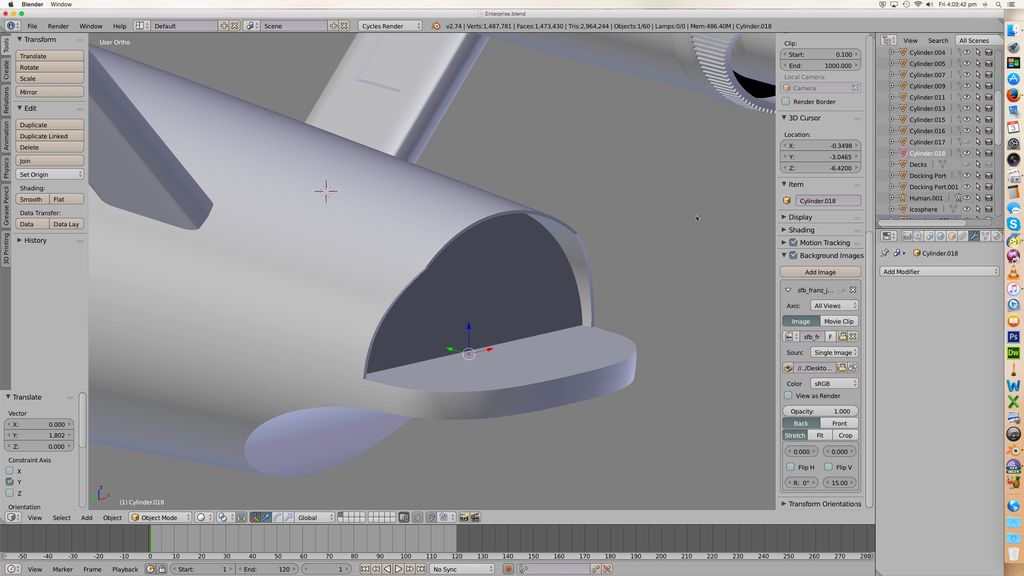
I use a boolean to cut a hole in the hull :
Now I want a flap panel to close the bay off, so I shrink down the cylinder in the Y axis to make that - since it's this cylinder that made the hole in the first place, it's a perfect fit!
Now for the doors. I add a cylinder and start chopping faces off until I get a nice arc. This is going to be one part of the door :
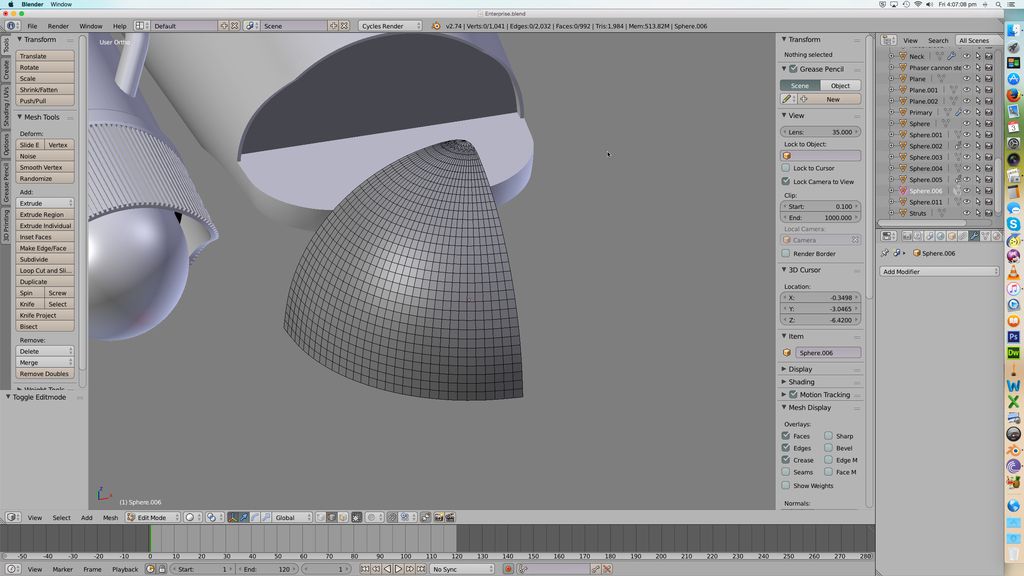
I use subsurf to smooth it out as I go, still chopping faces off :
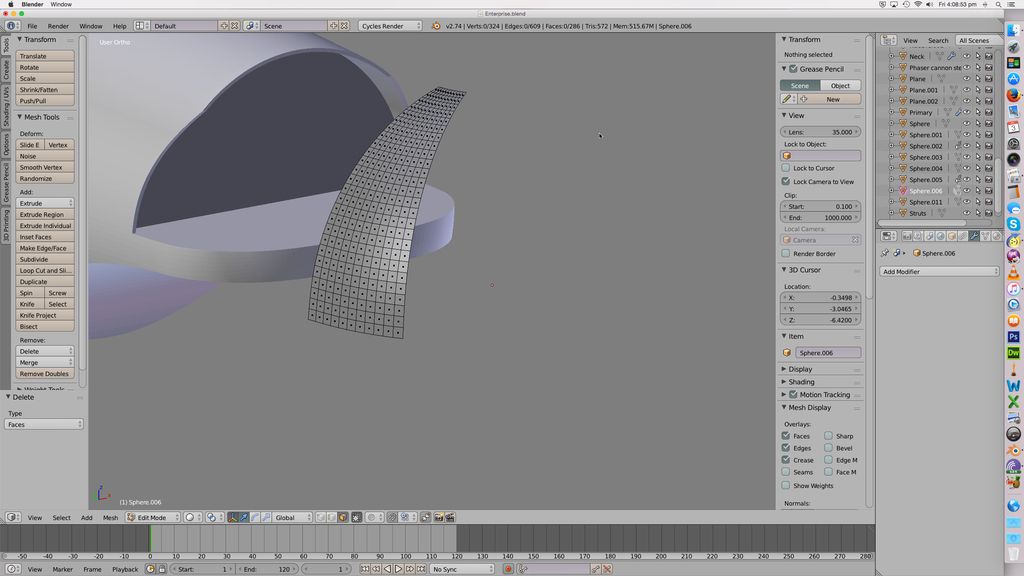
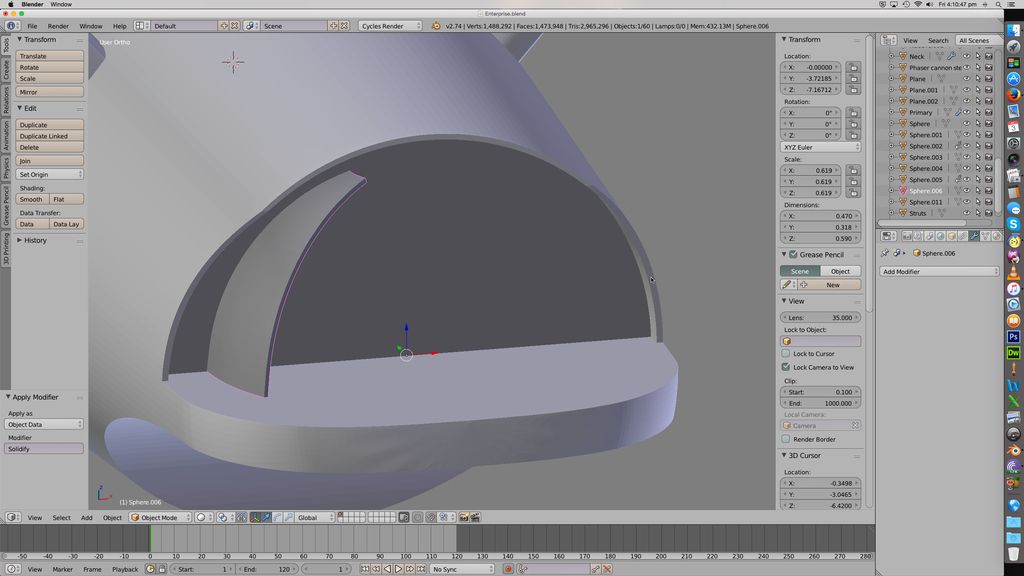
Now use the "solidify" modifier to thicken this, so it's not just an infinitely thin sheet.
Put it in place and scale it down some :
Then copy that slice, shrink it just a little, and rotate the copy about thirty degrees. Then repeat that again :
Three more on the other side, and there's your doors.
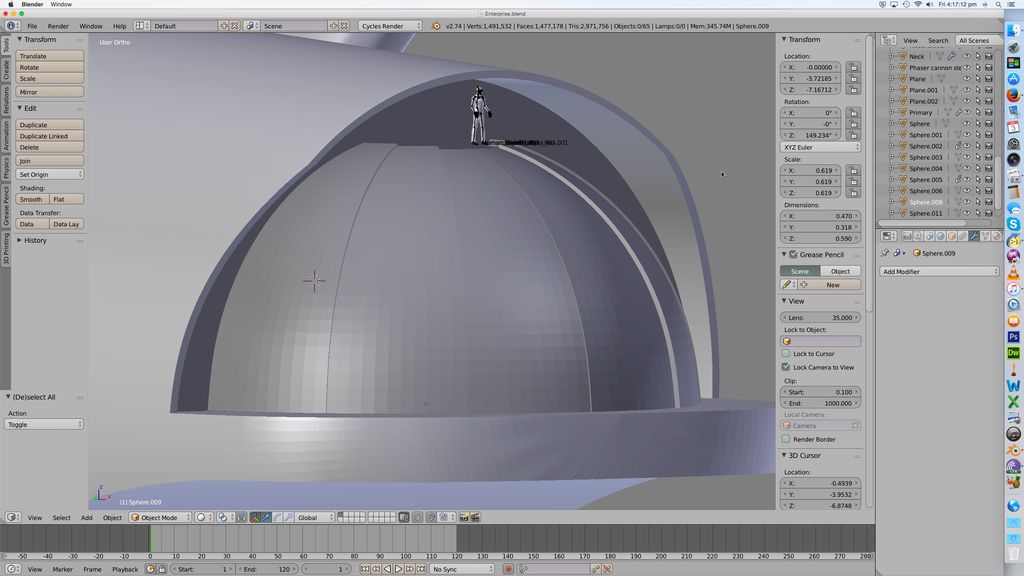
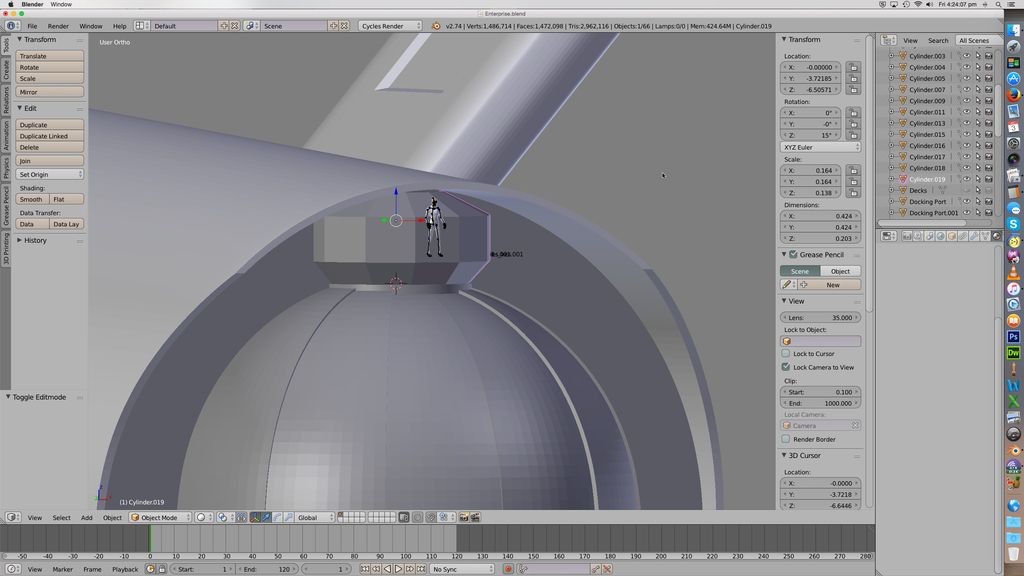
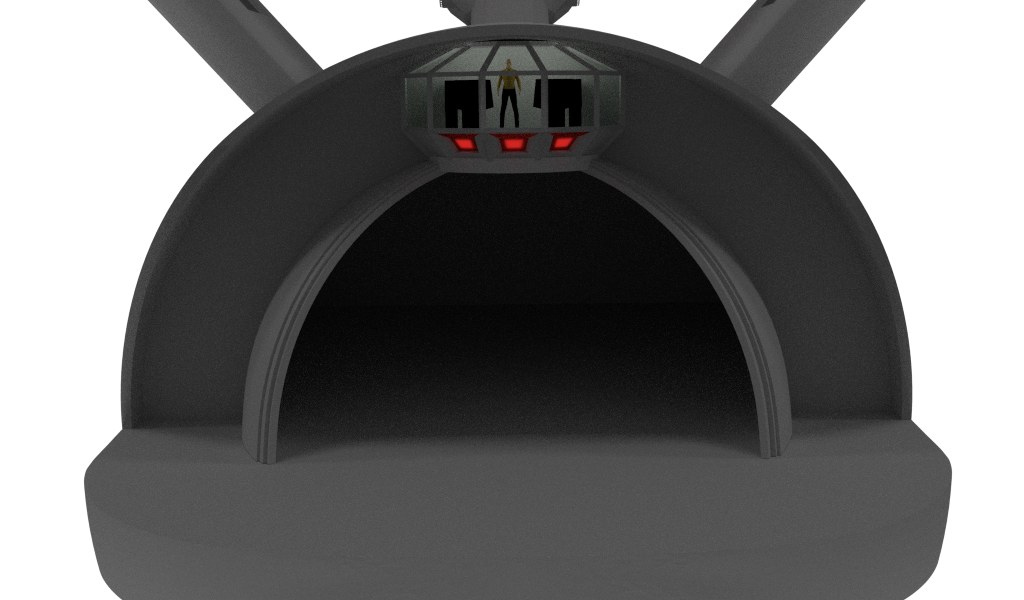
Now up top we need a pivot for the doors. That's a simple smoothed cylinder. Before that, though, let's stick our standard guy in there and see if there's enough space up top for the stuff we need up there :
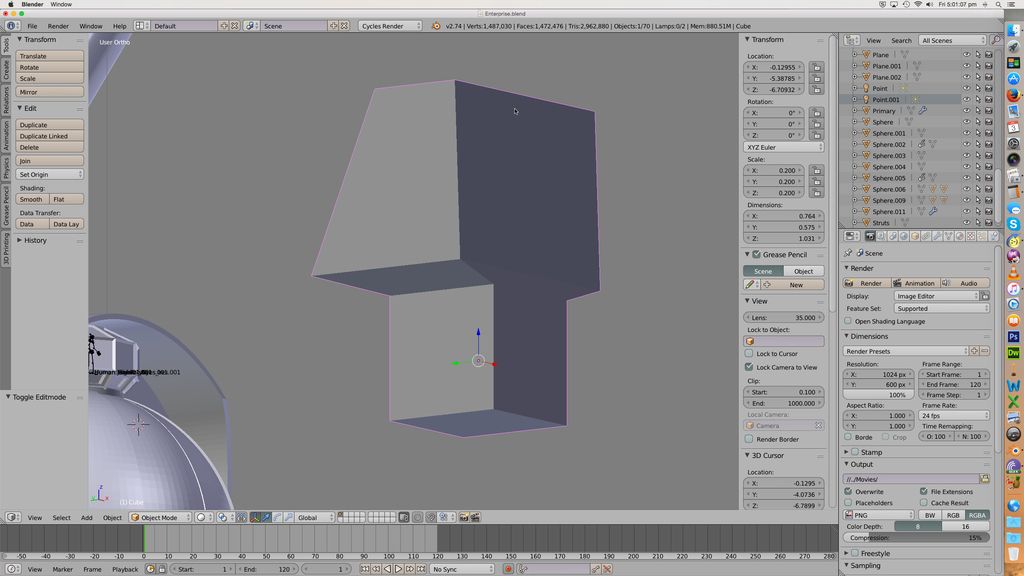
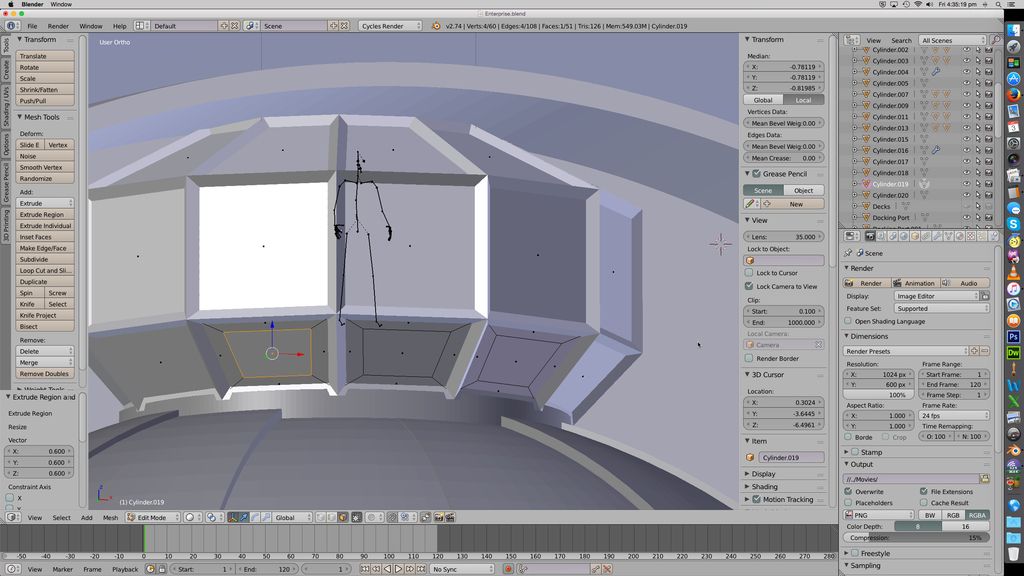
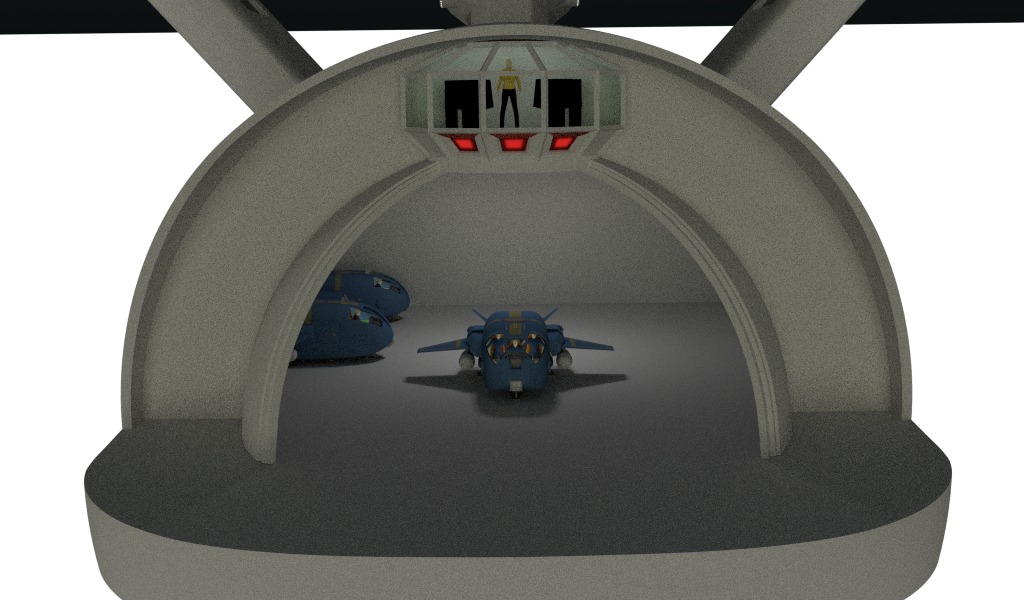
Shrink them down a little, I think. Above our cylinder we need a place for the flight ops, and also a tractor beam emplacement. That's pretty easy to make. I add a 12-faced cylinder to get a faceted box. Make a duplicate of that cylinder on top of the first. One cylinder is given a glassy material, the other has a new modified applied to it, which turns it into a wireframe version of itself. That gives us a shape that is glass panels, with a solid framing around them like so :
Stick some light sources in there. Then some flight ops needs some consoles. These are simple cubes, shaped and with some extrusion to make a basic vaguely console shape. These will only be seen very tiny, so they don't have to be especially detailed.
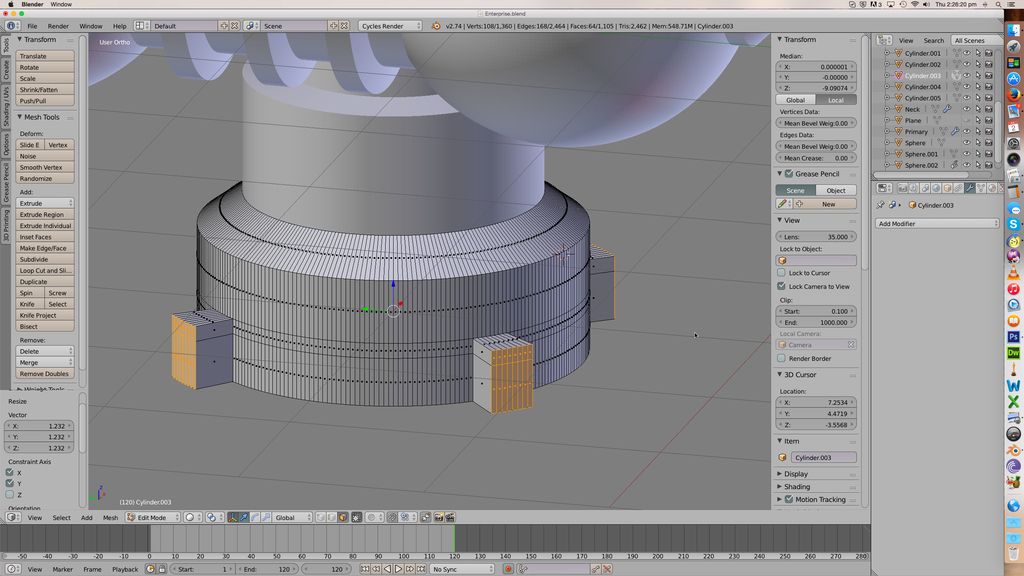
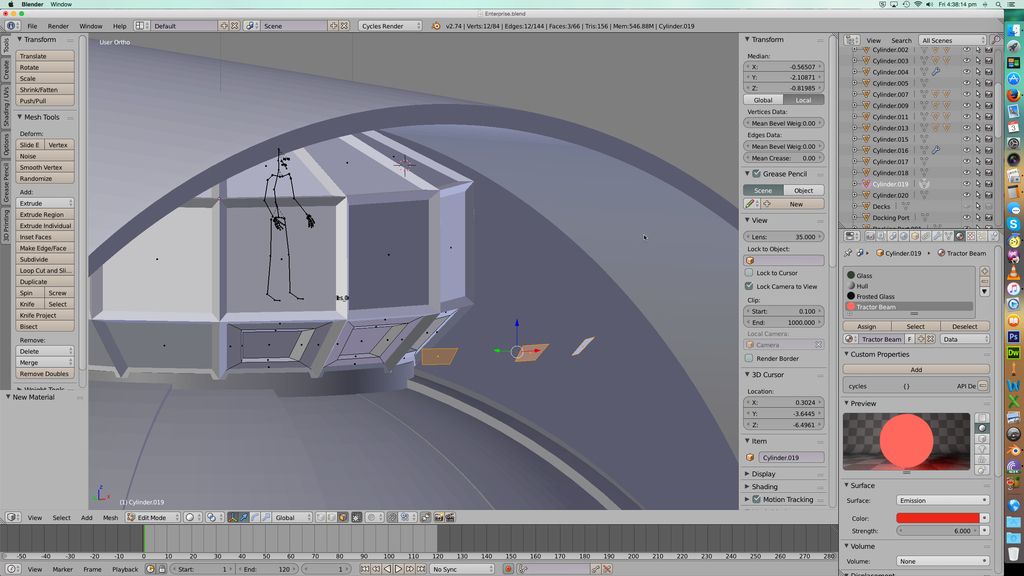
For tractor beam emplacements I colour the bottom facets of the glass to hull colour, and on each of the three aft faces I extrude and scale to make a smaller, recessed face :
Those are then converted to the "frosted glass" material that's on the nacelles and phaser tips. Copies of those faces are then shrunk, coloured glowing red, and moved behind them. It's the exact same procedure that's used on the phaser tips, or any time you need a kind of "inner glow of power" on anything.
Last thing to do is cut a hole in that bulkhead, so shuttles can get in and out. I use a copy of the bulkhead itself for that.
So let's see how it looks :
I like it! I actually spent most of a day stumped over how to do this, so I'm glad it came out this well. To open the doors, pick each one and rotate it around the X axis by 28 degrees...
Dark inside, of course! Simple to add a light source in there. But then it looks big and empty! I don't have a TOS shuttlecraft, so I import a few copies of the Petrel class (thanks to Mikey for the name!), And we're done! I love how this came out.
Animated door opening to come shortly.
Give a man a fire, and you keep him warm for a day. SET a man on fire, and you will keep him warm for the rest of his life...
- Graham Kennedy
- Site Admin
- Posts: 11561
- Joined: Mon Jul 09, 2007 2:28 pm
- Location: Banbury, UK
- Contact:
Re: Making Enterprise
Give a man a fire, and you keep him warm for a day. SET a man on fire, and you will keep him warm for the rest of his life...
- Graham Kennedy
- Site Admin
- Posts: 11561
- Joined: Mon Jul 09, 2007 2:28 pm
- Location: Banbury, UK
- Contact:
Re: Making Enterprise
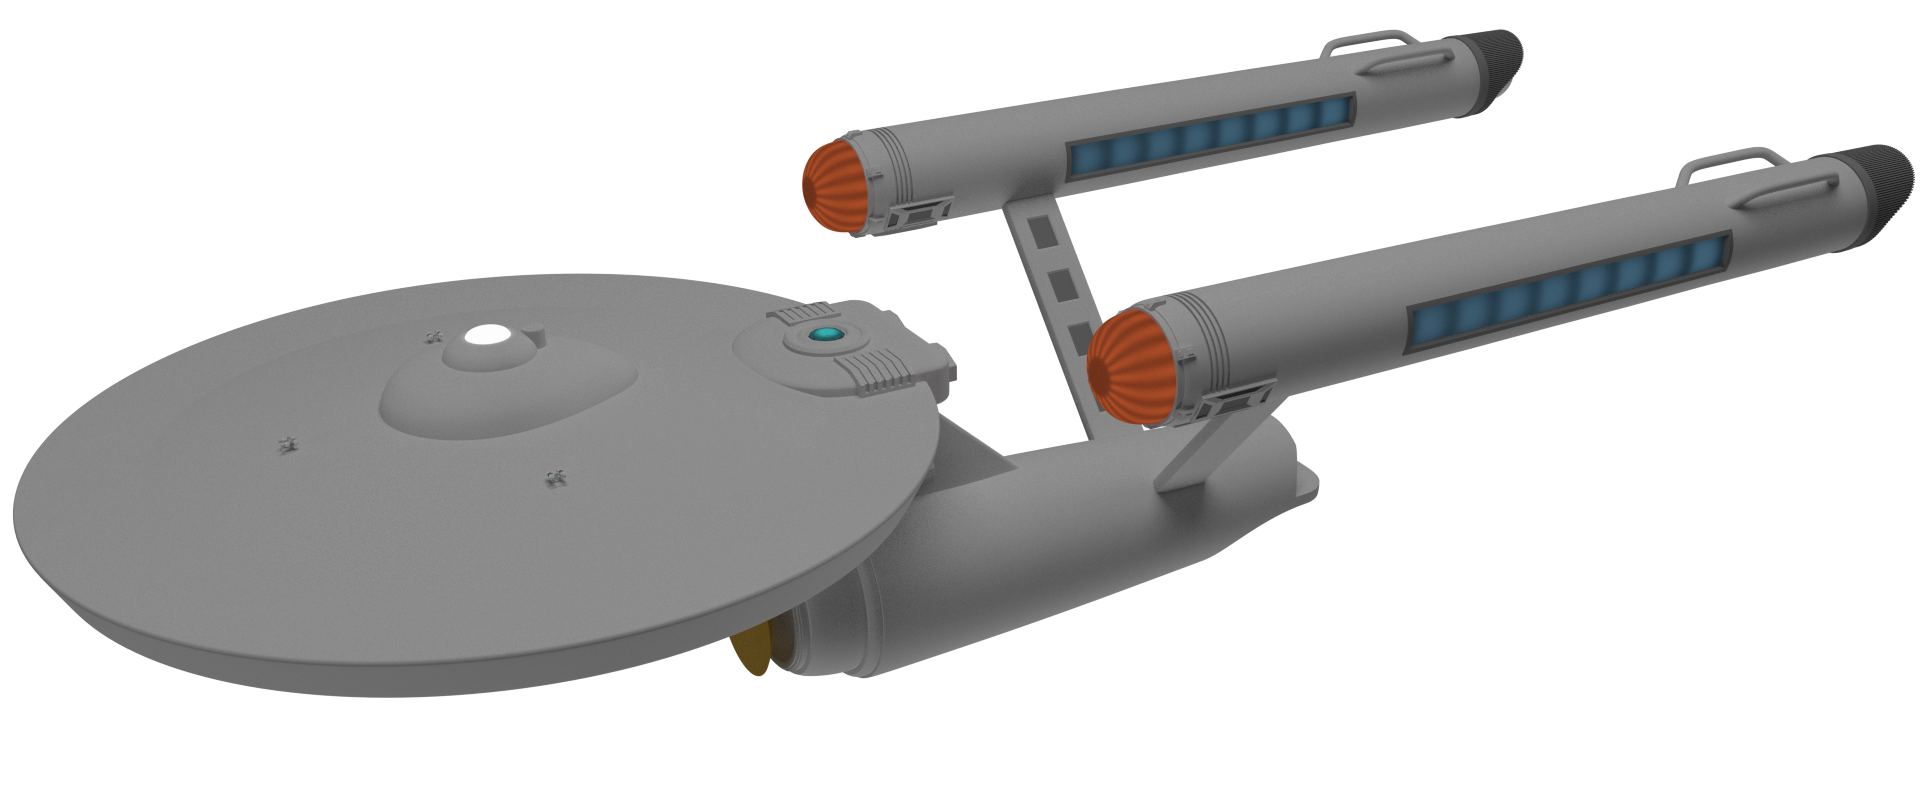
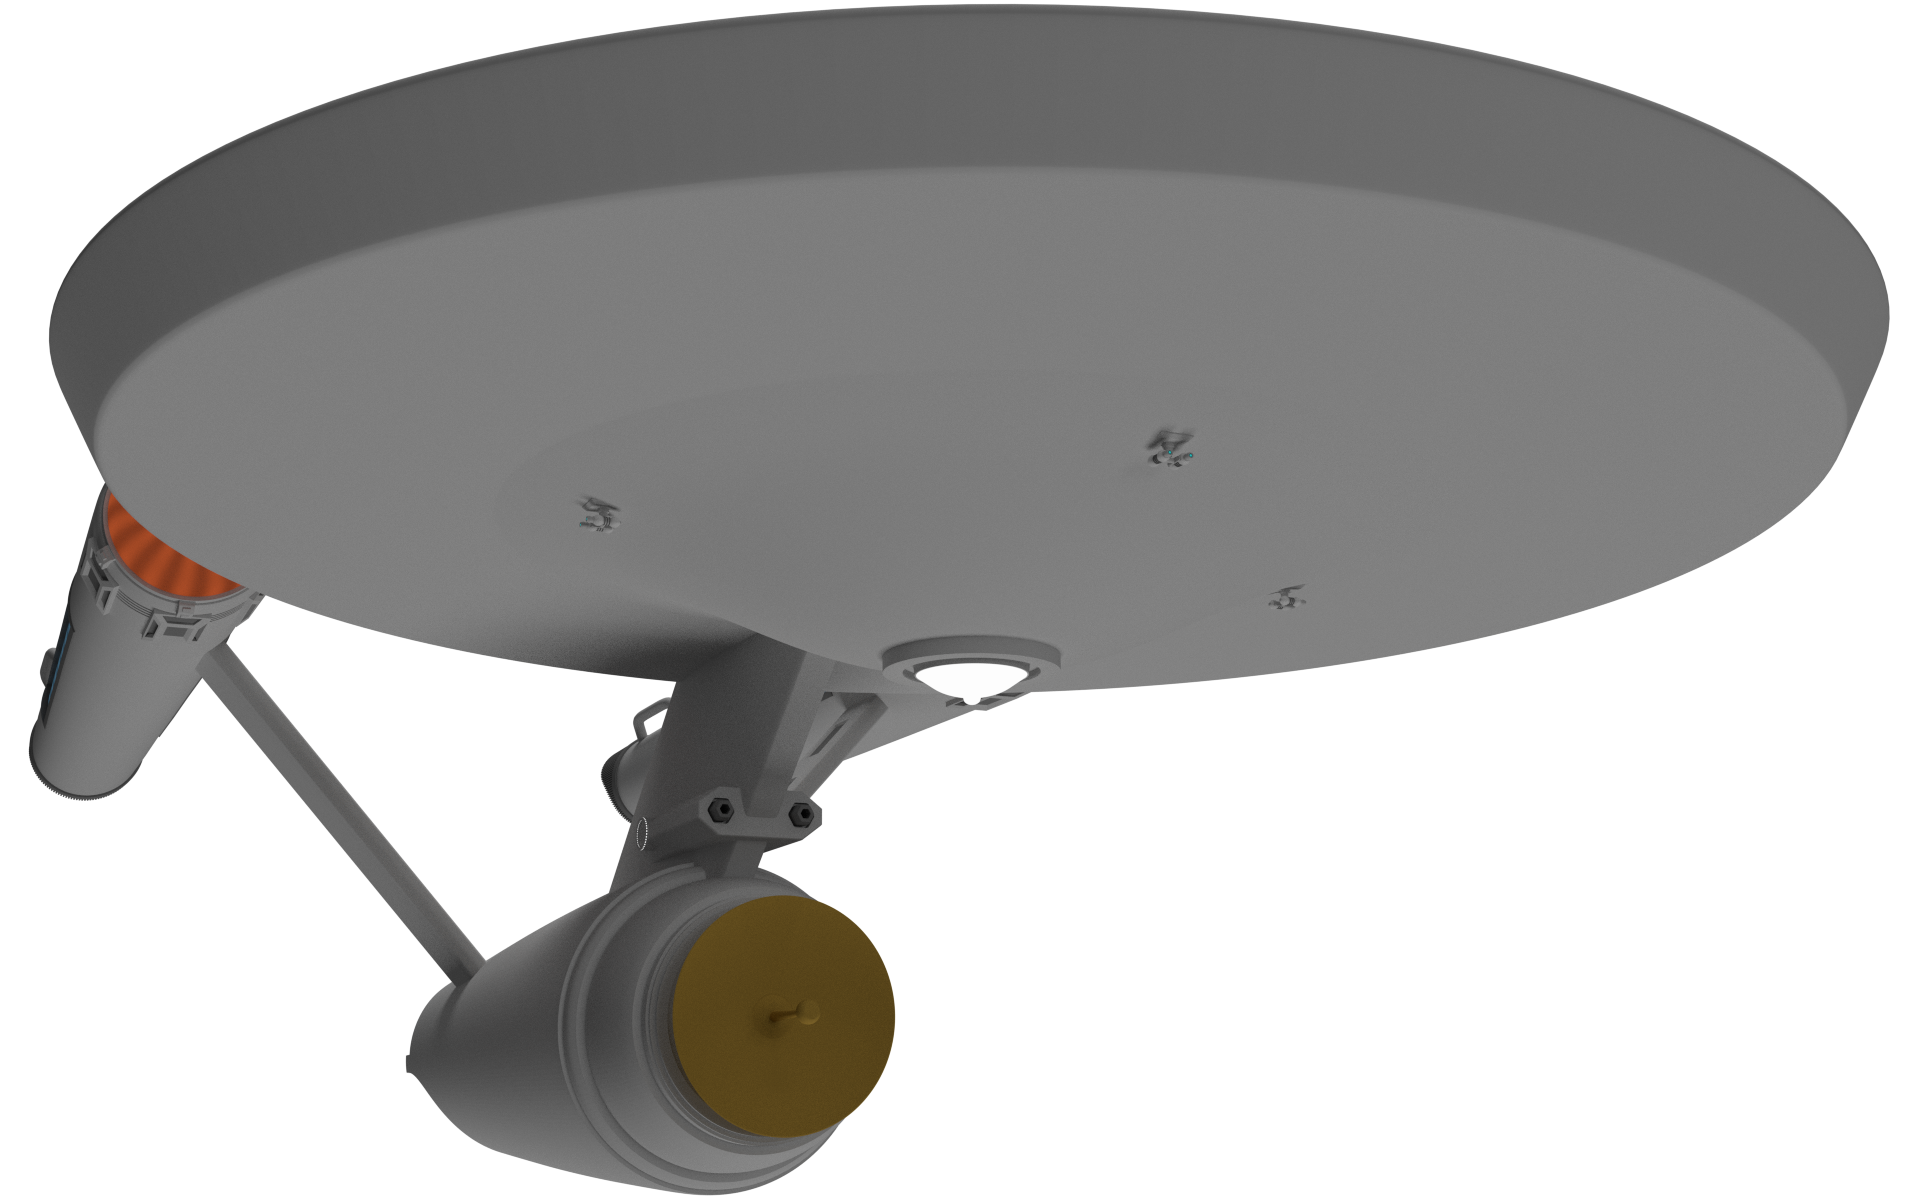
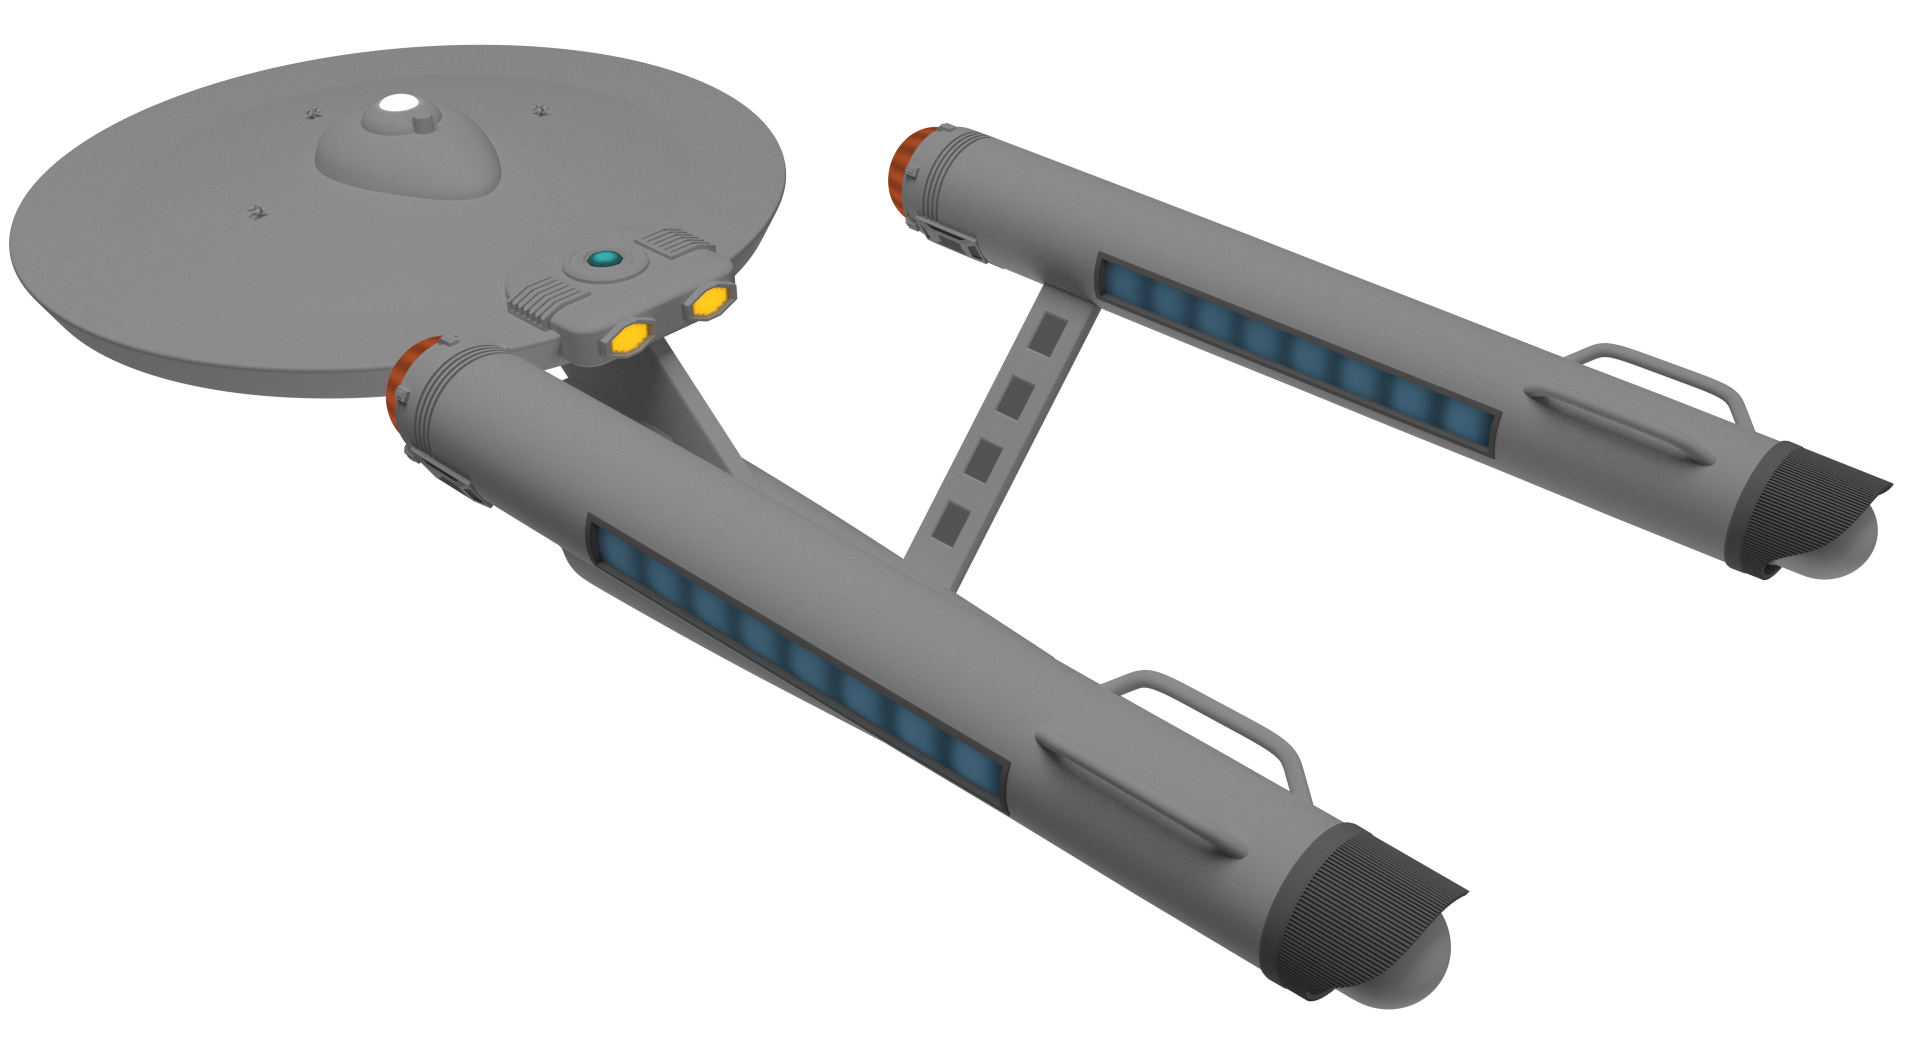
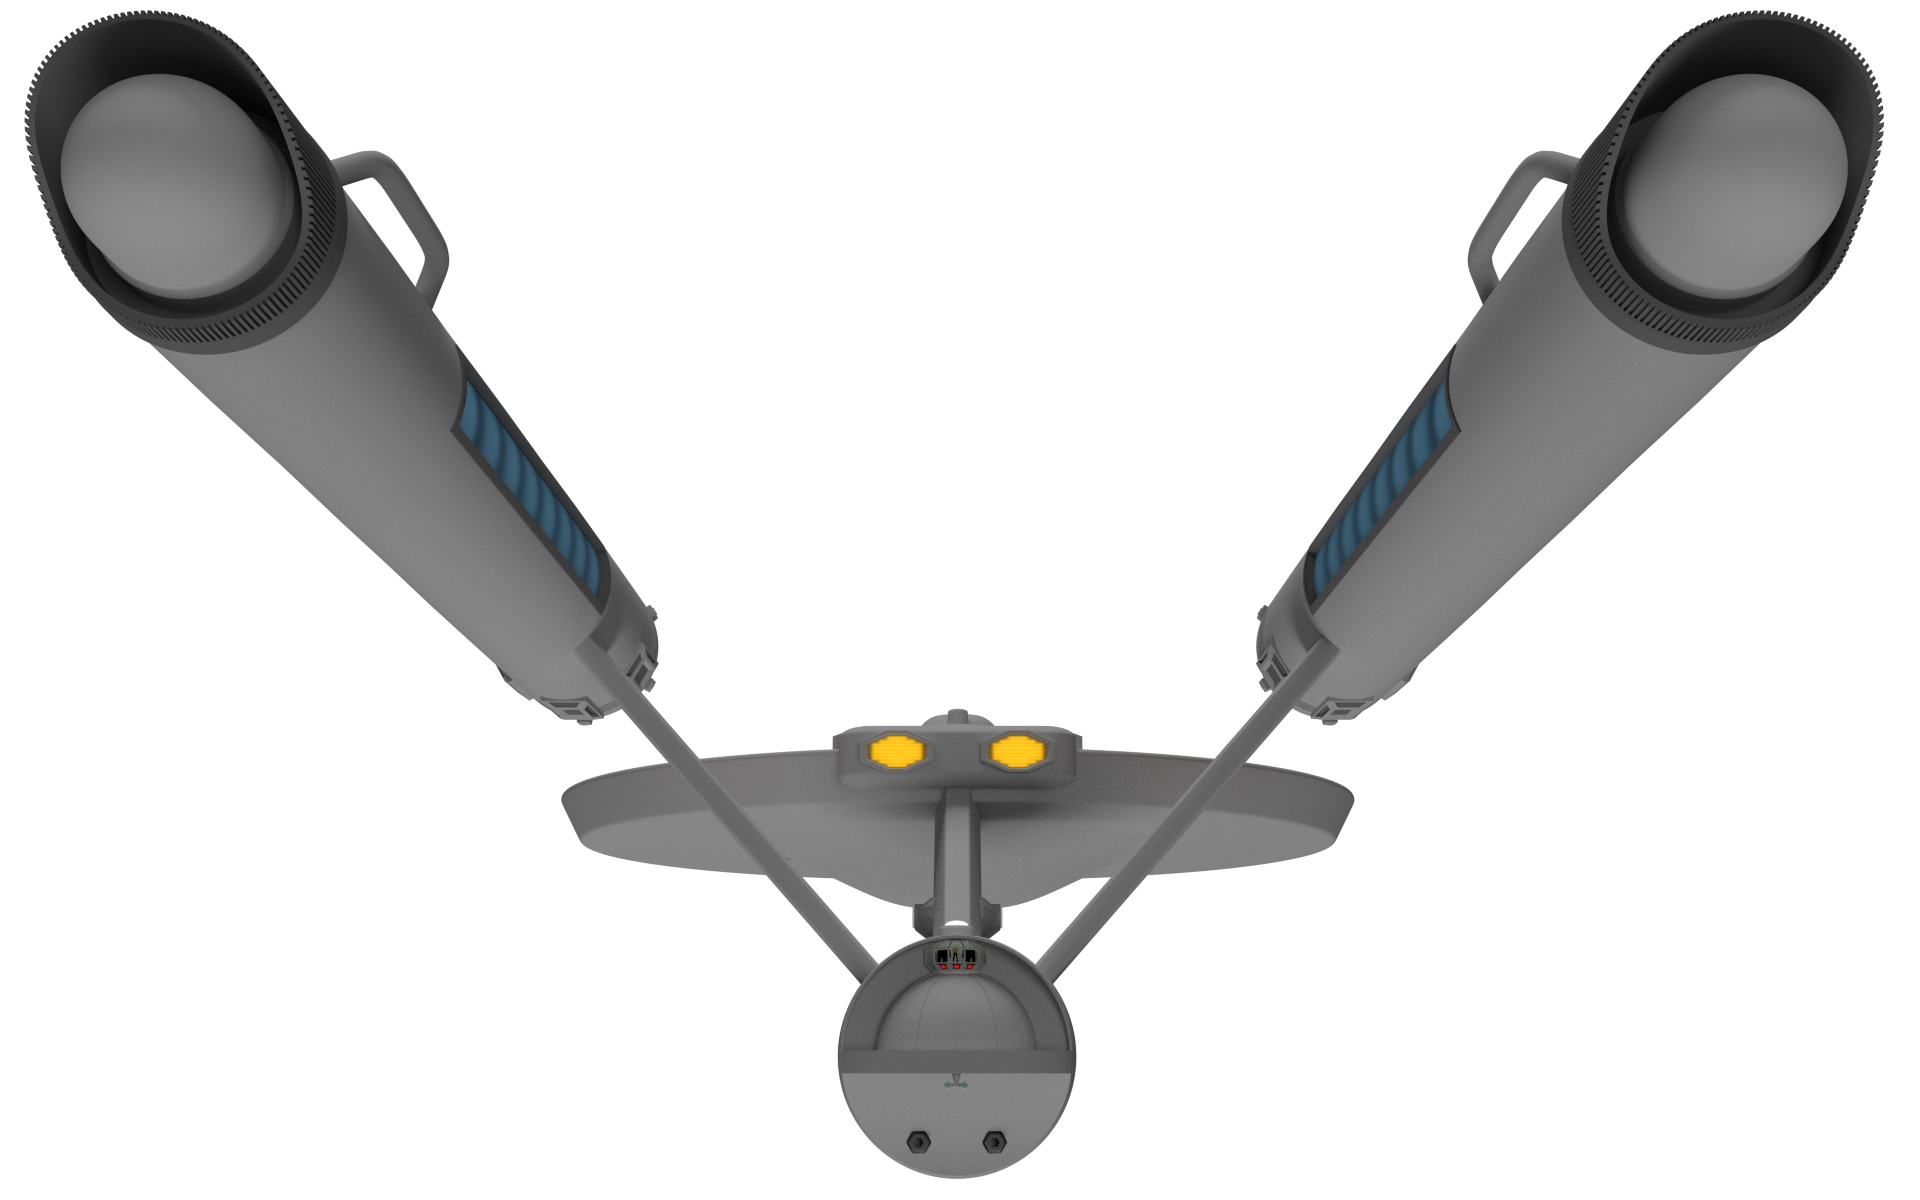
Some good sized renders of the ship as it is so far :
Give a man a fire, and you keep him warm for a day. SET a man on fire, and you will keep him warm for the rest of his life...
- Graham Kennedy
- Site Admin
- Posts: 11561
- Joined: Mon Jul 09, 2007 2:28 pm
- Location: Banbury, UK
- Contact:
Re: Making Enterprise
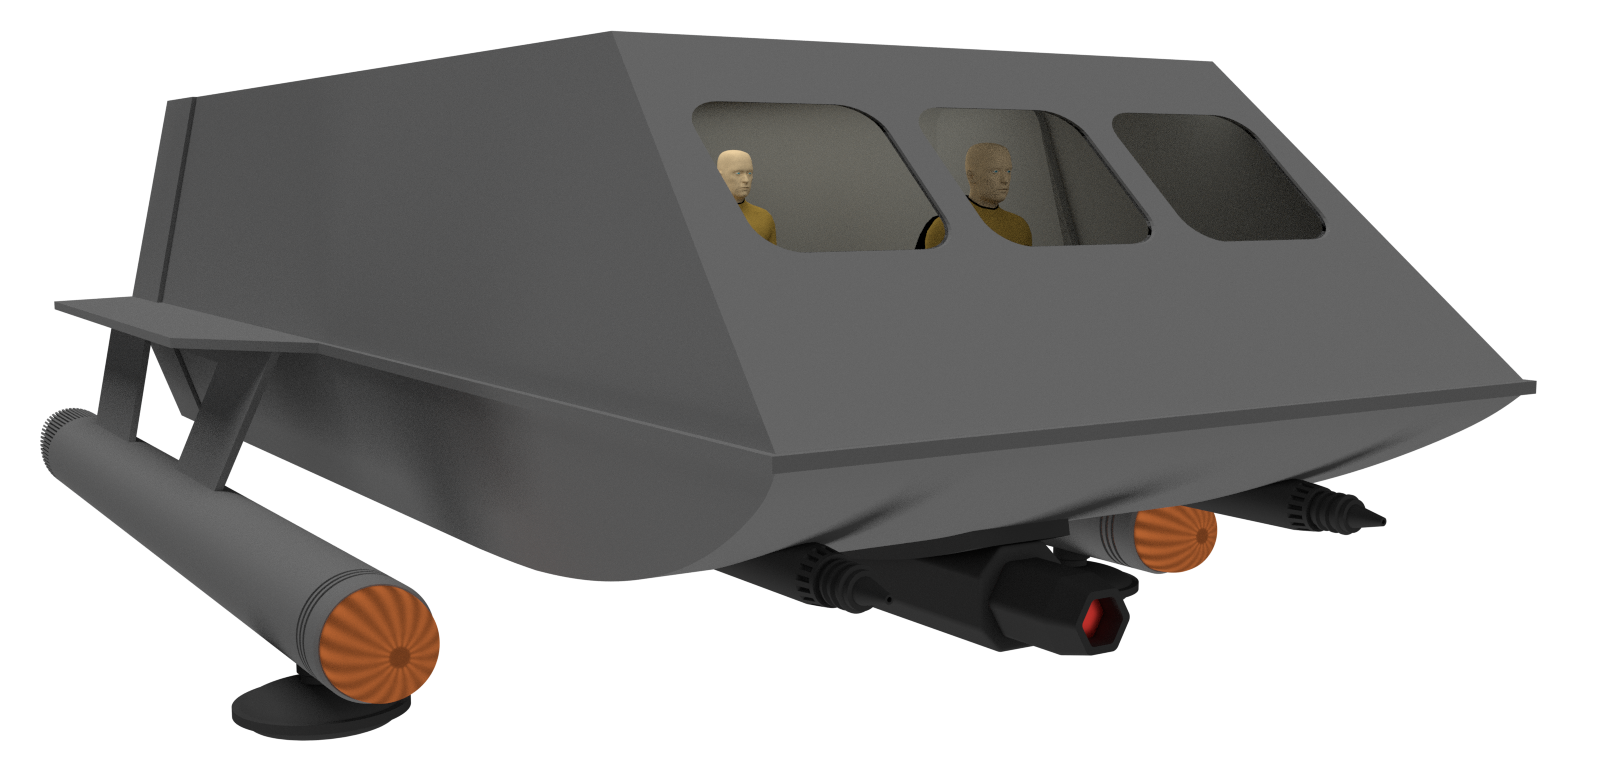
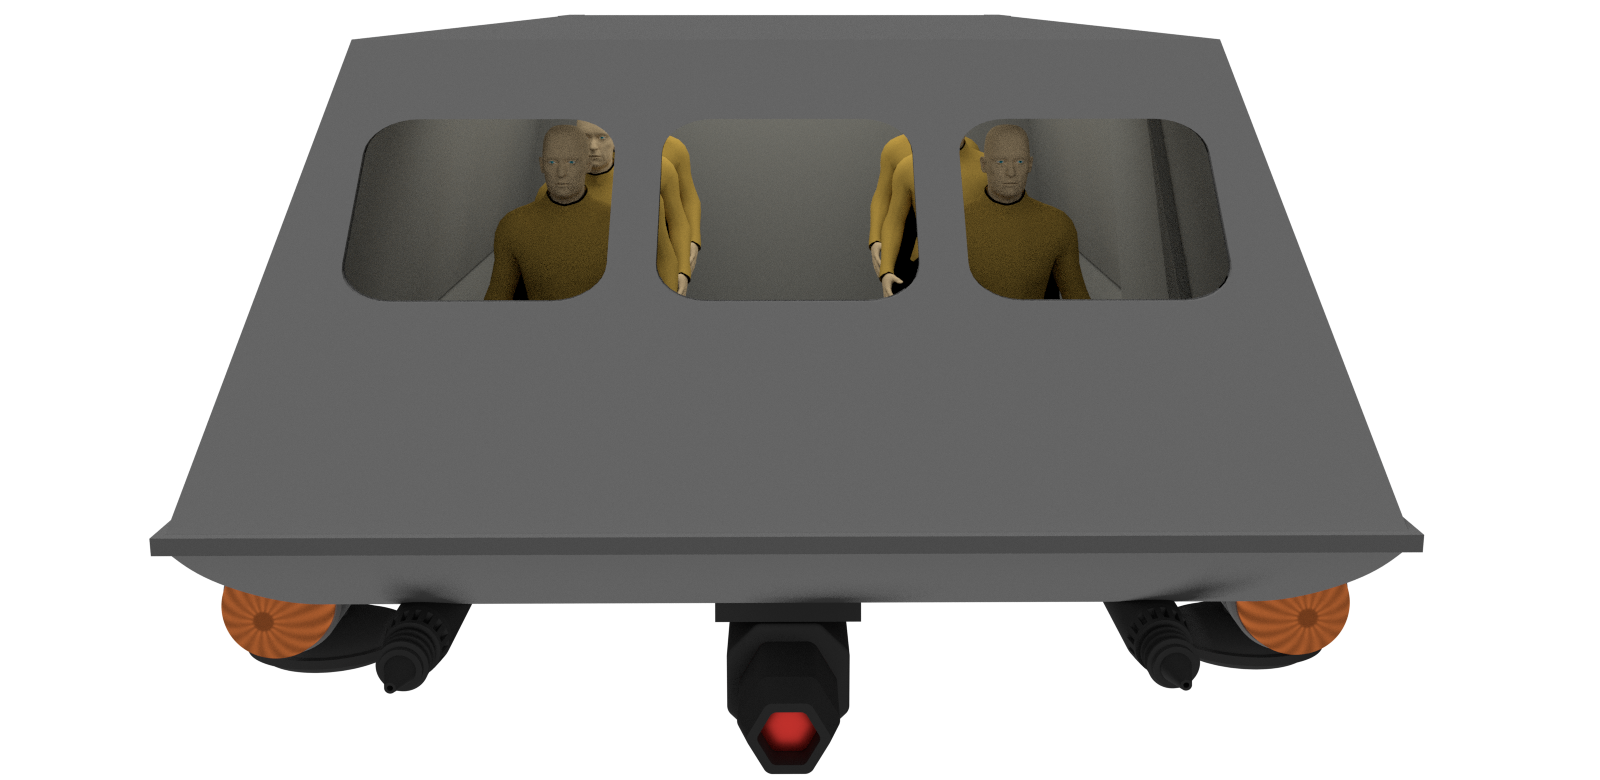
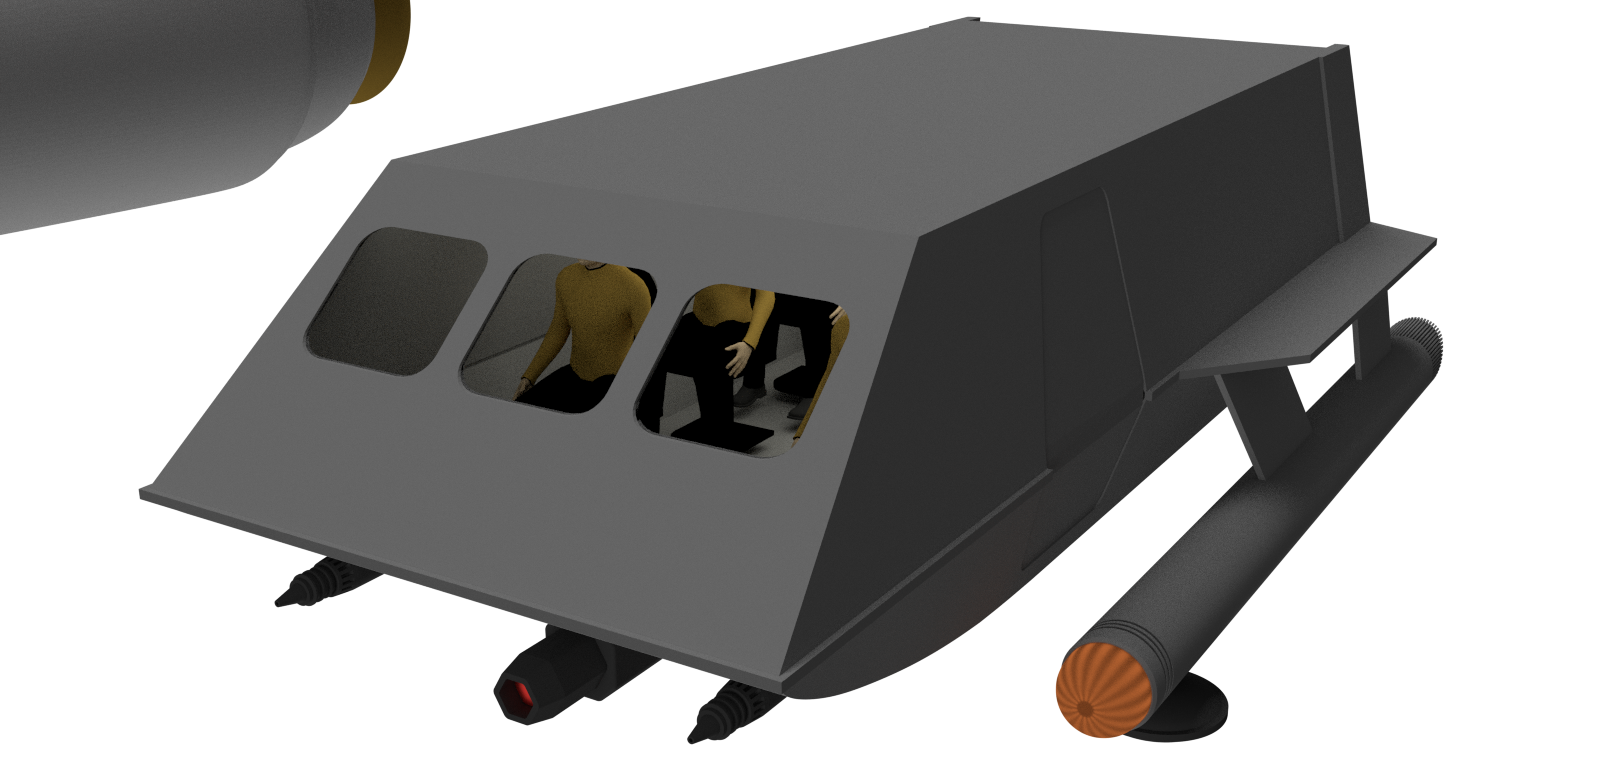
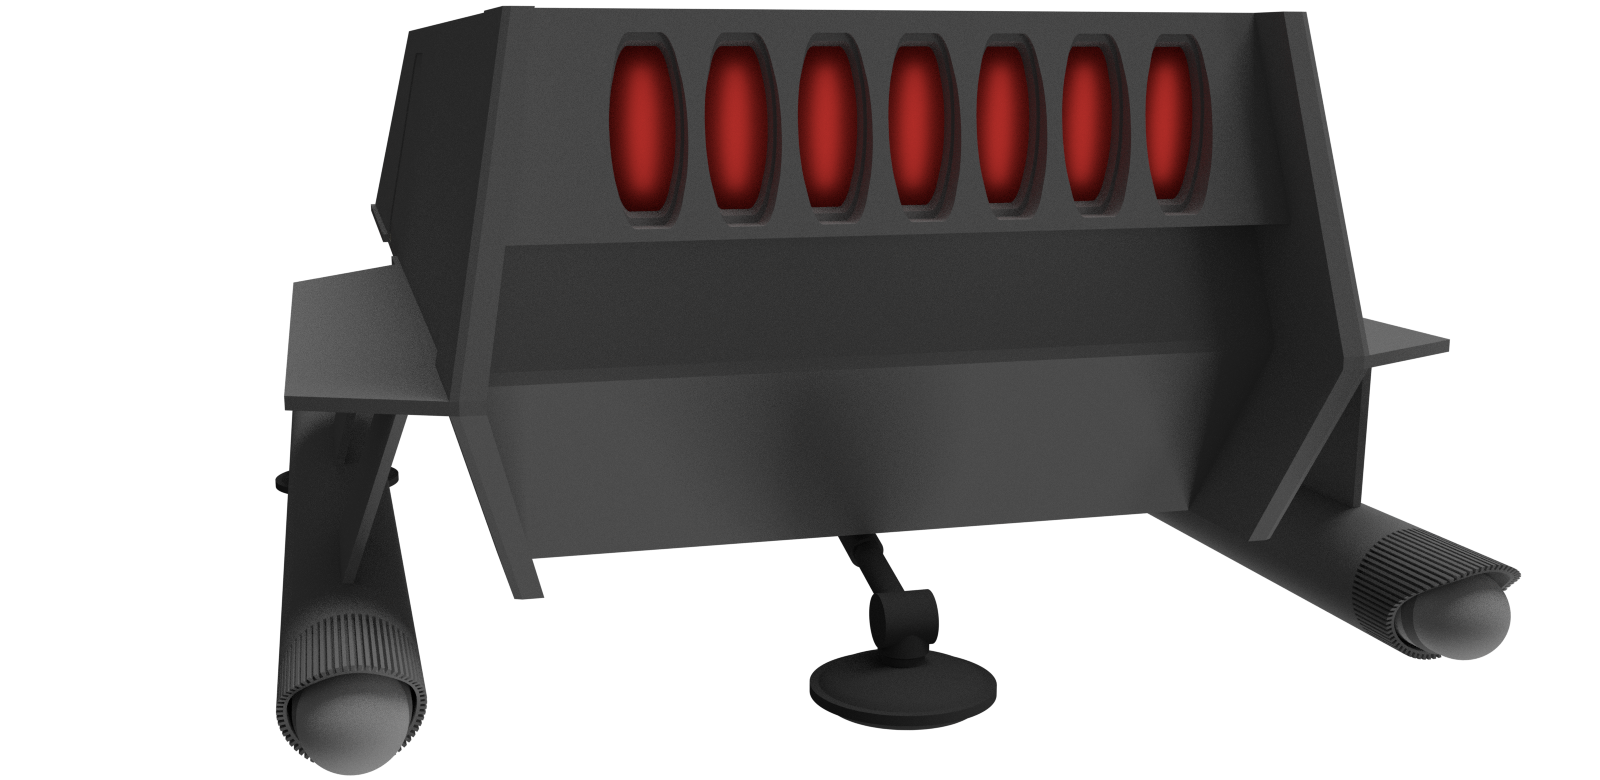
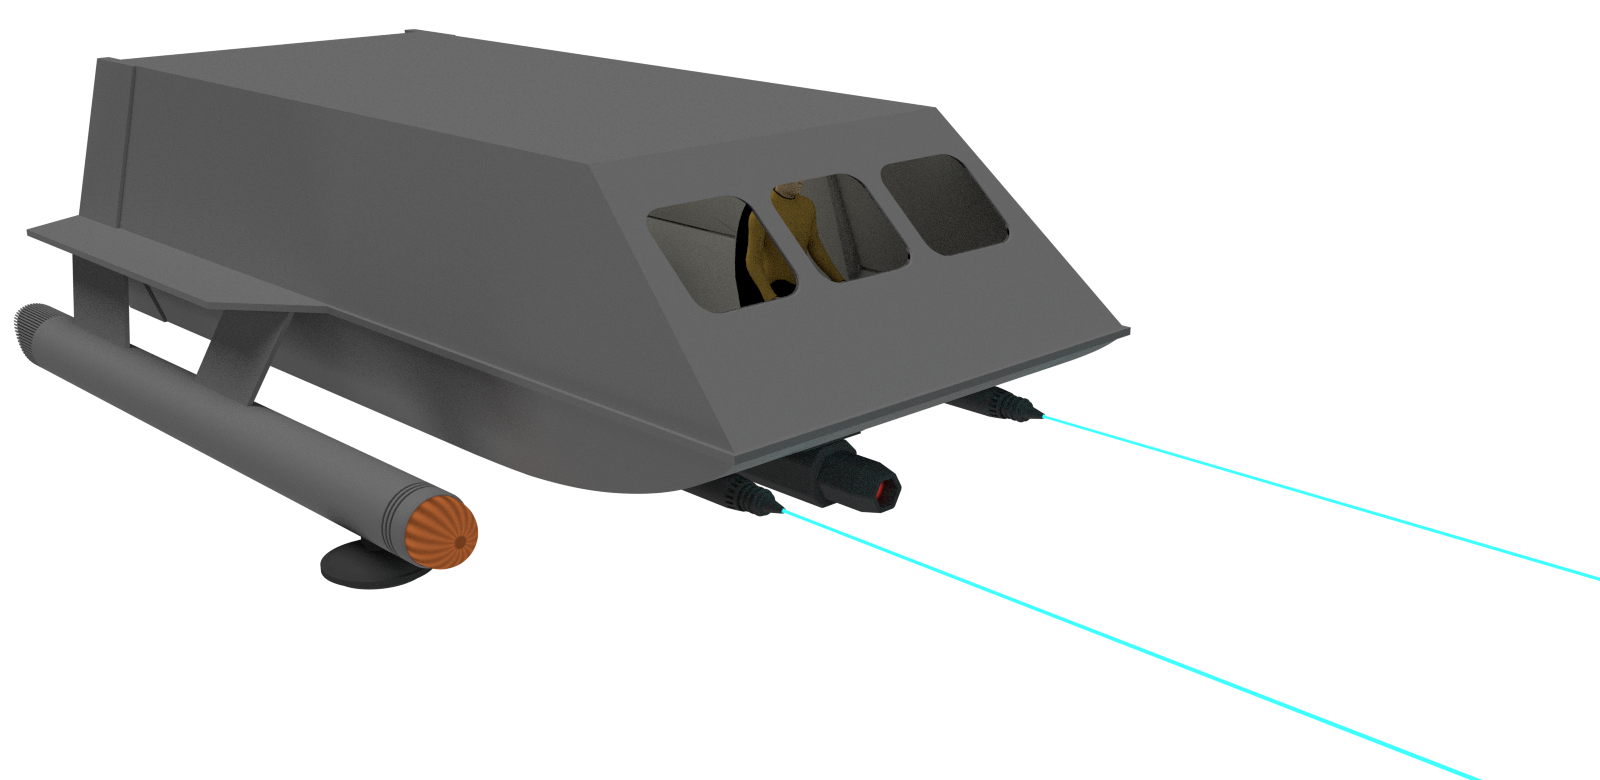
Knocked up a TOS shuttle. On the "Trek I would have done" principle, this one has a pair of phaser cannon and a mini photon launcher attached.
Give a man a fire, and you keep him warm for a day. SET a man on fire, and you will keep him warm for the rest of his life...